首页 > 代码库 > Citrix NetScaler启用VMware view PCoIP 代理功能
Citrix NetScaler启用VMware view PCoIP 代理功能
自NetScaler版本12.0开始,不但支持 Citrix本身的ICA协议,也同时支持VMware Horizon view使用的PC-over-IP (PCoIP) 协议!
1.Configuration > NetScaler Gateway > Policies > PCoIP
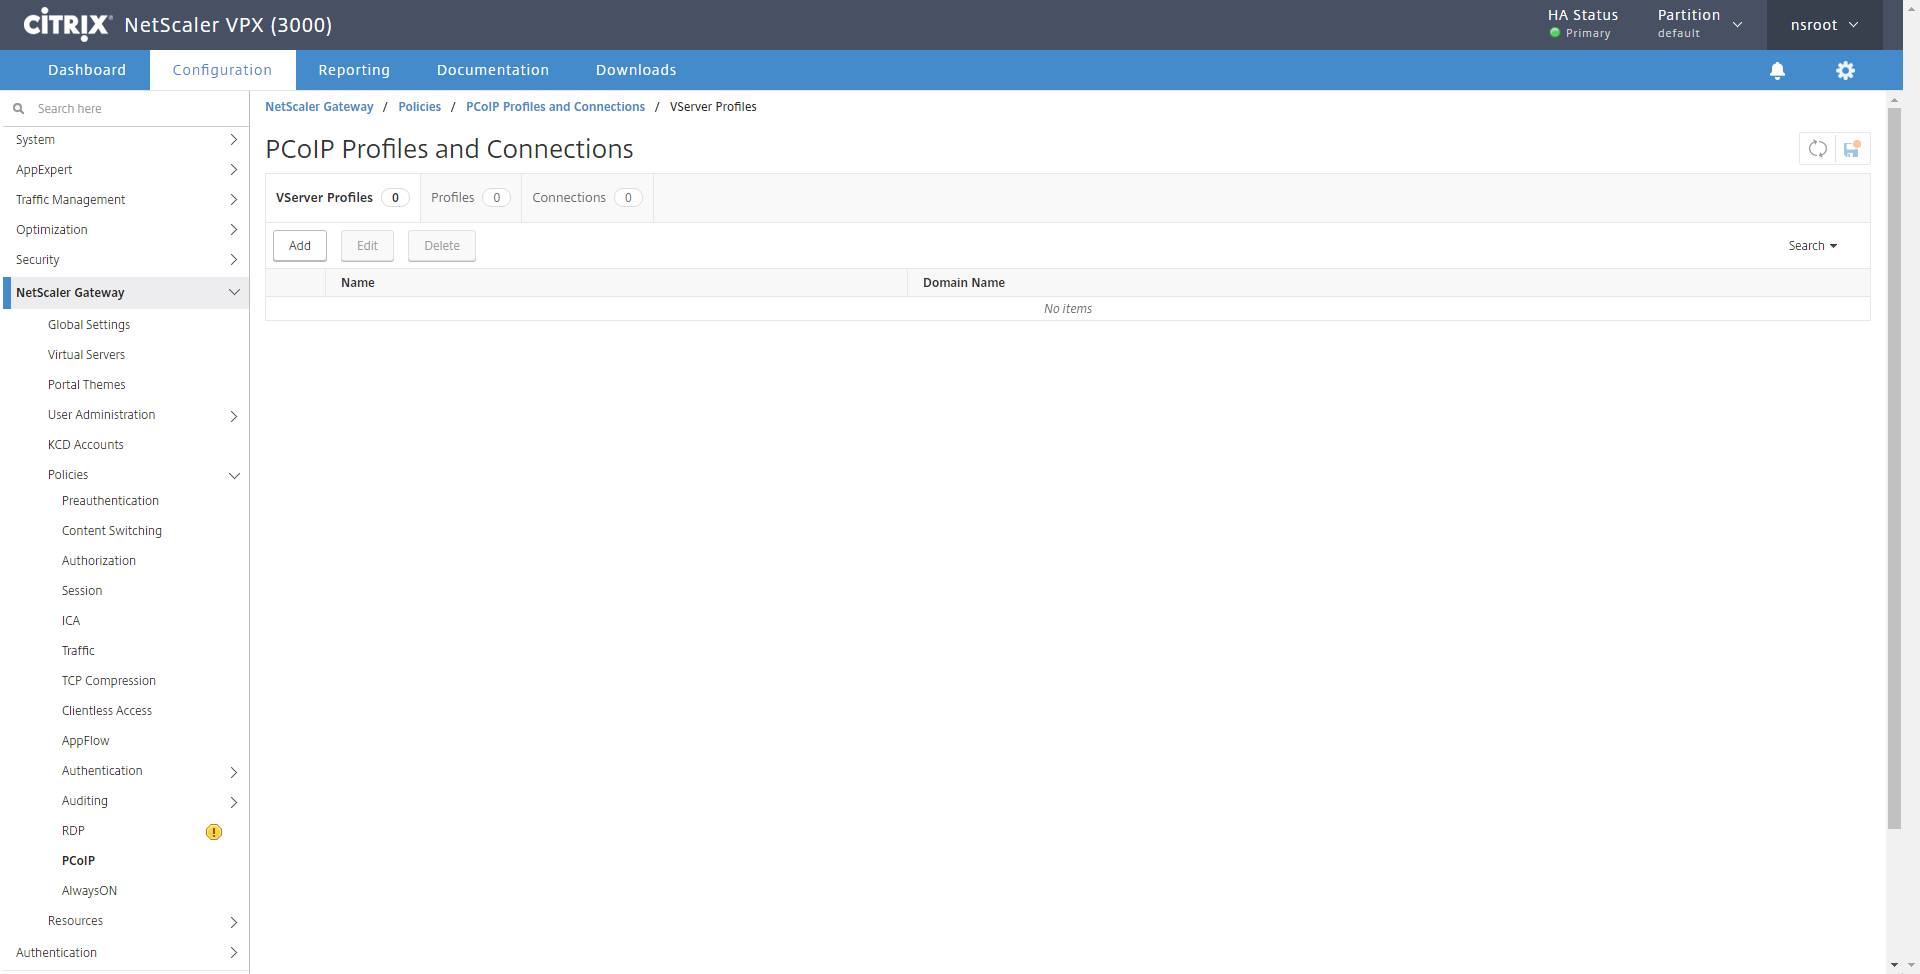
2. 在 PCoIP Profiles and Connections 页面, 创建一个 vserver profile 和一个 PCoIP profile.
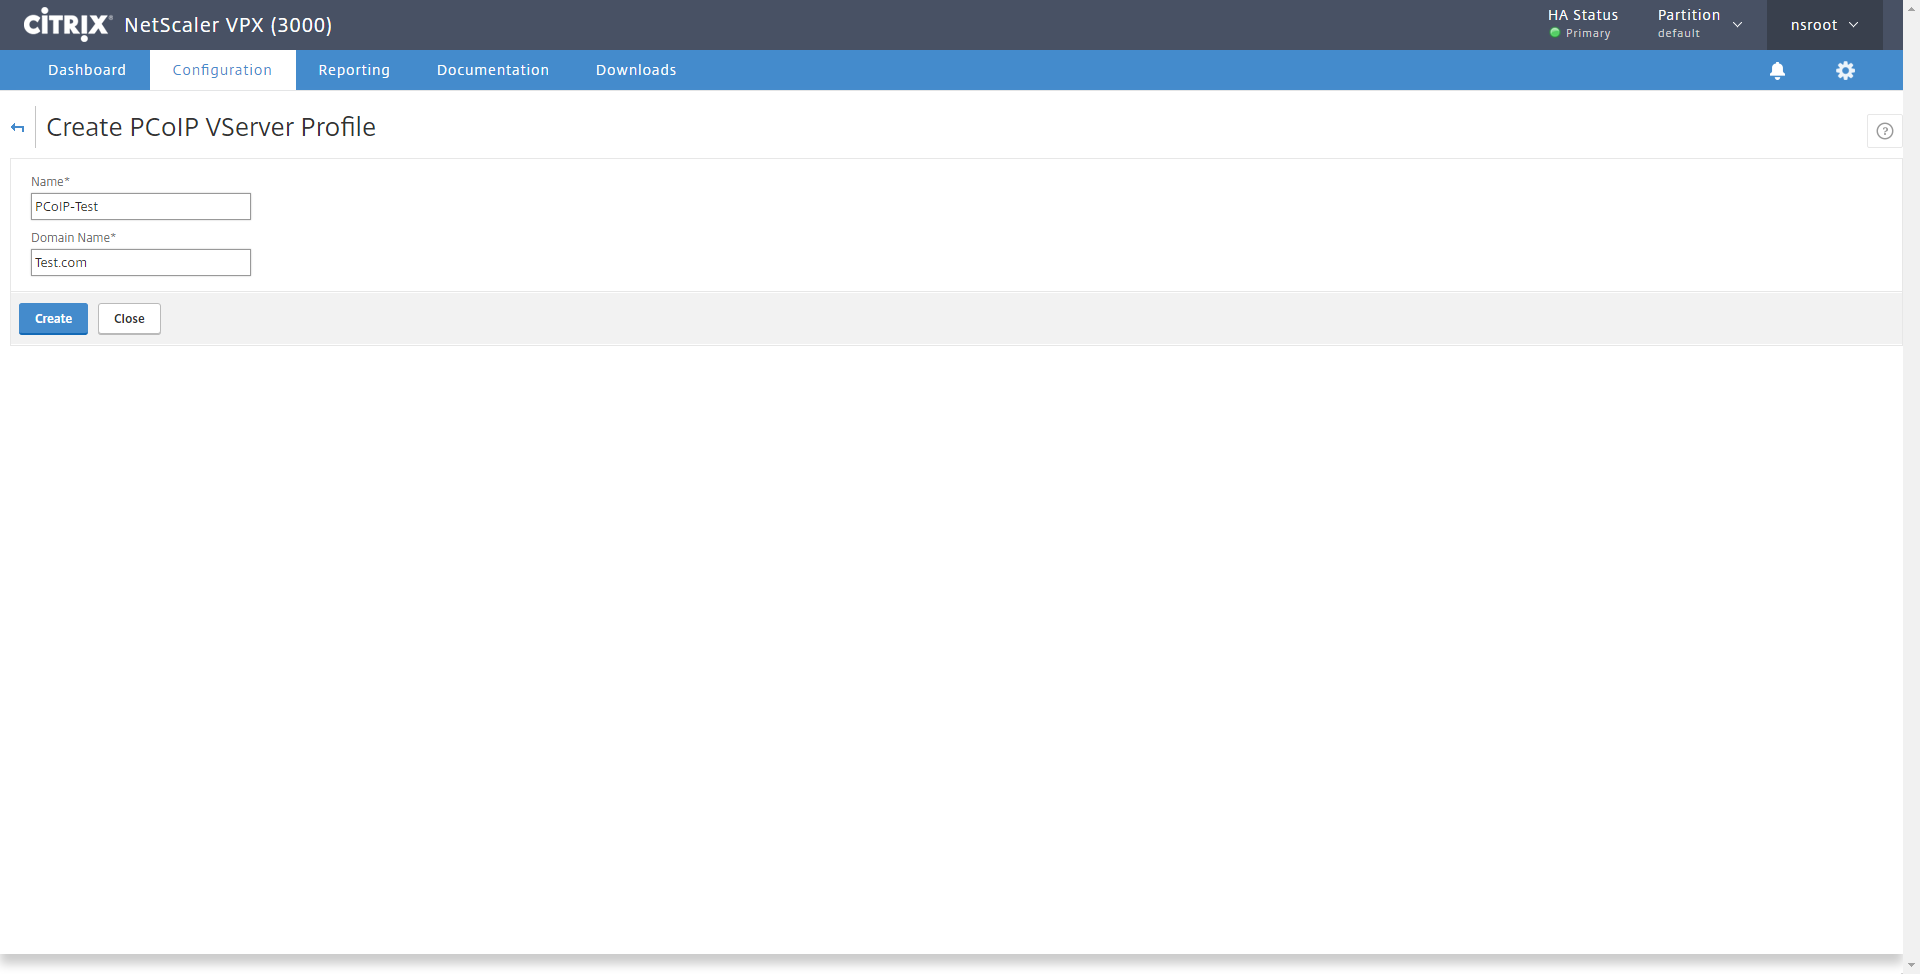
创建 vserver profile, 点击 VServer Profiles - Add 输入 Name 和 Domain Name ,点击Create.

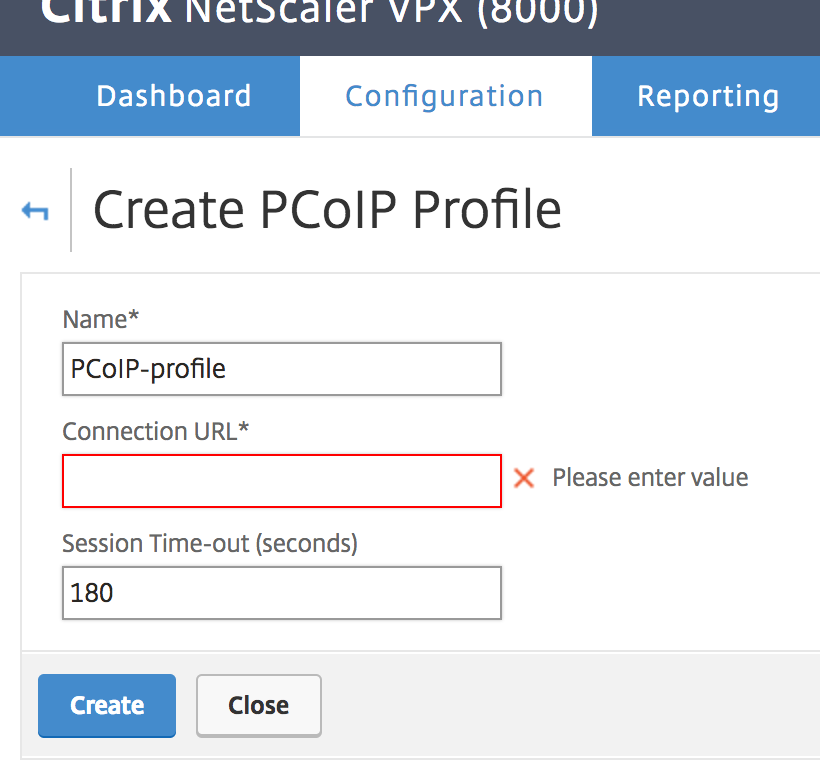
创建 PCoIP profile, 点击 Profiles - Add, 给 PCoIP profile命名 , 输入VMware Horizon View 连接服务器的相关URL
3. 去Configuration > NetScaler Gateway > Policies > Session 配置,点击add添加策略
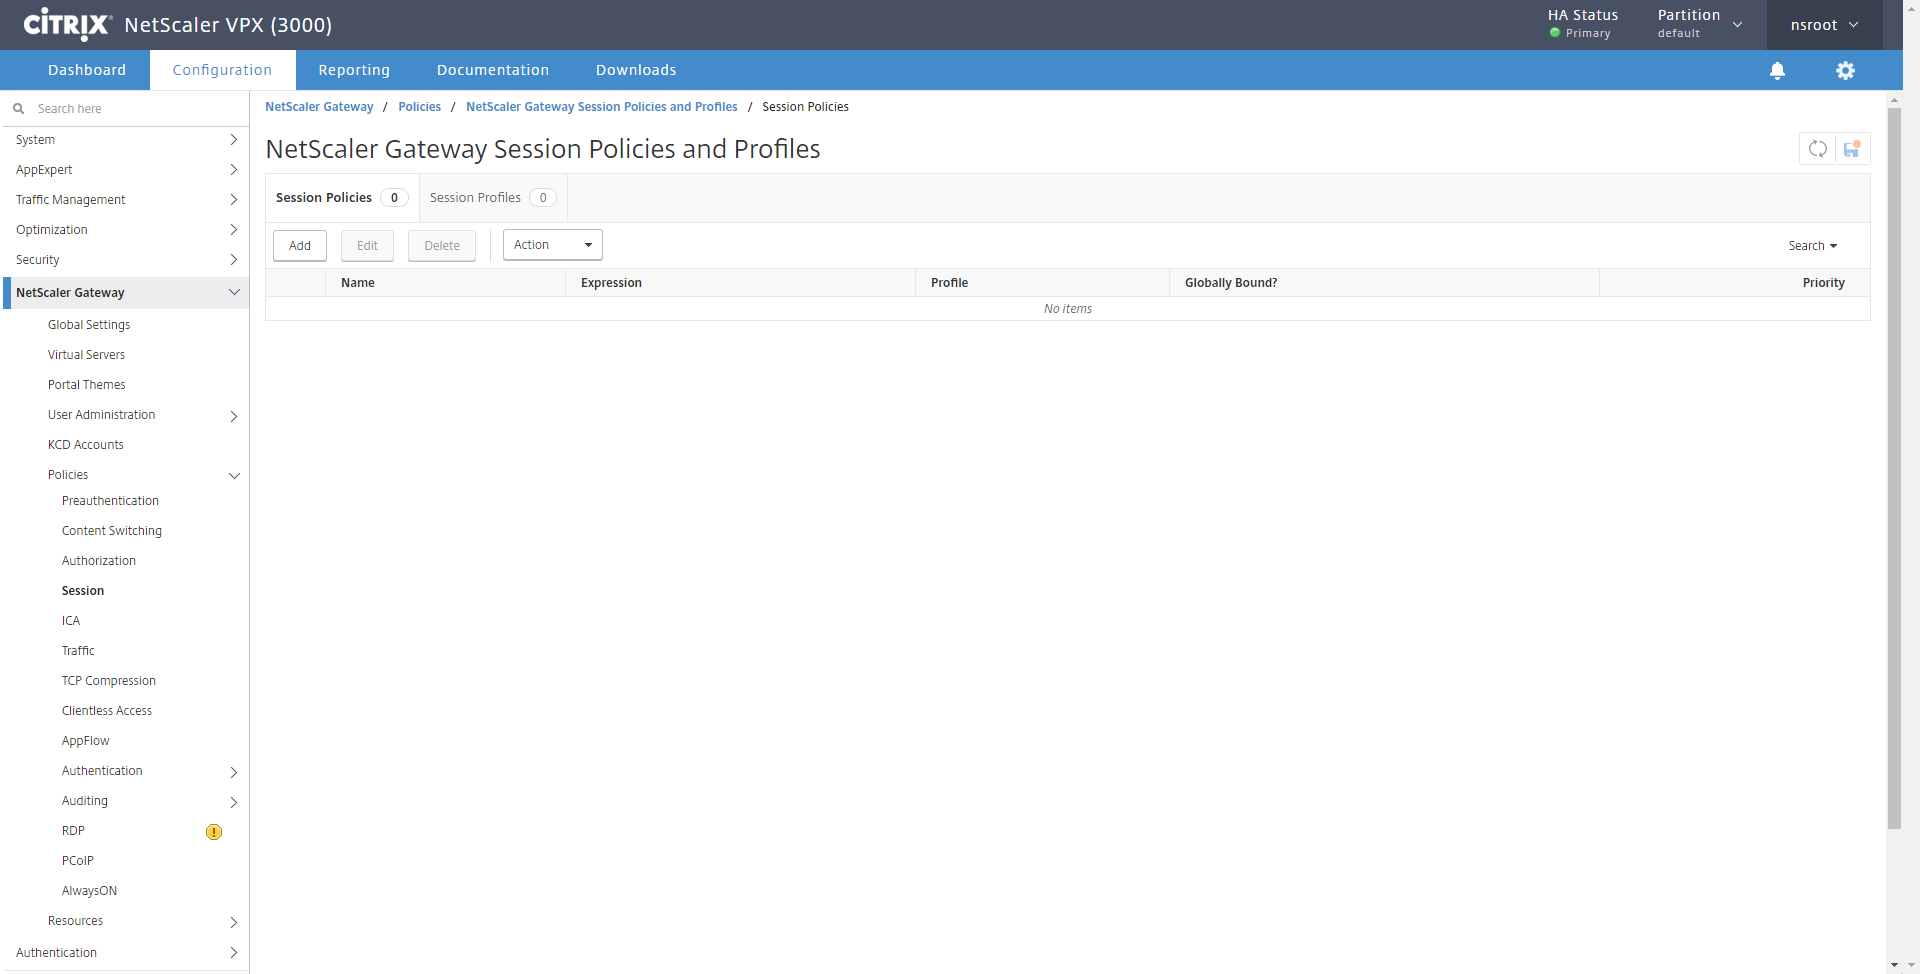
命名并点击Profile的加号添加Session profile

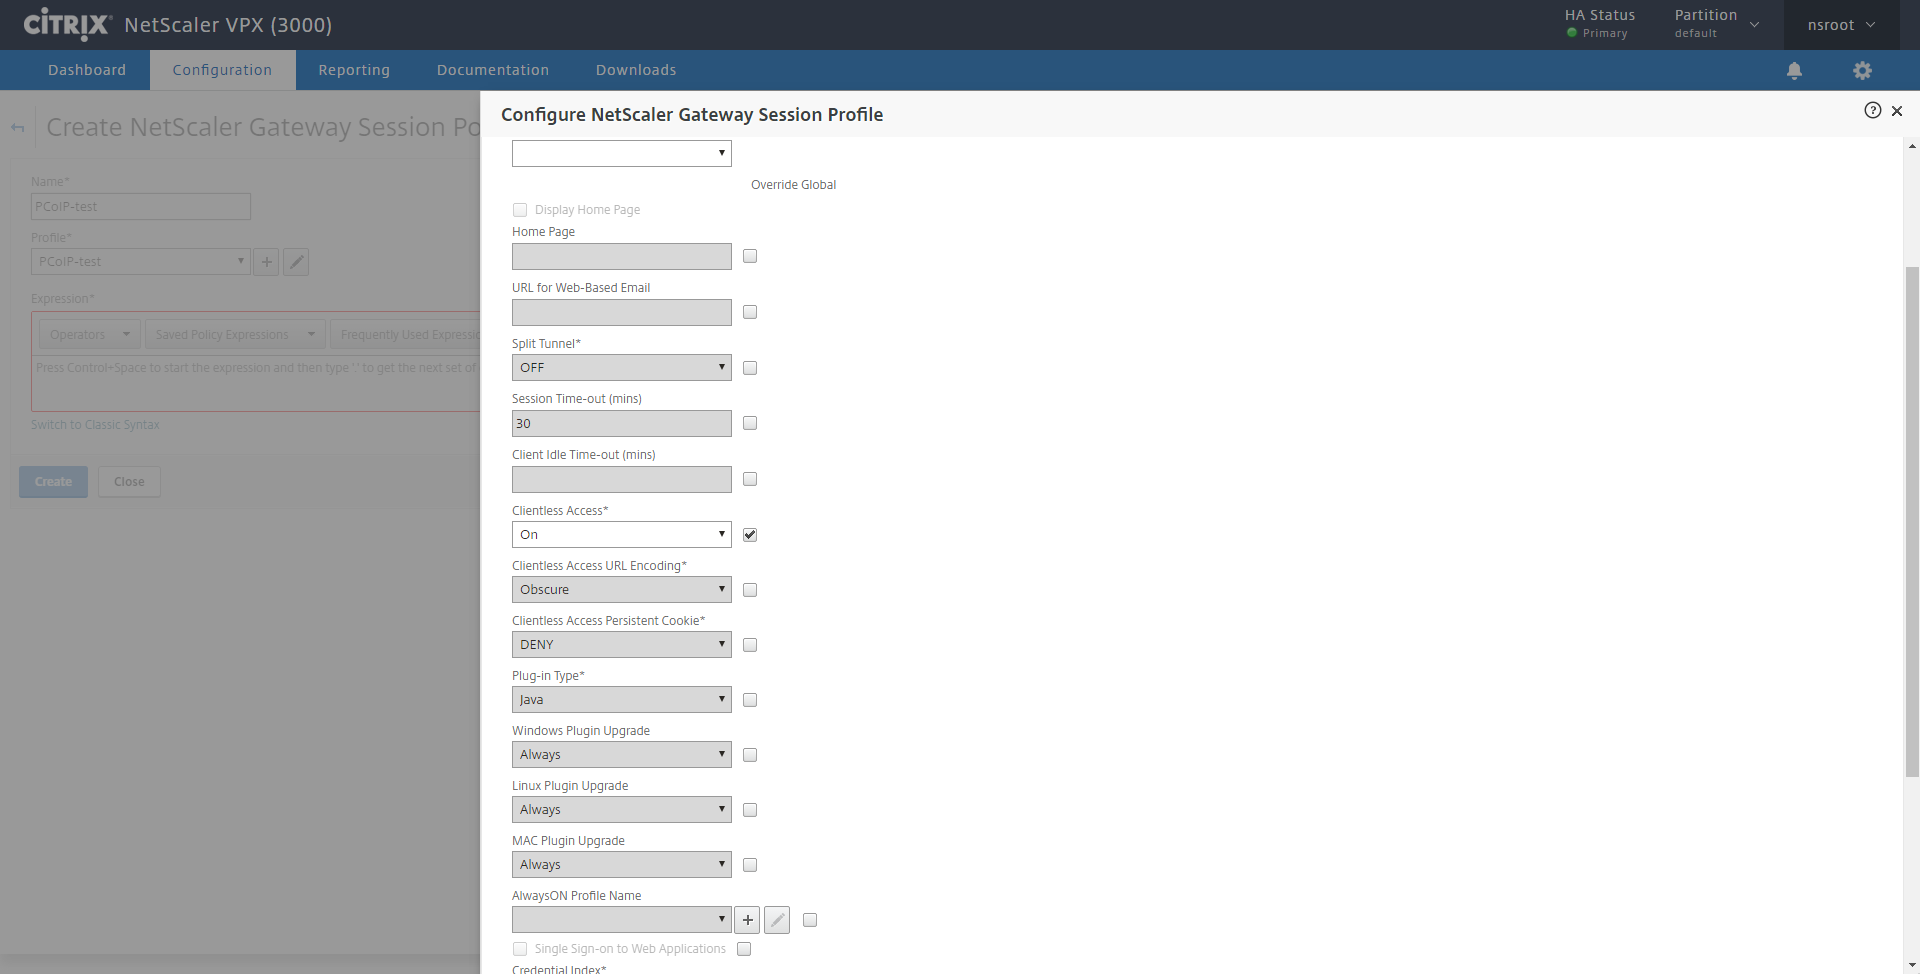
命名并配置session profile,在 Client Experience 中, Clientless Access 应该是 On
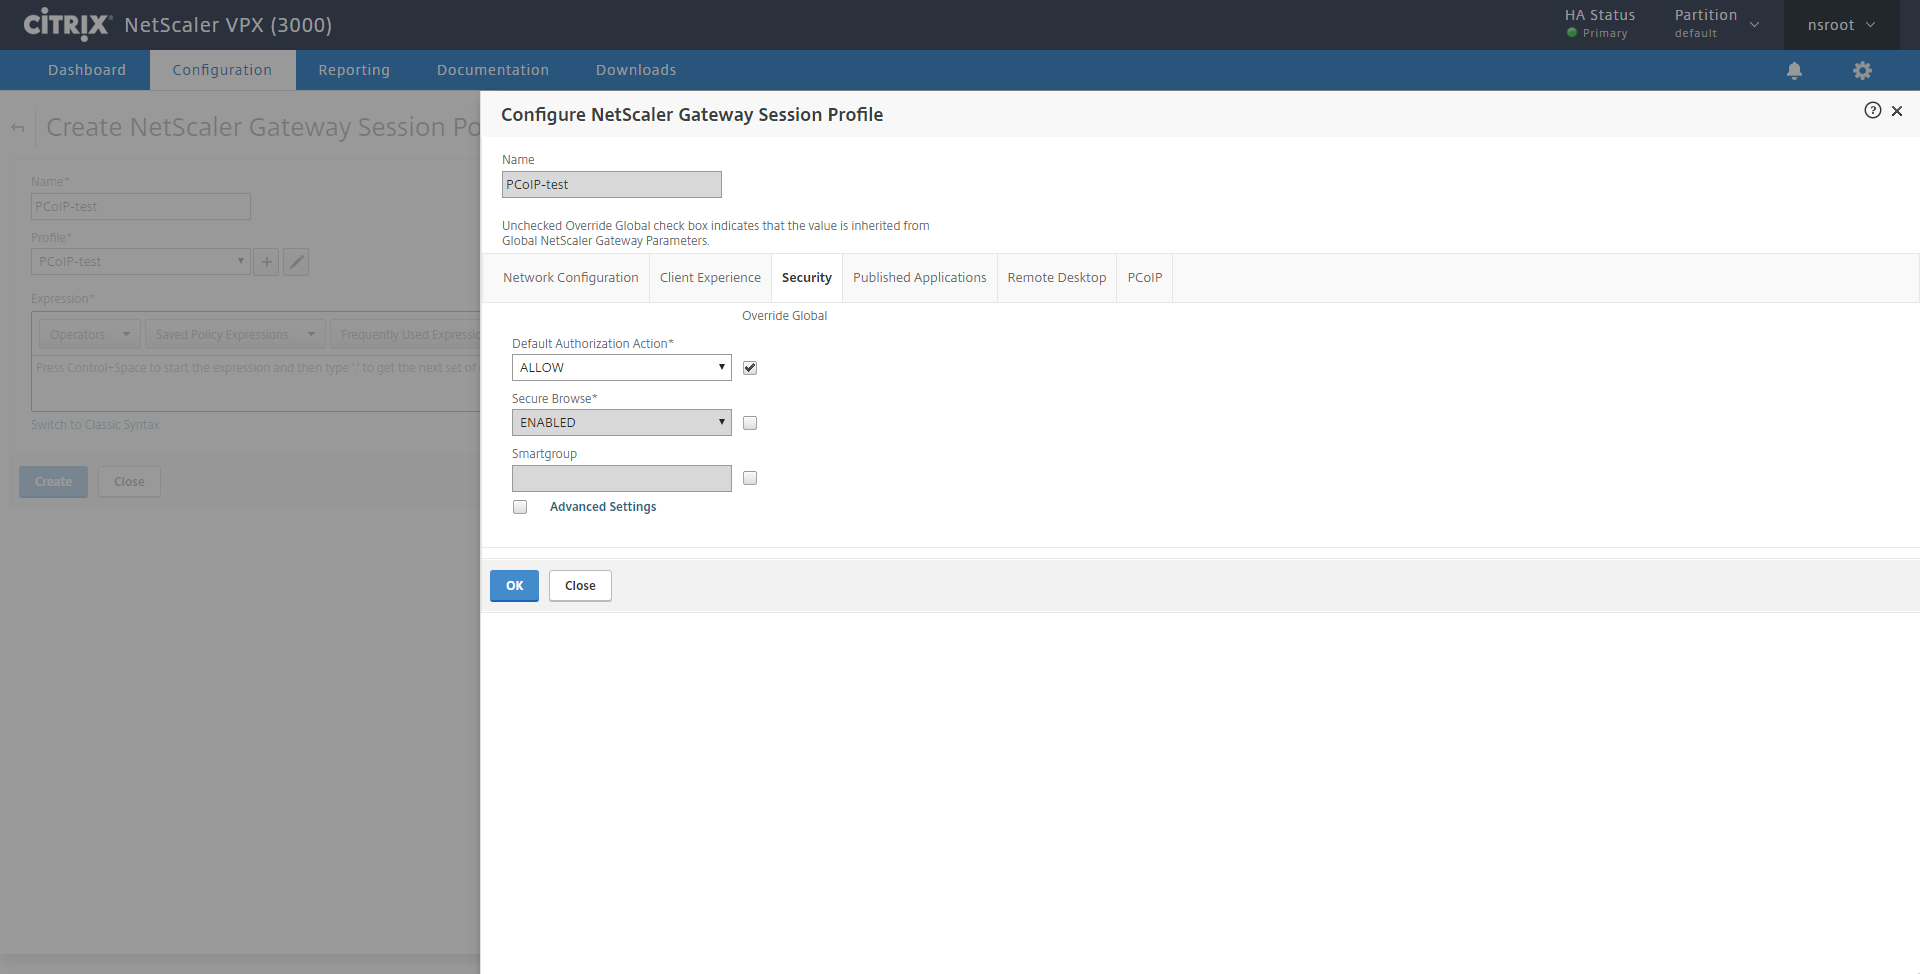
在 Security 部分, Default Authorization Action 应该是 ALLOW.
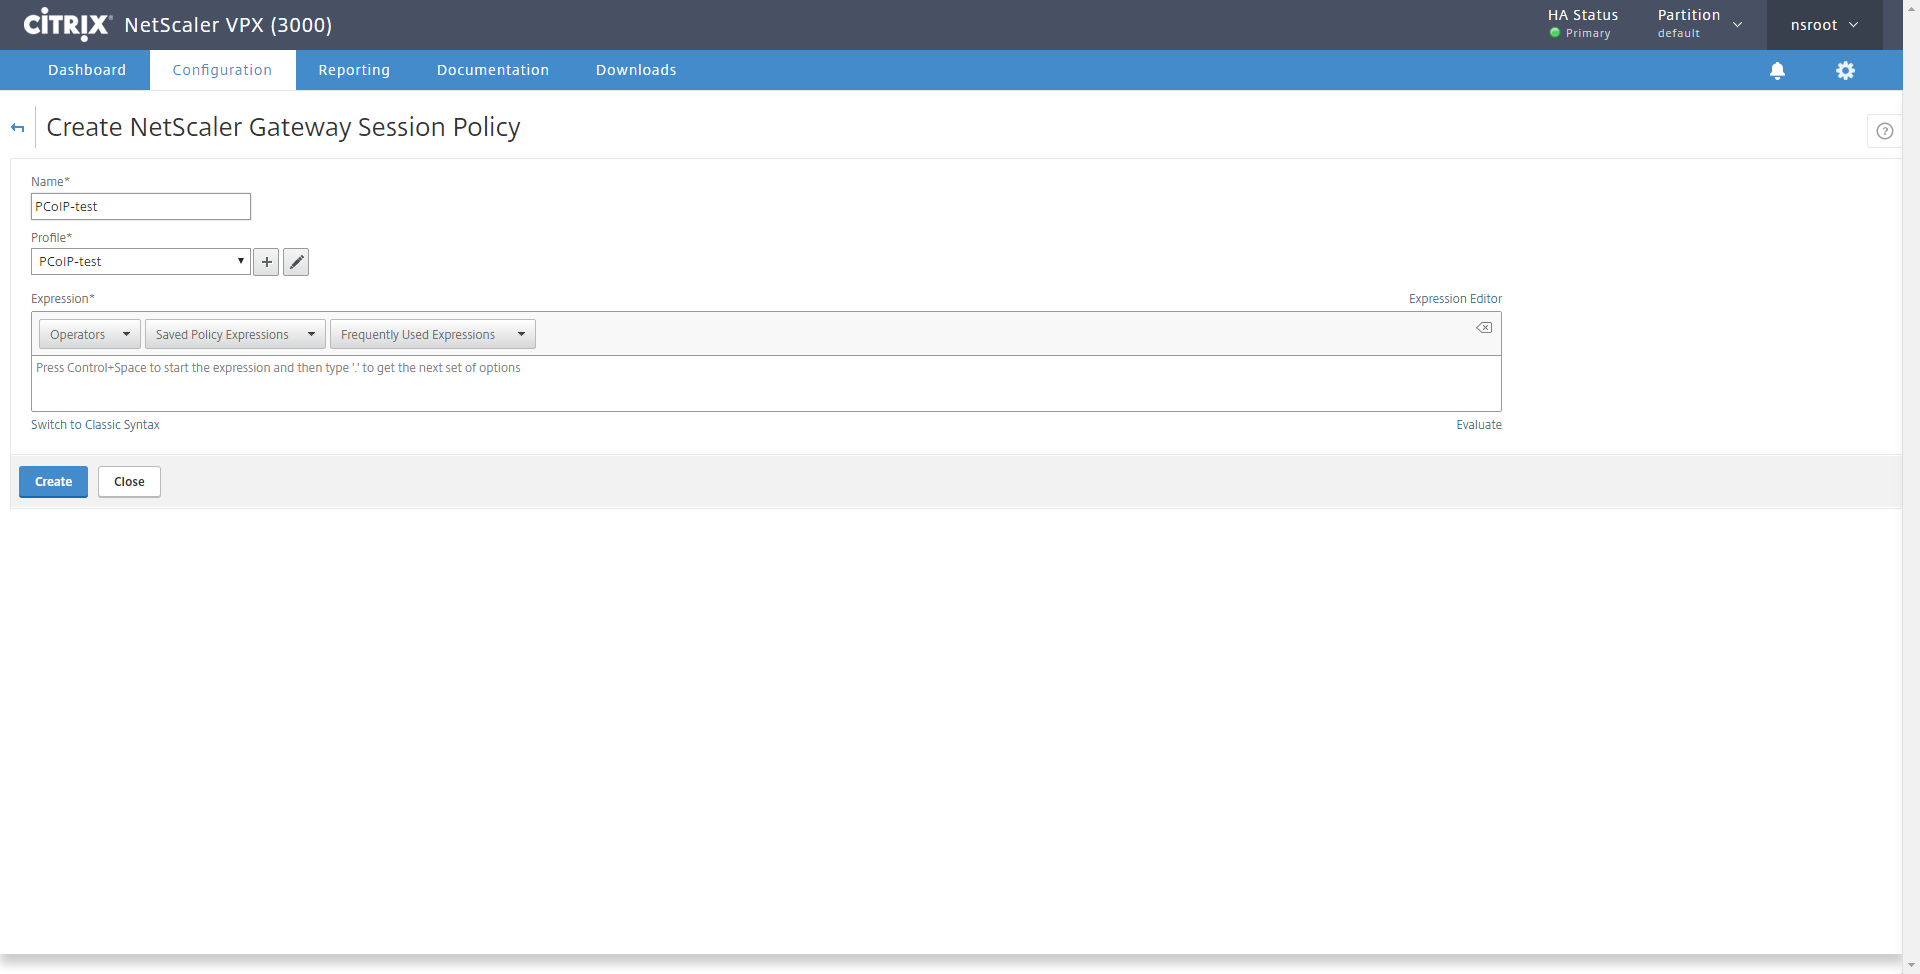
PCoIP 部分, 选择刚才配置的 PCoIP profile 然后点击 Create.

回到策略配置部分
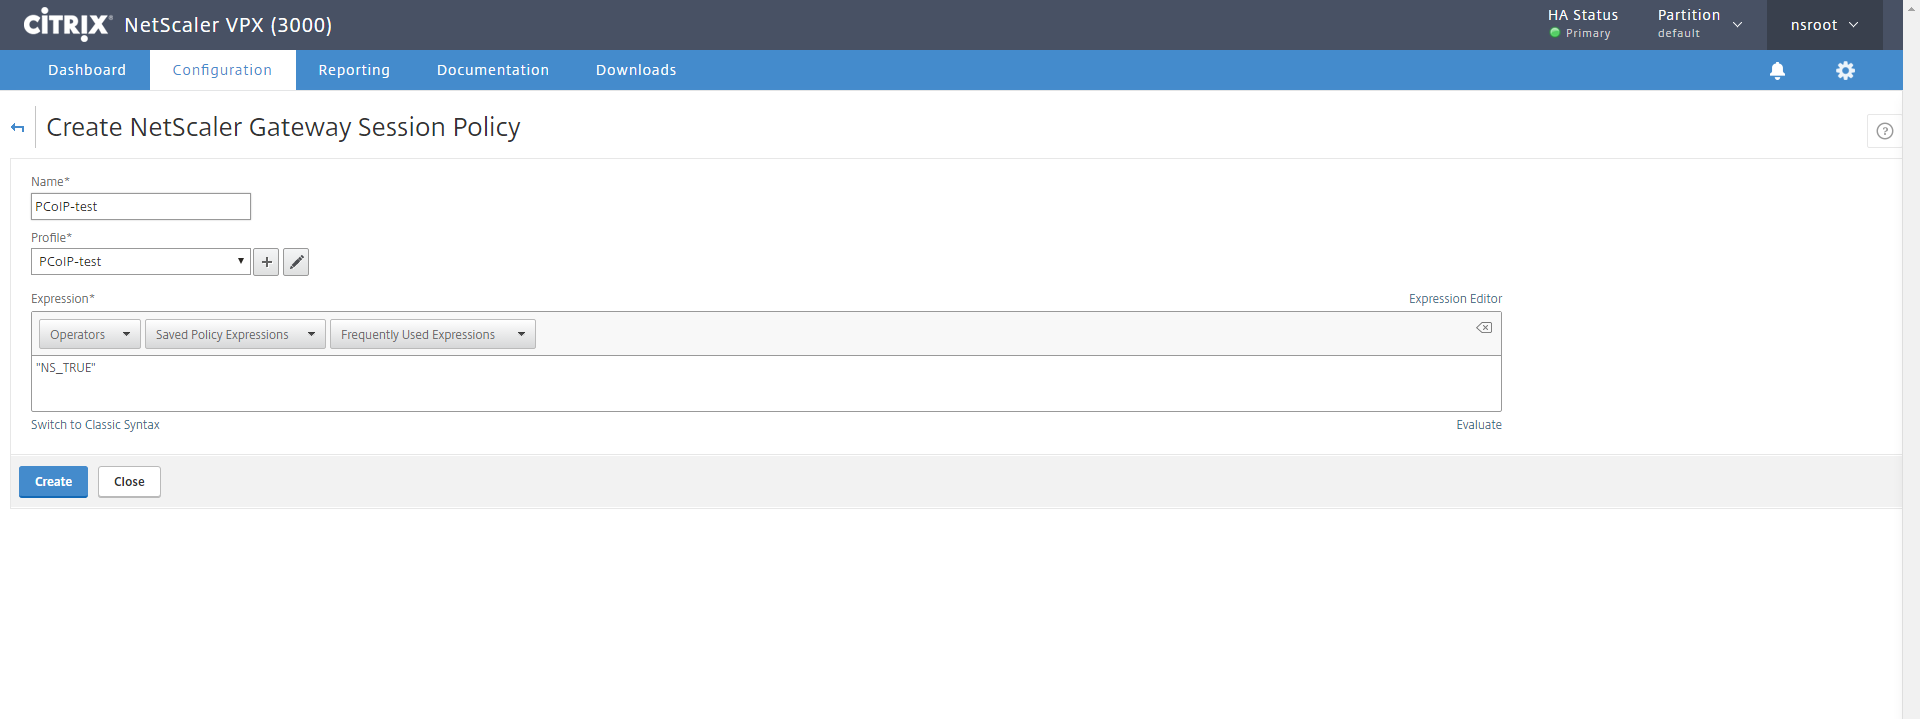
4 Expression 填写 ns_true, 点击 Create
5. 绑定 PCoIP profile 和 session policy 到 VPN vserver.
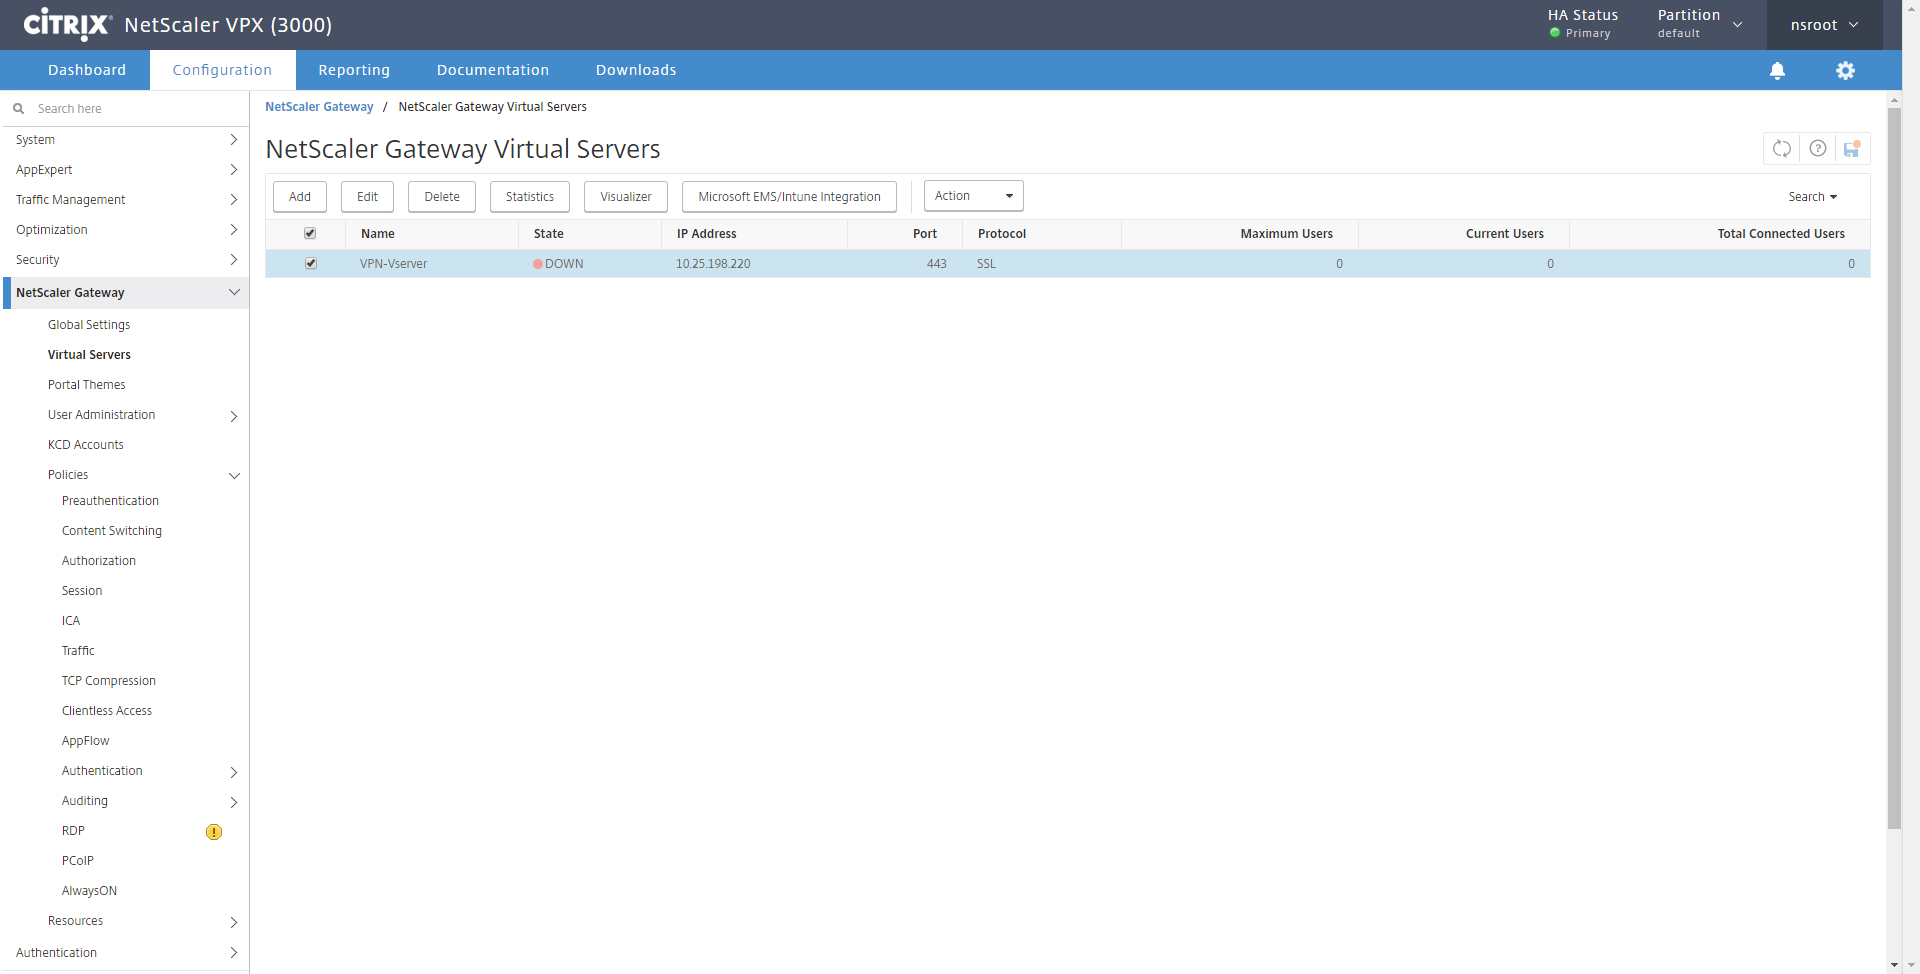
a. Configuration > NetScaler Gateway > Virtual Servers > Select VPN Vserver > Edit
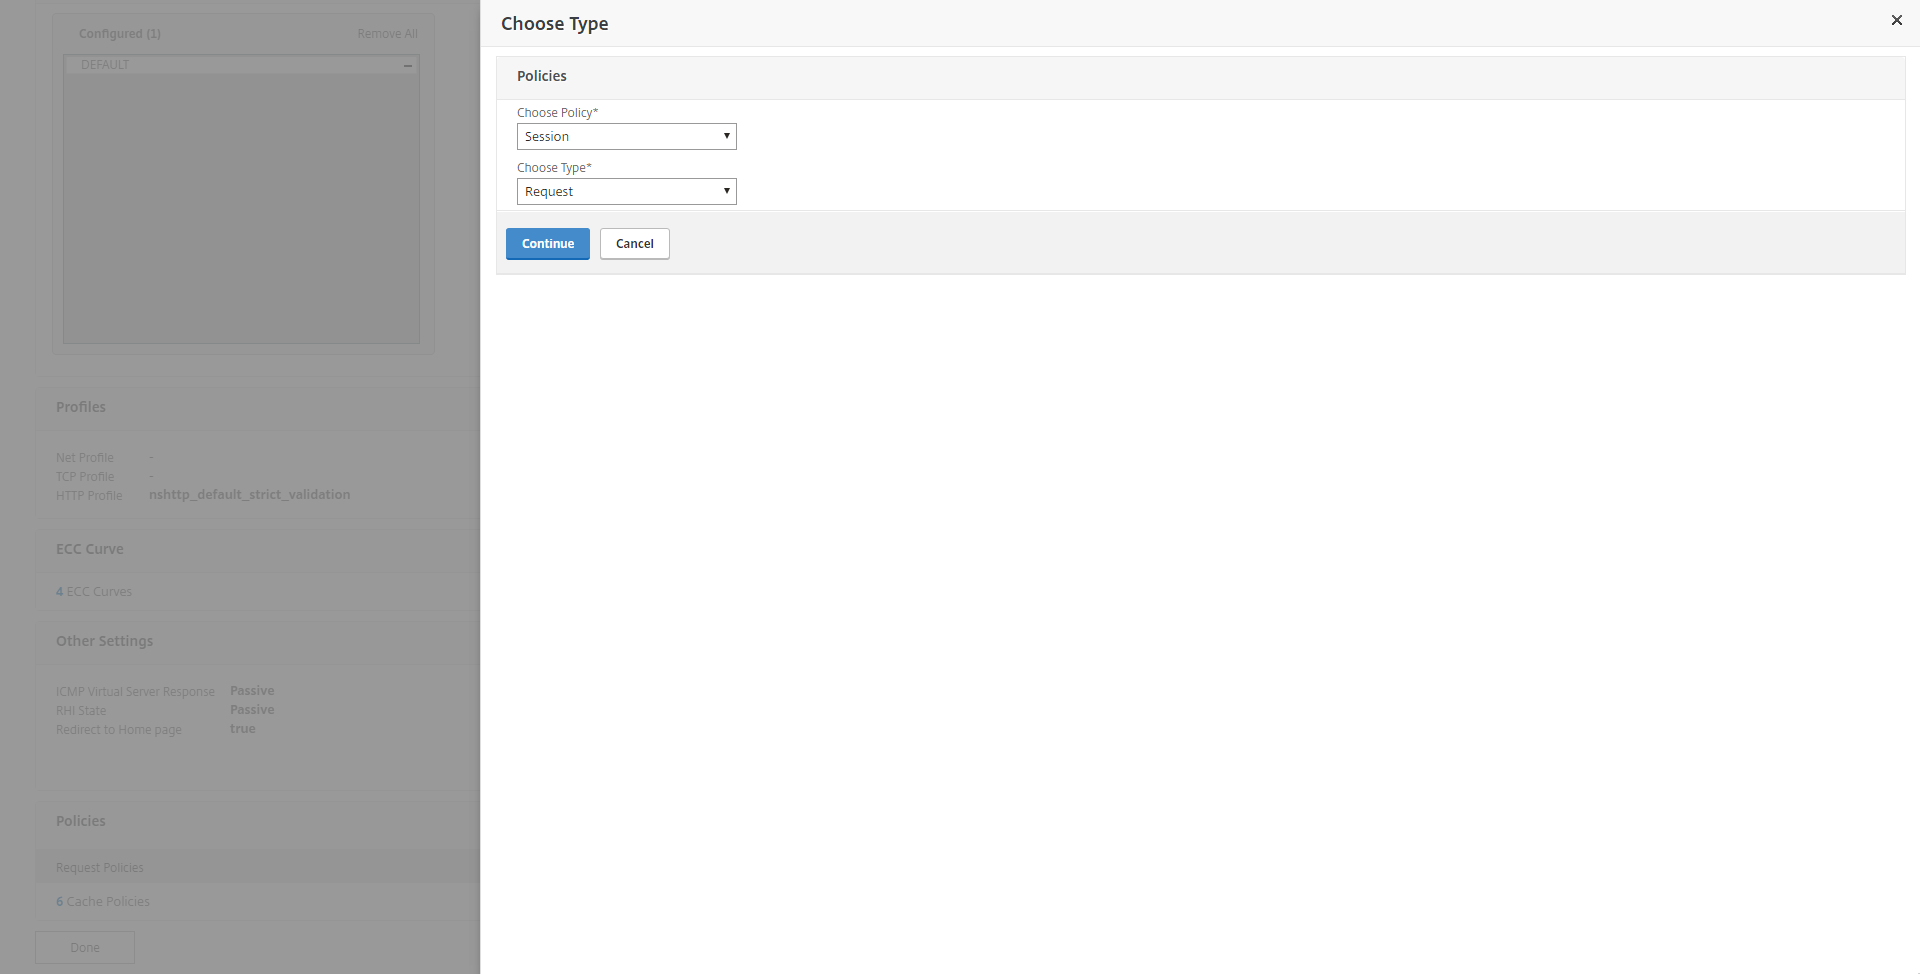
b. Policies > 加号(+) > Choose Policy (Session) > Choose Type (Request) > Continue.
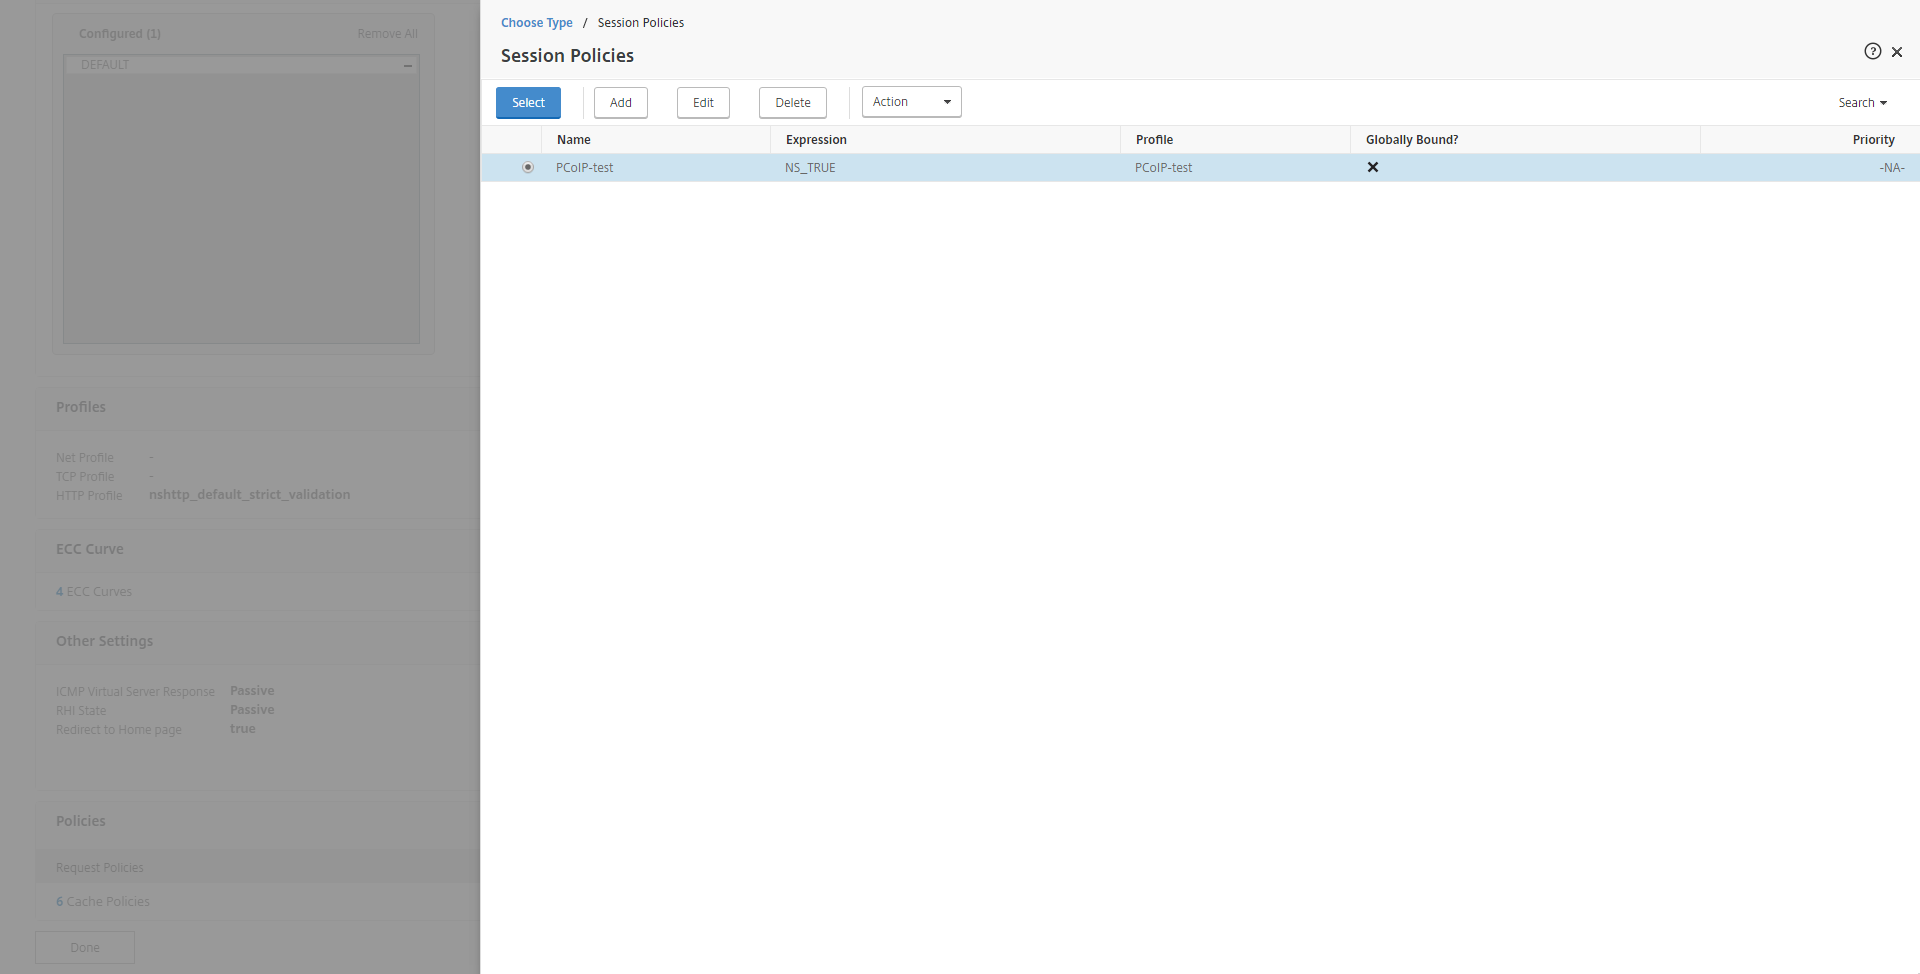
c. Policy Bindings > 加号(+) > Select Policy (>) > 选择刚才创建的Policy.
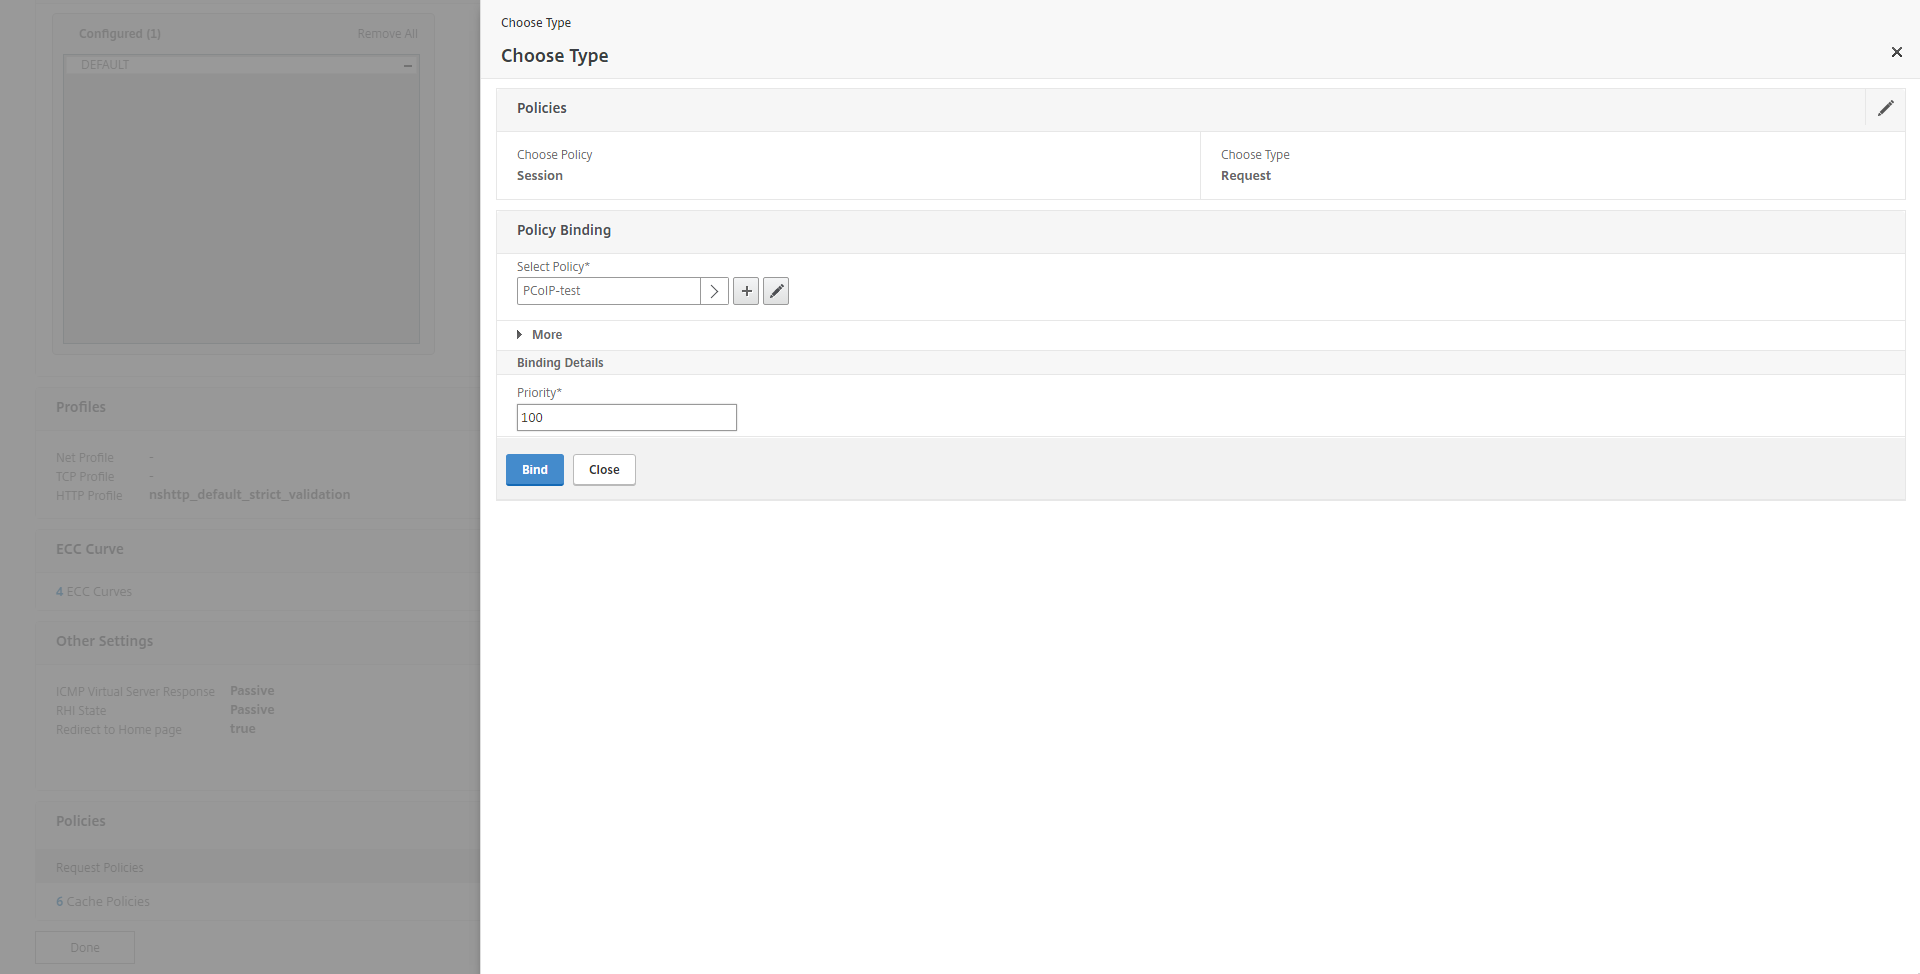
d. 绑定 Policy.
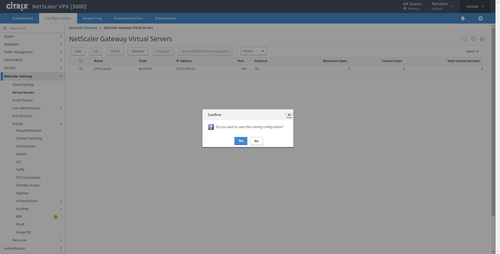
e. 点击 Done ,然后存盘 .
本文出自 “NetScaler_Insight” 博客,请务必保留此出处http://netscaler.blog.51cto.com/9136680/1920269
Citrix NetScaler启用VMware view PCoIP 代理功能
