首页 > 代码库 > iOS Swift学习笔记 Core Data (一)Hello Core Data
iOS Swift学习笔记 Core Data (一)Hello Core Data
正在学习swift的Core Data,做个笔记,顺便分享源码
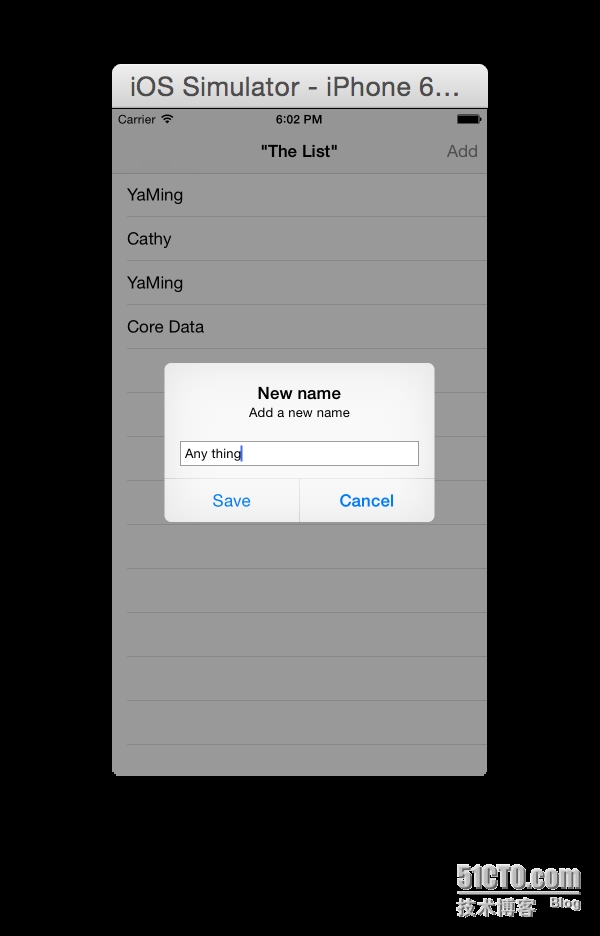
这个实例是一个很简单的Table,通过右上角的Add按钮可以添加新的用户名。数据存储在CoreData中,这样,才不会丢失。
通过这个例子可以学会:
使用Xcode的model编辑器创建数据对象的model data。
添加新的记录到CoreData中
从CoreData中获取记录集合
显示记录到table view中
这个例子十分简单,还有很多可以改进的地方,比如,每次要操作managed class都需要访问AppDelegate,读取和存储数据使用的是KVC(key-value coding )方式而不是类似于类操作的方式。
程序截图和源码地址:
https://github.com/dnawym/StudySwift/tree/master/CoreData/HitList


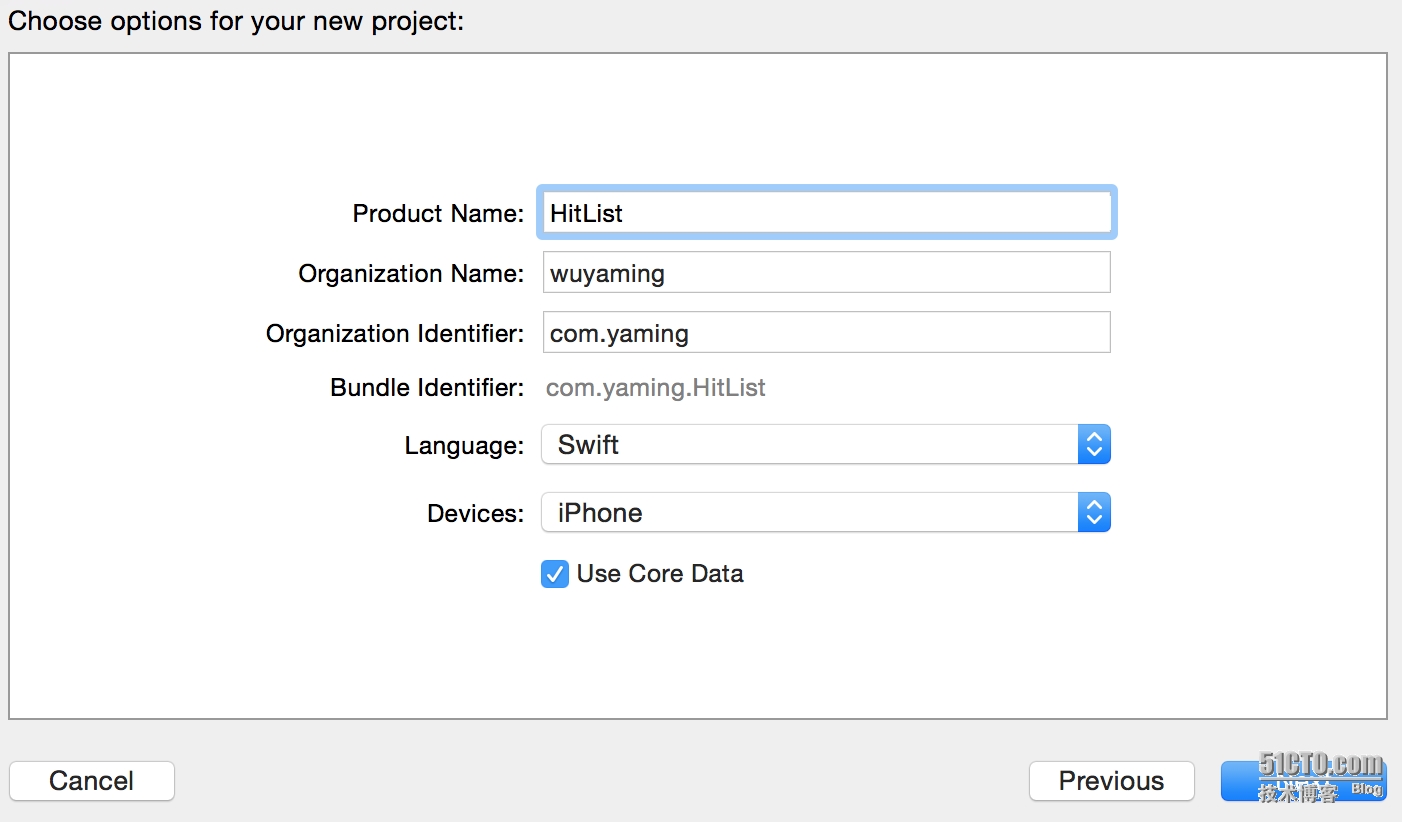
在创建工程时选择使用core data

编辑.xcdatamodeld文件,添加entity person,添加attribute name,类型为String

初始化,读取和修改core data数据
    @IBOutlet weak var tableView: UITableView!
    var people = [NSManagedObject]()
从Core Data数据库中读取数据
    override func viewWillAppear(animated: Bool) {
        let appDelegate = UIApplication.sharedApplication().delegate as AppDelegate

        let managedContext = appDelegate.managedObjectContext!

        let fetchRequest = NSFetchRequest(entityName: "Person")

        var error: NSError?

        let fetchResults = managedContext.executeFetchRequest(fetchRequest, error: &error) as [NSManagedObject]?

        if let results = fetchResults {
            people = results
        } else {
            println("Could not fetch \(error), \(error!.userInfo)")
        }
    }
读取数据填入table view中
    // MARK: UITableViewDataSource
    func tableView(tableView: UITableView, numberOfRowsInSection section: Int) -> Int {
        return people.count
    }

    func tableView(tableView: UITableView, cellForRowAtIndexPath indexPath: NSIndexPath) -> UITableViewCell {
        let cell = tableView.dequeueReusableCellWithIdentifier("Cell") as UITableViewCell

        let person = people[indexPath.row]
        cell.textLabel?.text = person.valueForKey("name") as String?

        return cell
    }
添加用户名并保存到Core Data数据库中
    @IBAction func addName(sender: AnyObject) {

        var alert = UIAlertController(title: "New name", message: "Add a new name", preferredStyle: UIAlertControllerStyle.Alert)

        let saveAction = UIAlertAction(title: "Save", style: .Default, handler: {
            (action: UIAlertAction!) -> Void in
            let textField = alert.textFields![0] as UITextField
            self.saveName(textField.text)
            self.tableView.reloadData()
        })

        let cancelAction = UIAlertAction(title: "Cancel", style: .Default, handler: {
            (action: UIAlertAction!) -> Void in
        })

        alert.addTextFieldWithConfigurationHandler({
            (textField: UITextField!) -> Void in
        })

        alert.addAction(saveAction)
        alert.addAction(cancelAction)

        presentViewController(alert, animated: true, completion: nil)
    }

    // MARK: private
    func saveName(name: String) {
        let appDelegate = UIApplication.sharedApplication().delegate as AppDelegate
        let managedContext = appDelegate.managedObjectContext!

        let entity = NSEntityDescription.entityForName("Person", inManagedObjectContext: managedContext)

        let person = NSManagedObject(entity: entity!, insertIntoManagedObjectContext: managedContext)

        person.setValue(name, forKey: "name")

        var error:NSError?
        if !managedContext.save(&error) {
            println("Could not save \(error), \(error?.userInfo)")
        }

        people.append(person)
    }
本文出自 “吴亚明的博客” 博客,请务必保留此出处http://yaming.blog.51cto.com/6940049/1596991
iOS Swift学习笔记 Core Data (一)Hello Core Data
声明:以上内容来自用户投稿及互联网公开渠道收集整理发布,本网站不拥有所有权,未作人工编辑处理,也不承担相关法律责任,若内容有误或涉及侵权可进行投诉: 投诉/举报 工作人员会在5个工作日内联系你,一经查实,本站将立刻删除涉嫌侵权内容。
