首页 > 代码库 > cobbler自动化安装centos6.2
cobbler自动化安装centos6.2
cobbler自动化安装
官网地址:
http://www.cobblerd.org
1、安装epel源
#rpm -ivh http://dl.fedoraproject.org/pub/epel/6/x86_64/epel-release-6-8.noarch.rpm
#vim /etc/yum.repos.d/epel.repo

2、安装cobbler组件
#yum -y install cobbler dhcp tftp xinetd httpd syslinux
3、准备ISO直接挂载
# mount /dev/cdrom1 /media/
有ISO的直接古仔ISO即可
#mount -o loop /www/os/CentOS-6.2-x86_64-bin-DVD1.iso /media
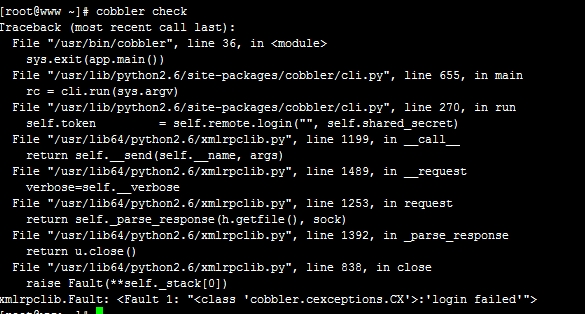
4、check一下,有报错
5、重启一下,在check
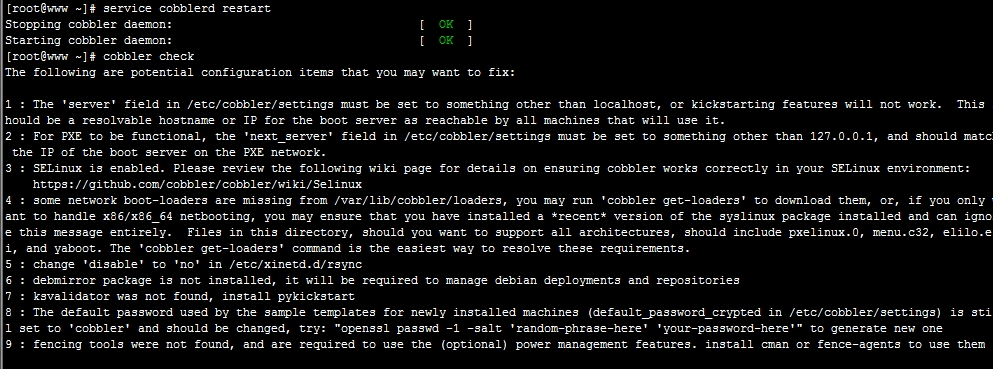
6、按要求修改内容,一般只修改以下步骤就好
(1)编辑/etc/cobbler/settings文件,找到 server选项,修该本机IP地址:192.168.56.101
(2)编辑/etc/cobbler/settings文件,找到 next_server选项,修改本机IP地址:192.168.56.101
(3)修改/etc/xinet.d/rsync的disable = yes 改成disbale = no
service rsync
{
        disable = no
        flags           = IPv6
        socket_type     = stream
        wait            = no
        user            = root
        server          = /usr/bin/rsync
        server_args     = --daemon
        log_on_failure  += USERID
}(4)配置DHCP
修改cobbler配置,让cobbler来管理dhcp服务,编辑文件/etc/cobbler/settings
#vim /etc/cobbler/settings
manage_dhcp: 1
修改DHCP模板
#vim /etc/cobbler/dhcp.template
subnet 192.168.56.0 netmask 255.255.255.0 {
     option routers             192.168.56.101;
     option domain-name-servers 192.168.56.101;
     option subnet-mask         255.255.255.0;
     range dynamic-bootp        192.168.56.200 192.168.56.254;
     default-lease-time         21600;
     max-lease-time             43200;
     next-server                $next_server;
     class "pxeclients" {
          match if substring (option vendor-class-identifier, 0, 9) = "PXEClient";
          if option pxe-system-type = 00:02 {
                  filename "ia64/elilo.efi";
          } else if option pxe-system-type = 00:06 {
                  filename "grub/grub-x86.efi";
          } else if option pxe-system-type = 00:07 {
                  filename "grub/grub-x86_64.efi";
          } else {
                  filename "pxelinux.0";
          }
     }
}(5)修改默认ks.cfg,这里的是指定本机的安装要求的,可以自行修改安装系统的要求和软件
# cp /root/anaconda-ks.cfg /var/lib/cobbler/kickstarts/default.ks
(6)修改密码
#openssl passwd -1 -salt ‘fajlfjal‘ ‘cobbler‘
$1$fajlfjal$UdbS4N.XbTitCc5Pa0bvz.
把生产的加密字符串替换 /etc/cobbler/settings中默认的,如下:
default_password_crypted: "$1$fajlfjal$UdbS4N.XbTitCc5Pa0bvz."
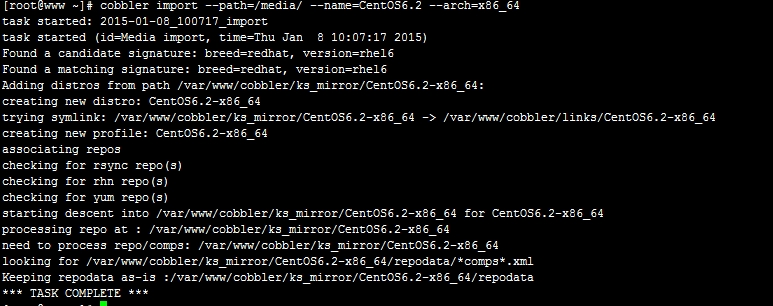
(7)导入镜像,media为挂载ISO,--name为显示名字 --arch为32还是64位系统
查看导入镜像
# cobbler distro list
   CentOS6.2-x86_64
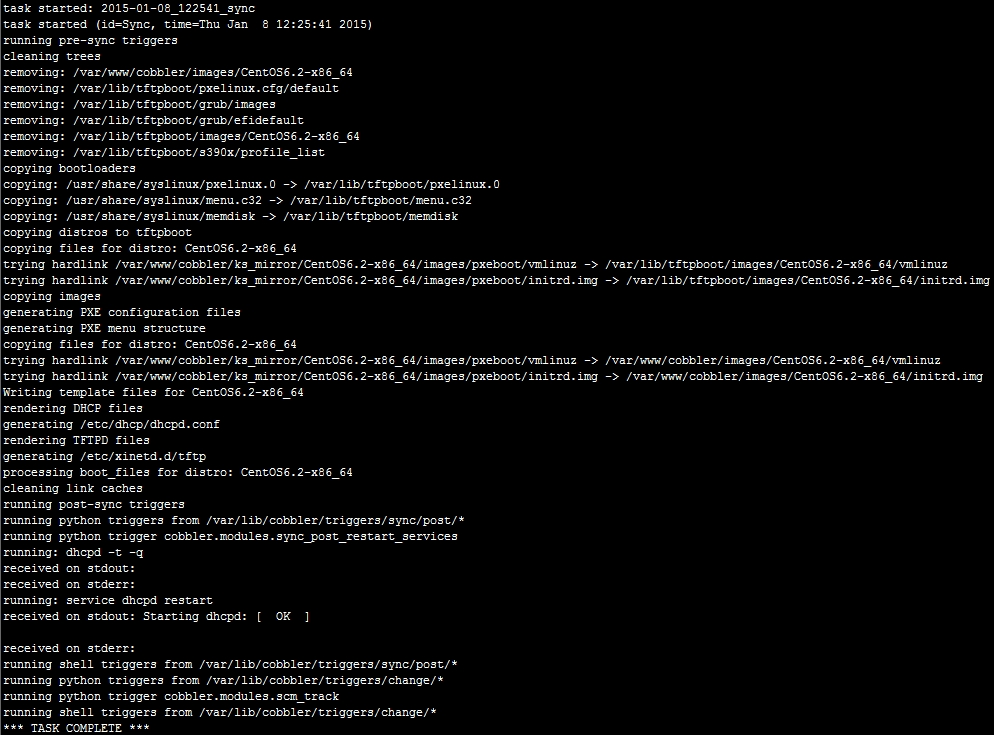
(8)同步配置文件#cobbler sync
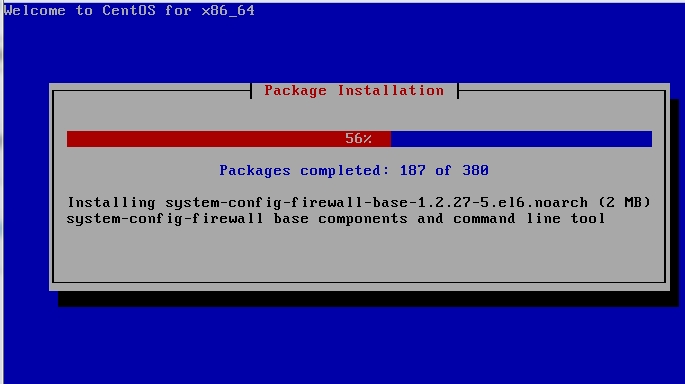
7、验证安装
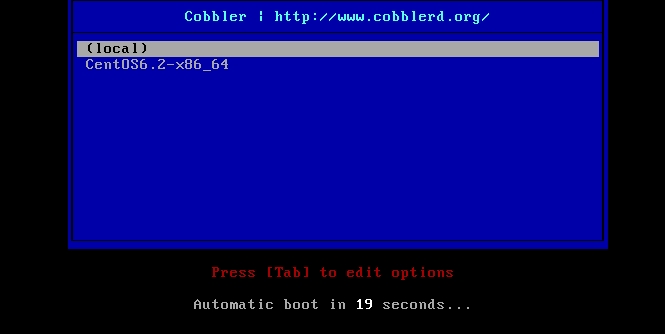
安装很迅速的
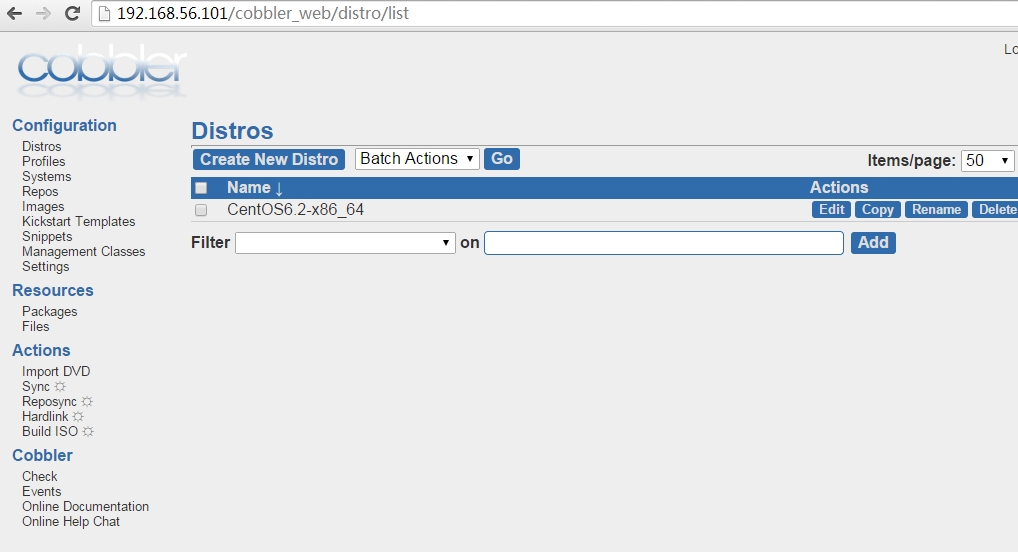
8、cobbler网页管理安装
#yum -y install cobbler-web
默认用户名密码都为cobbler,可网页管理
本文出自 “毛竹之势” 博客,请务必保留此出处http://peaceweb.blog.51cto.com/3226037/1600669
cobbler自动化安装centos6.2
声明:以上内容来自用户投稿及互联网公开渠道收集整理发布,本网站不拥有所有权,未作人工编辑处理,也不承担相关法律责任,若内容有误或涉及侵权可进行投诉: 投诉/举报 工作人员会在5个工作日内联系你,一经查实,本站将立刻删除涉嫌侵权内容。
