首页 > 代码库 > apache服务
apache服务
##########################
apache的安装
##########################
yum install httpd -y ###安装apache服务
systemctl start httpd ###开启apache服务
systemctl stop firewalld ###关闭防火墙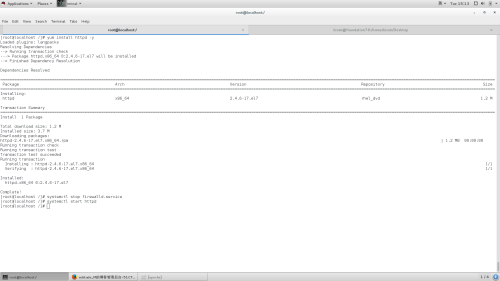
#########################
apache的默认配置
#########################
1.apache的默认发布文件
index.html
2.apache的配置文件
/etc/httpd/conf/httpd.conf ###主配置文件
/etc/httpd/conf.d/*.conf ###其余配置文件
3.apache的默认发布目录
/var/www/html
4.apache的默认端口
80
############################
apache的基本配置
############################
1.修改默认发布文件
编辑/etc/httpd/conf/httpd.conf 主配置文件
<IfModule dir_module>
DirectoryIndex index.html ###默认发布文件为index.html
</IfModule>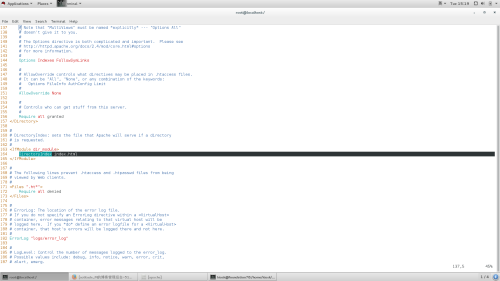
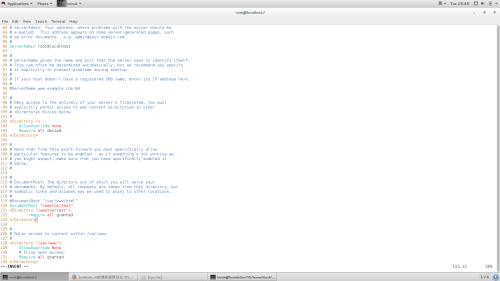
2.修改默认发布目录
selinux状态为enforcing
在配置文件添加
#DocumentRoot "/westos/test"
<Directory "/westos/test">
Require all granted
</directory>
systemctl restart httpd ###重启服务
selinux状态为disabled
在配置文件添加
#DocumentRoot "/westos/test"
<Directory "/westos/test">
Require all granted
</directory>
systemctl restart httpd ###重启服务
semanage fcontext -a -t httpd_sys_content_t ‘/westos(/.*)?‘ ###修改目录westos的安全上下文
3.apache的访问控制
黑白名单控制
vim /etc/httpd/conf/httpd.conf ###编辑主配置文件
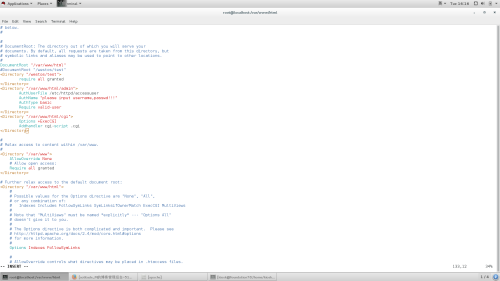
<Directory"/var/www/html/admin">
Order Allow,Deny ###allow和deny的顺序 表示先读allow再读deny
Allow from all
Deny from x.x.x.x
</Directory>
表示允许所有拒绝172.25.254.78

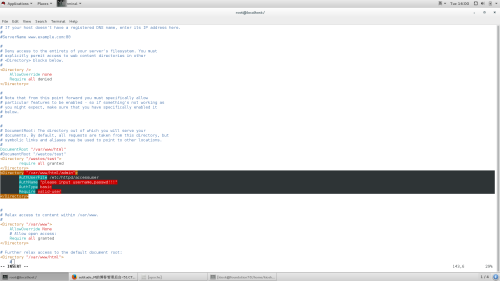
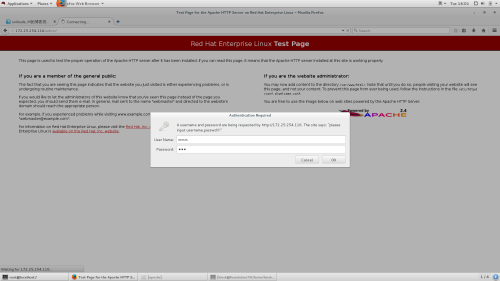
密码控制
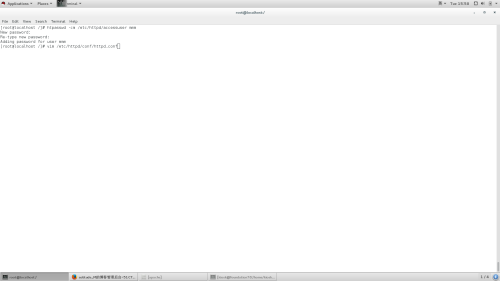
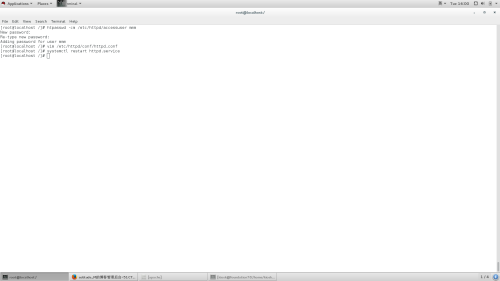
htpasswd -cm /etc/httpd/accessuser mmm ###创建可以登陆的用户及密码(添加用户时不加参数c)
vim /etc/httpd/conf/httpd.conf ###编辑配置文件
<Directory "/var/www/html/admin">
AuthUserFile /etc/httpd/accessuser ###指定用户及密码认证文件路径
AuthName "please input username,passwd!!!" ###认证提示信息
AuthType basic ###认证类型
Require valid-user ###认证用户
</Directory>
4.apache语言支持
apache服务支持html php cgi 语言
html语言
默认支持语言
php语言
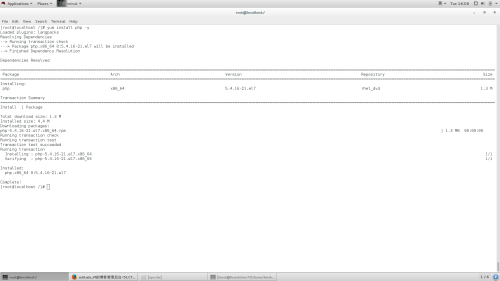
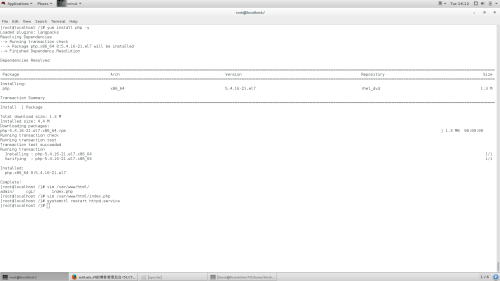
yum install php -y ###安装php
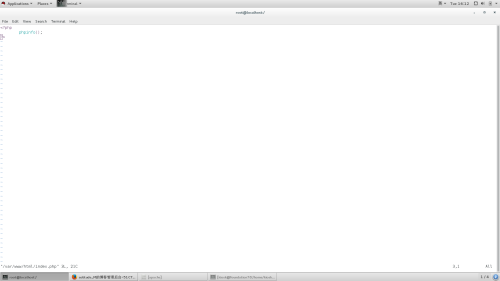
vim /var/www/html/index.php
<?php
phpinfo(); ###php测试页
?>
systemctl restart httpd ###重启服务

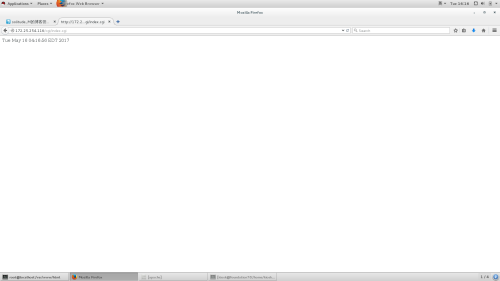
cgi语言
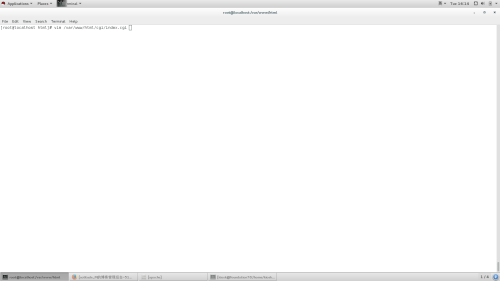
mkdir /var/www/html/cgi ###建立cgi目录
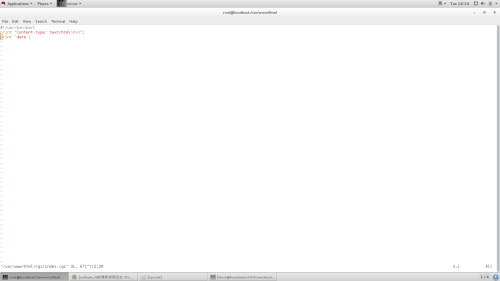
vim /var/www/html/cgi/index.cgi ###写cgi测试
#!/usr/bin/perl
print "Content-type: text/html\n\n";
print `date`; ###显示日期
vim /etc/httpd/conf/httpd.conf ###编写主配置文件
<Directory "/var/www/html/cgi">
Options +ExecCGI
AddHandler cgi-script .cgi
</Directory>
systemctl restart httpd ###重启服务
########################
建立vartulhost
#######################
1.建立测试目录
mkdir /var/www/virtual/1.test.com/html -p ###递归建立虚拟主机目录
echo test > /var/www/virtual/1.test.com/html/index.html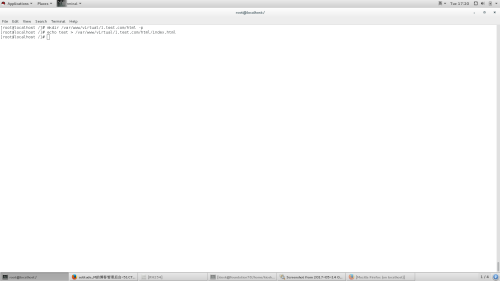
2.配置
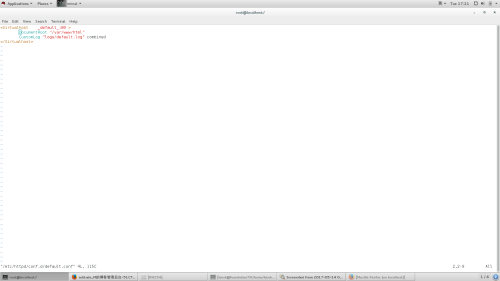
vim /etc/httpd/conf.d/default.conf ###编写默认默认地址文件
<Virtualhost _default_:80> ###虚拟主机开启的端口
DocumentRoot "/var/www/html" ###虚拟主机发布目录
CustomLog "logs/defaulr.log" combined ###虚拟主机日志
</Virtualhost>
vim /etc/httpd/conf.d/test.conf
<Virtualhost *:80>
ServerName "1.test.com"
DocumentRoot "/var/www/virtual/1.test.com/html"
CustomLog "logs/test.log" combined
</virtualhost>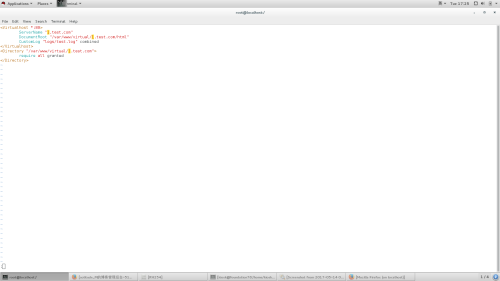
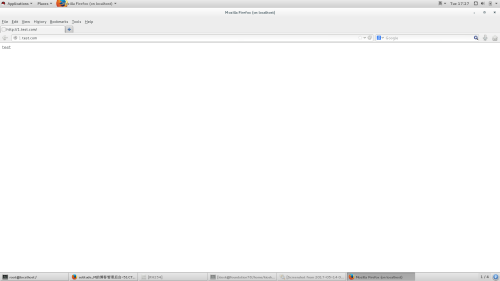
3.测试
编辑浏览器所在主机/etc/hosts
172.25.254.116 www.westos.com 1.test.com

##############################
https
##############################
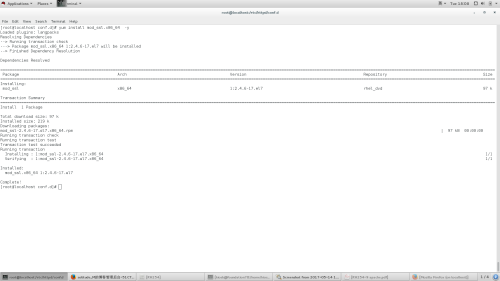
1.安装ssl,crypto-utils
yum install ssl -y
yum install crypto-utils -y

2.配置
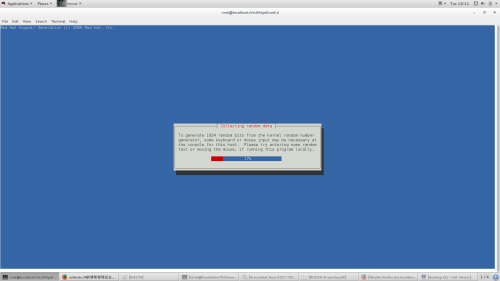
genkey www.westos.com
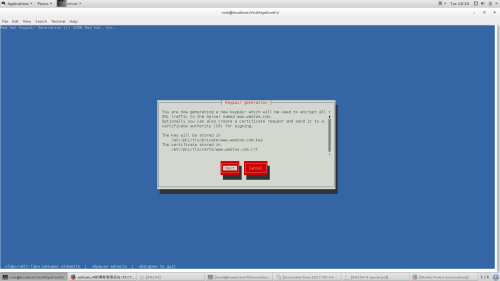
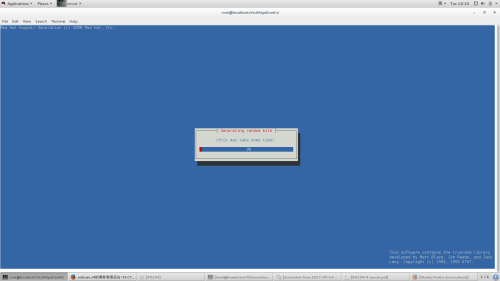
下图需要晃动鼠标或敲键盘来生成密码
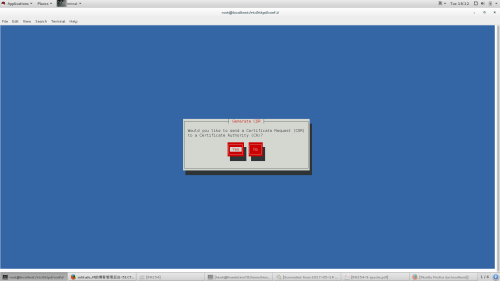
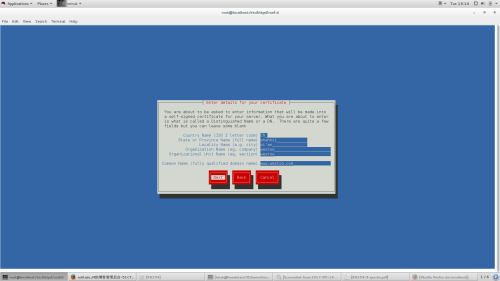
vim /etc/httpd/conf.d/ssl.conf
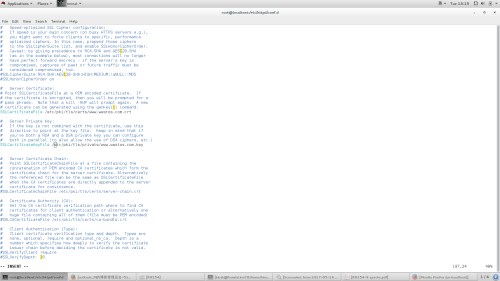
vim /etc/httpd/conf.d/login.conf
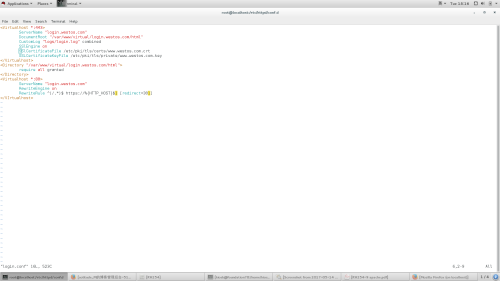
mkdir /var/www/virtual/login.westos.com/html -p
echo login > /var/www/virtual/login.westos.com/html/index.html
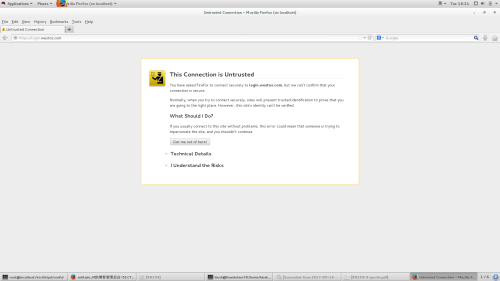
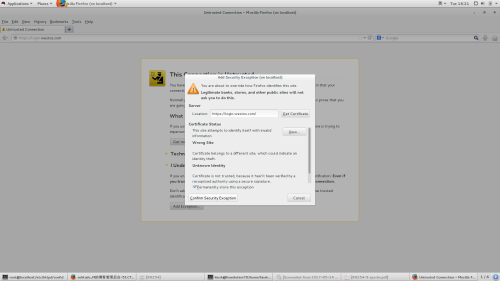
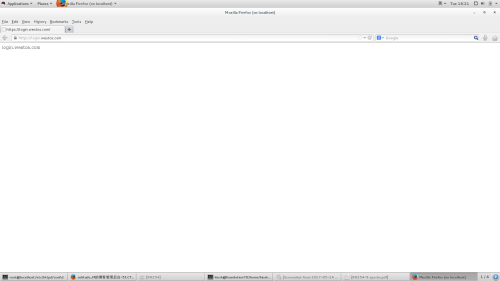
3.测试
在浏览器所在主机中
vim /etc/hosts
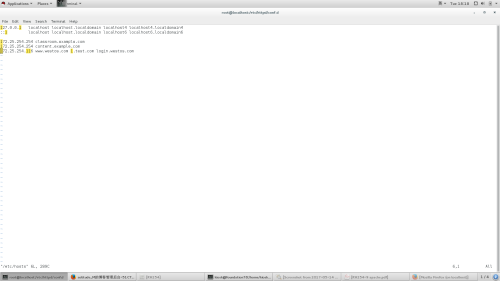
login.westos.com
apache服务
