首页 > 代码库 > RHCE之PXE+DHCP+TFTP+FTP/HTTP+KICKSTART用于PXE安装RHEL7
RHCE之PXE+DHCP+TFTP+FTP/HTTP+KICKSTART用于PXE安装RHEL7
最近在学习RHCE课程,上一篇简单的讲一下如何用FTP+HTTP+KickStart来作为KVM的VM网络安装过程,请阅读:http://gshao.blog.51cto.com/3512873/1882392
今天讲到PXE安装RHEL7
环境:
虚拟宿主机:RHEL 7.0
硬件:4vCPU+8G+40Gdisk
IP地址:172.16.38.10
1.制作本地源
[root@localhost ~]# mkdir /mnt/dvd   #创建/mnt/dvd目录,用于挂载cdrom
[root@localhost ~]# mount /dev/sr0 /mnt/dvd  #挂载光盘

[root@localhost ~]# vim /etc/yum.repos.d/rhel.repo   #新建本地源配置文件
[root@localhost ~]# cat /etc/yum.repos.d/rhel.repo   #显示本地源配置文件
[rhel7]
name=rhel7
baseurl=file:///mnt/dvd
enabled=1
gpgcheck=0

2.安装FTP服务,发布KS文件;
[root@localhost ~]# yum install vsftpd -y #安装vsftpd服务
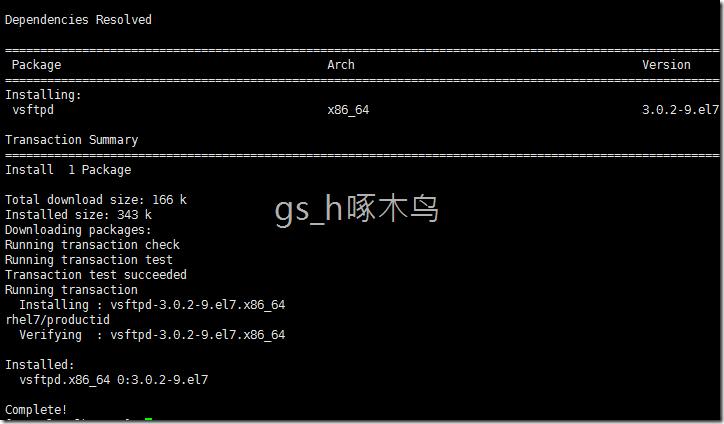
启动服务;
[root@localhost ~]# systemctl restart vsftpd   #启动服务
[root@localhost ~]# systemctl enable vsftpd    #启用服务
ln -s ‘/usr/lib/systemd/system/vsftpd.service‘ ‘/etc/systemd/system/multi-user.target.wants/vsftpd.service‘
[root@localhost ~]# systemctl status vsftpd   #查看服务状态

3.其实我们可以用我们第一次安装系统后的ks.cfg文件,我在这里就不多讲Kickstart服务了;
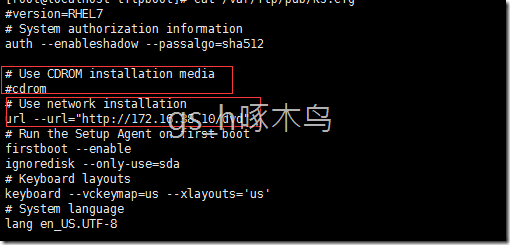
[root@localhost ~]# cp /root/anaconda-ks.cfg /var/ftp/pub/ks.cfg #复制ks文件
从下图可以看到我们把光盘安装变成http方式安装,并填写对应的url地址;
4.安装http
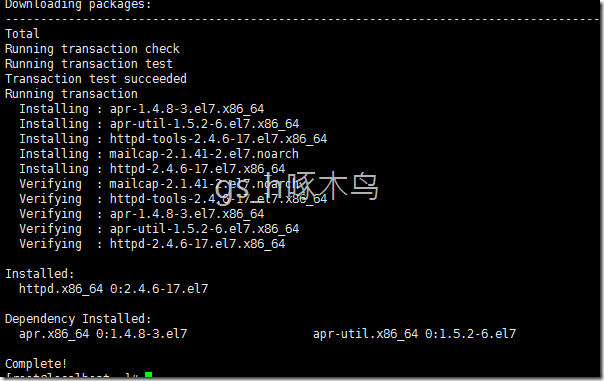
[root@localhost ~]# yum install httpd -y #安装httpd服务
[root@localhost ~]# systemctl restart httpd    #重启服务
[root@localhost ~]# systemctl enable httpd      #启用服务
[root@localhost ~]# systemctl status httpd.service  #查看服务状态

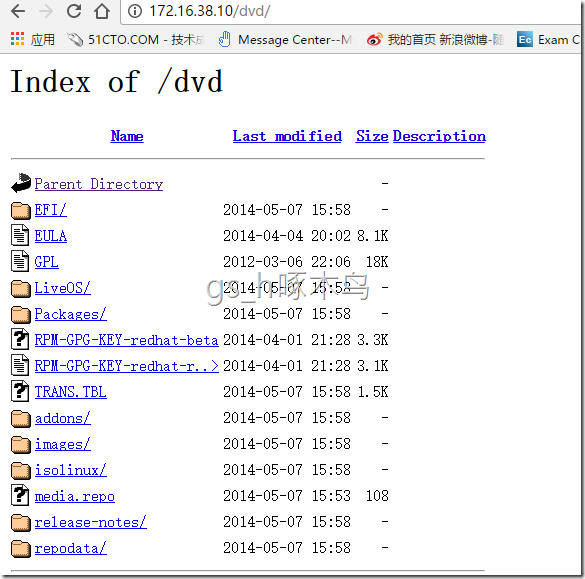
[root@localhost ~]# mkdir /var/www/html/dvd   #新建dvd目录,用于http的安装源
[root@localhost ~]# mount /dev/sr0 /var/www/html/dvd   #挂载光盘
5.安装DHCP
[root@localhost ~]# yum install dhcp -y #安装DHCP服务
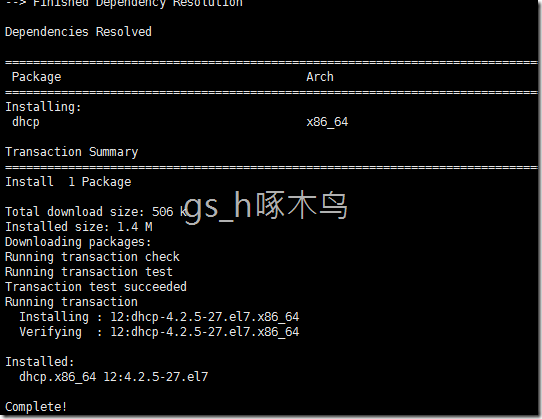
[root@localhost ~]# cp /usr/share/doc/dhcp-4.2.5/dhcpd.conf.example /etc/dhcp/dhcpd.conf #复制配置模板到/etc/dhcp/dhcpd.conf
[root@localhost ~]# vim /etc/dhcp/dhcpd.conf   #编辑dhcpd配置文件
[root@localhost ~]# cat /etc/dhcp/dhcpd.conf     #显示dhcpd.conf文件信息
subnet 172.16.38.0 netmask 255.255.255.0 {
range 172.16.38.20 172.16.38.25;
next-server 172.16.38.10;
filename "pxelinux.0";
}
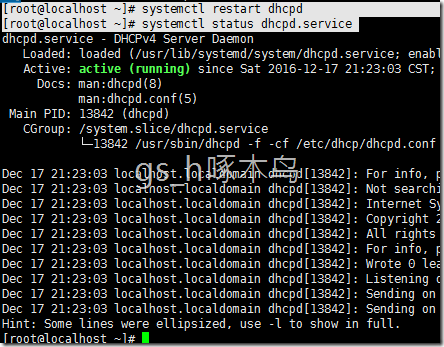
[root@localhost ~]# systemctl restart dhcpd   #重启服务
[root@localhost ~]# systemctl status dhcpd.service #查看服务状态
6.安装TFTP服务;
[root@localhost ~]# yum install tftp-server –y #安装tftp服务
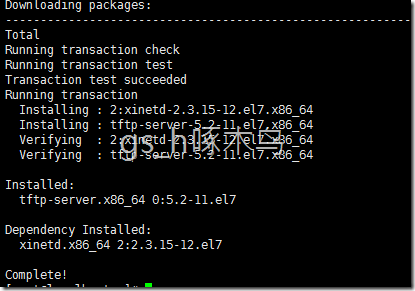
[root@localhost ~]# vim /etc/xinetd.d/tftp #修改保护进程文件,让tftp启动
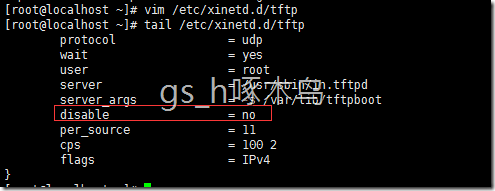
[root@localhost ~]# systemctl restart xinetd.service #重启服务

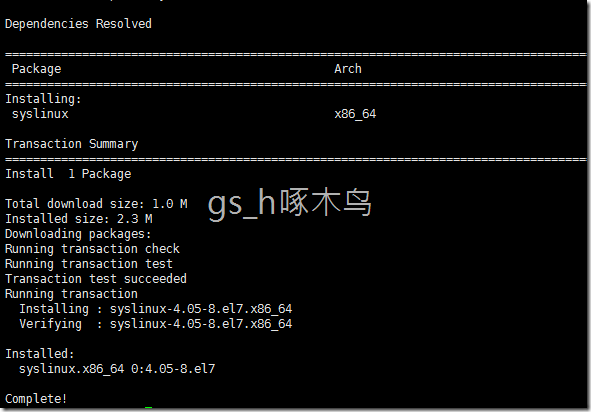
7.安装syslinux服务;
[root@localhost ~]# yum install syslinux -y #安装syslinux服务,提供引导文件、内核、镜像等
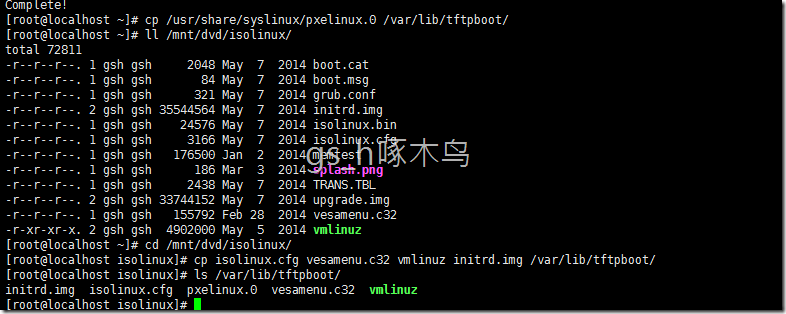
[root@localhost ~]# cp /usr/share/syslinux/pxelinux.0 /var/lib/tftpboot/   #复制文件
[root@localhost ~]# ll /mnt/dvd/isolinux/  #查看文件
total 72811
-r--r--r--. 1 gsh gsh 2048 May 7 2014 boot.cat
-r--r--r--. 1 gsh gsh 84 May 7 2014 boot.msg
-r--r--r--. 1 gsh gsh 321 May 7 2014 grub.conf
-r--r--r--. 2 gsh gsh 35544564 May 7 2014 initrd.img
-r--r--r--. 1 gsh gsh 24576 May 7 2014 isolinux.bin
-r--r--r--. 1 gsh gsh 3166 May 7 2014 isolinux.cfg
-r--r--r--. 1 gsh gsh 176500 Jan 2 2014 memtest
-r--r--r--. 1 gsh gsh 186 Mar 3 2014 splash.png
-r--r--r--. 1 gsh gsh 2438 May 7 2014 TRANS.TBL
-r--r--r--. 2 gsh gsh 33744152 May 7 2014 upgrade.img
-r--r--r--. 1 gsh gsh 155792 Feb 28 2014 vesamenu.c32
-r-xr-xr-x. 2 gsh gsh 4902000 May 5 2014 vmlinuz
[root@localhost ~]# cd /mnt/dvd/isolinux/    #切换目录
[root@localhost isolinux]# cp isolinux.cfg vesamenu.c32 vmlinuz initrd.img /var/lib/tftpboot/  #复制文件
[root@localhost isolinux]# ls /var/lib/tftpboot/    #查看文件
initrd.img  isolinux.cfg  pxelinux.0  vesamenu.c32  vmlinuz
[root@localhost tftpboot]# mkdir pxelinux.cfg   #新建目录
[root@localhost tftpboot]# cp isolinux.cfg pxelinux.cfg/default    #复制文件
[root@localhost tftpboot]# vim pxelinux.cfg/default  #修改文件

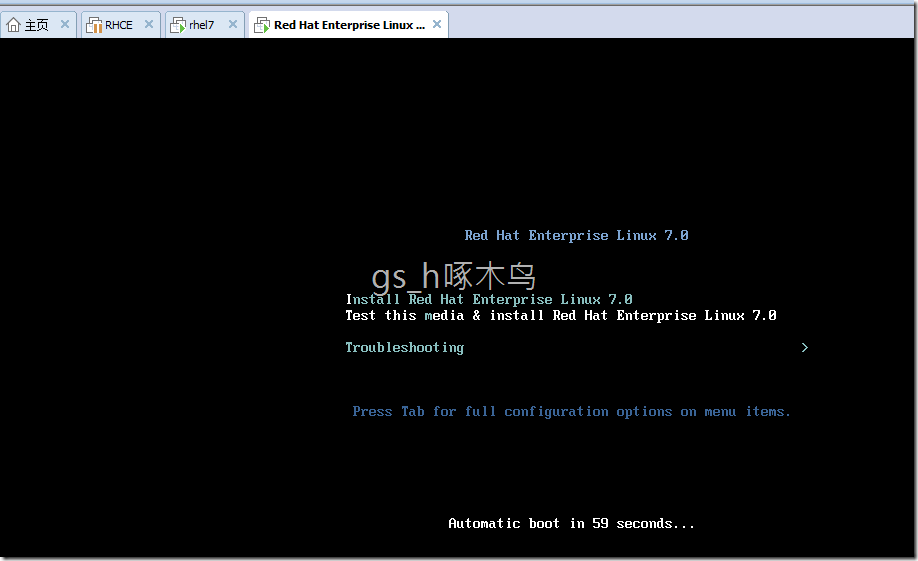
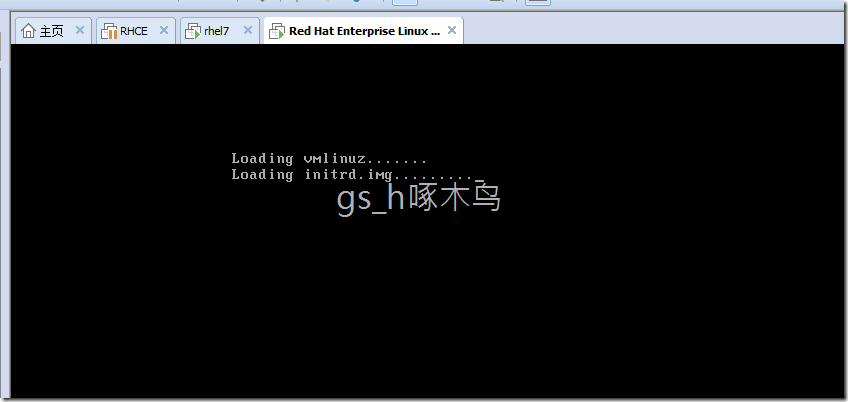
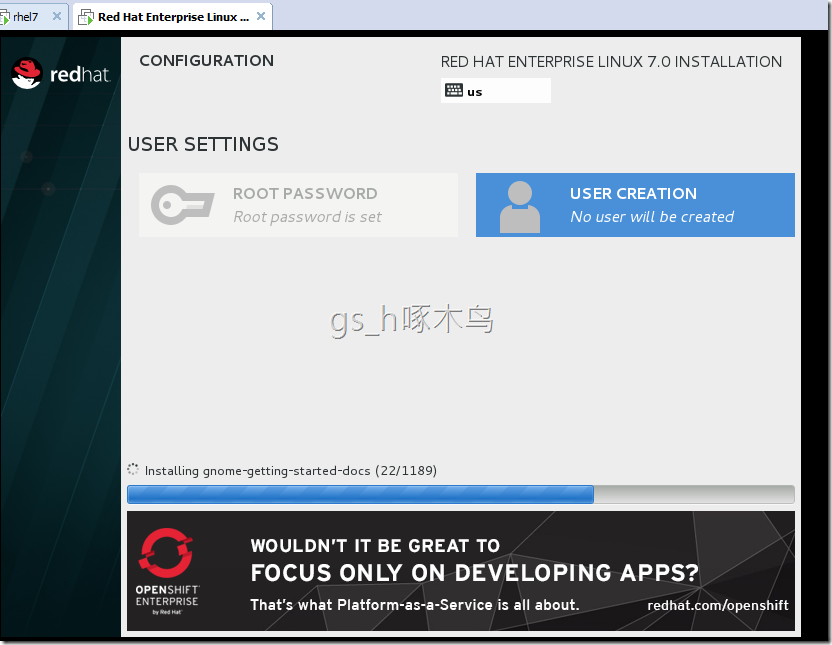
8.新建虚拟机,通过pxe方式安装rhel系统;
本文出自 “gs_hao” 博客,谢绝转载!
RHCE之PXE+DHCP+TFTP+FTP/HTTP+KICKSTART用于PXE安装RHEL7
