首页 > 代码库 > Linux之web服务的搭建
Linux之web服务的搭建
今天我来给大家分享一下在Linux下搭建web服务器
1、安装包
yum install httpd
安装完成后我们会在/etc目录下看到有一个httpd的目录
我们的默认文件存放位置在/var/www/html
然后修改我们的注配置文件
vim /etc/httpd/conf/httpd.conf
ServerName 自己的主机名:80
表示服务名称为自己的主机名,监听在80端口
然后就可以建文件了
vim /var/www/html/index.html
hello
这就是我们的主页文件了
然后我们开启一下我的HTTP服务
service httpd start
然后我们就可以在另外一台虚拟机上测试了

这就简单的搭建好一台web服务器了。
注:如果显示无法连接,可能是你的防火墙给挡在墙外了,需要关闭防火墙才行。
2、创建基于文件的访问控制
首先我们需要创建一个目录
cd /var/www/html
mkdir admin
mkdir bbs
vim bbs/index.html
hello a

vim /etc/httpd/conf/httpd.conf
<Directory "/var/www/html/admin">
       Options none
       Allowoverride AuthConfig
       AuthType Basic
       AuthName "Admin Area."
       AuthUserFile /etc/httpd/conf/.httpasswd
       Require valid-user
</Directory>
然后做用户名和密码存放文件
htpasswd -c -m /etc/httpd/conf/.httpasswd tom
tom
tom
htpasswd  -m /etc/httpd/conf/.httpasswd jry
jry
jry
然后重读一下配置文件
service httpd reload
当我们再次访问时就会弹出输入用户名和密码了

3、基于组的访问控制配置
在2的基础上,我们创建一个文件
vim /etc/httpd/conf/.httpgroup
test:tom
添加test组,组成员为tom,然后再编辑配置文件,把上个实例中的文件内容修改如下
 vim /etc/httpd/conf/httpd.conf
<Directory "/var/www/html/admin">
      Options none
      Allowoverride AuthConfig
      AuthType Basic
      AuthName "Admin Area."
      AuthUserFile /etc/httpd/conf/.httpasswd
      AuthGroupFile /etc/httpd/conf/.httpgroup
      Require group test
</Directory>
然后重读配置文件
service httpd reload
然后我们分别登陆tom和jry查看

4、基于端口做虚拟主机
编辑主配置文件
vim /etc/httpd/conf/httpd.conf
添加
Listen 8080  开启监听8080端口
#DocumentRoot "/var/www/html"  注释掉中心主机配置,这样虚拟主机配置才能生效
<VirtualHost 172.16.249.29:80>
           ServerName www.jsh.com
           DocumentRoot "/web/hosta"
</VirtualHost>

<VirtualHost 172.16.249.29:8080>
           ServerName www.jsh.com
           DocumentRoot "/web/hostb"
</VirtualHost>
配置文件语法检查
httpd -t
创建对应的目录,并提供页面文件
mkdir -pv /web/host{a,b}
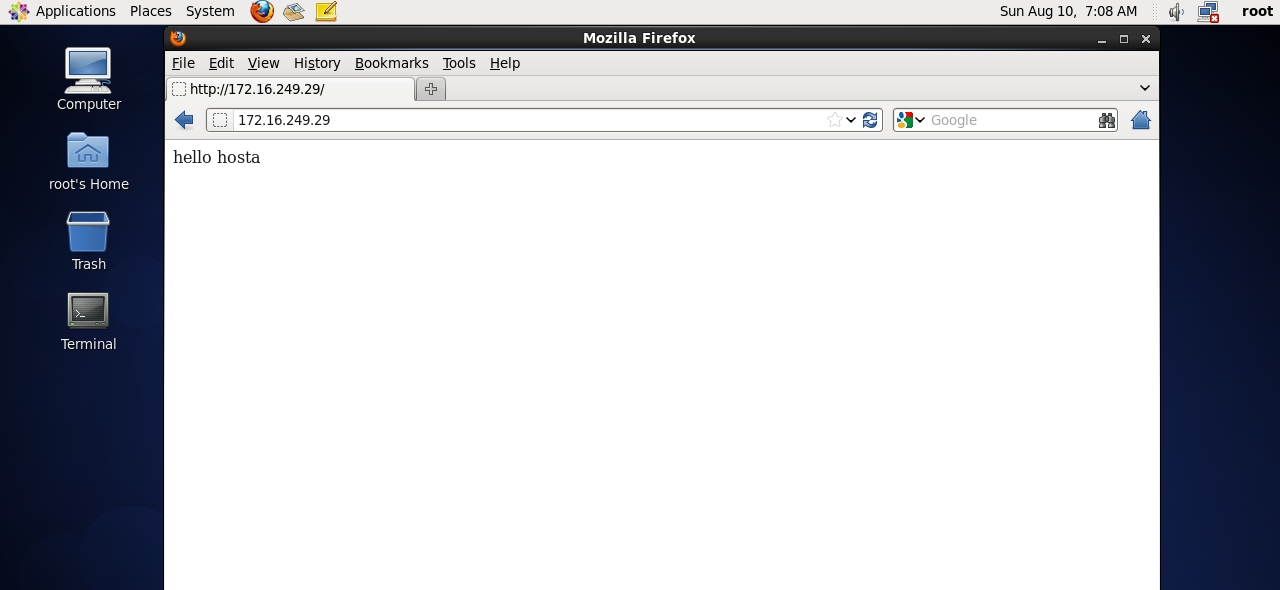
vim /web/hosta/index.html
hello hosta
vim /web/hostb/index.html
hello  hostb
然后重读配置文件
service httpd restart
然后就可以测试了


5、基于IP的虚拟主机
步骤跟4实例中的一样,只用把第二个IP地址改为其他IP即可,并把8080端口改为80。
声明:以上内容来自用户投稿及互联网公开渠道收集整理发布,本网站不拥有所有权,未作人工编辑处理,也不承担相关法律责任,若内容有误或涉及侵权可进行投诉: 投诉/举报 工作人员会在5个工作日内联系你,一经查实,本站将立刻删除涉嫌侵权内容。
