首页 > 代码库 > 在Oracle6linux上安装Oracle11.2.3......
在Oracle6linux上安装Oracle11.2.3......
在Oracle6linux上安装Oracle11.2.3......
参考文档
http://www.oracle-base.com/articles/11g/oracle-db-11gr2-installation-on-oracle-linux-6.php
http://www.oracle-base.com/articles/linux/oracle-linux-6-installation.php#firewall
http://www.oracle-base.com/articles/linux/linux-firewall.php#installation
http://power1990.blog.51cto.com/2673141/750712
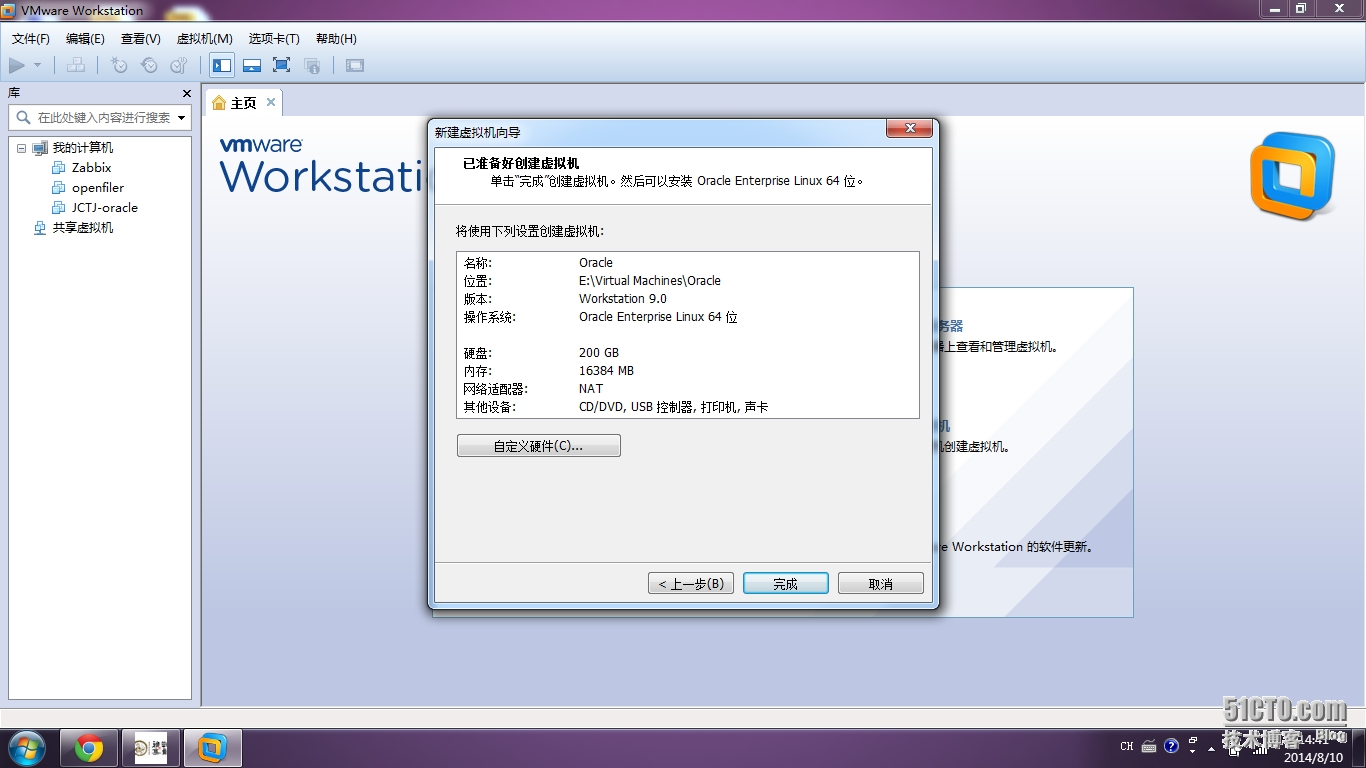
在Oracle Linux 创建个Oracle数据库先建个虚机 装好Oracle Linux

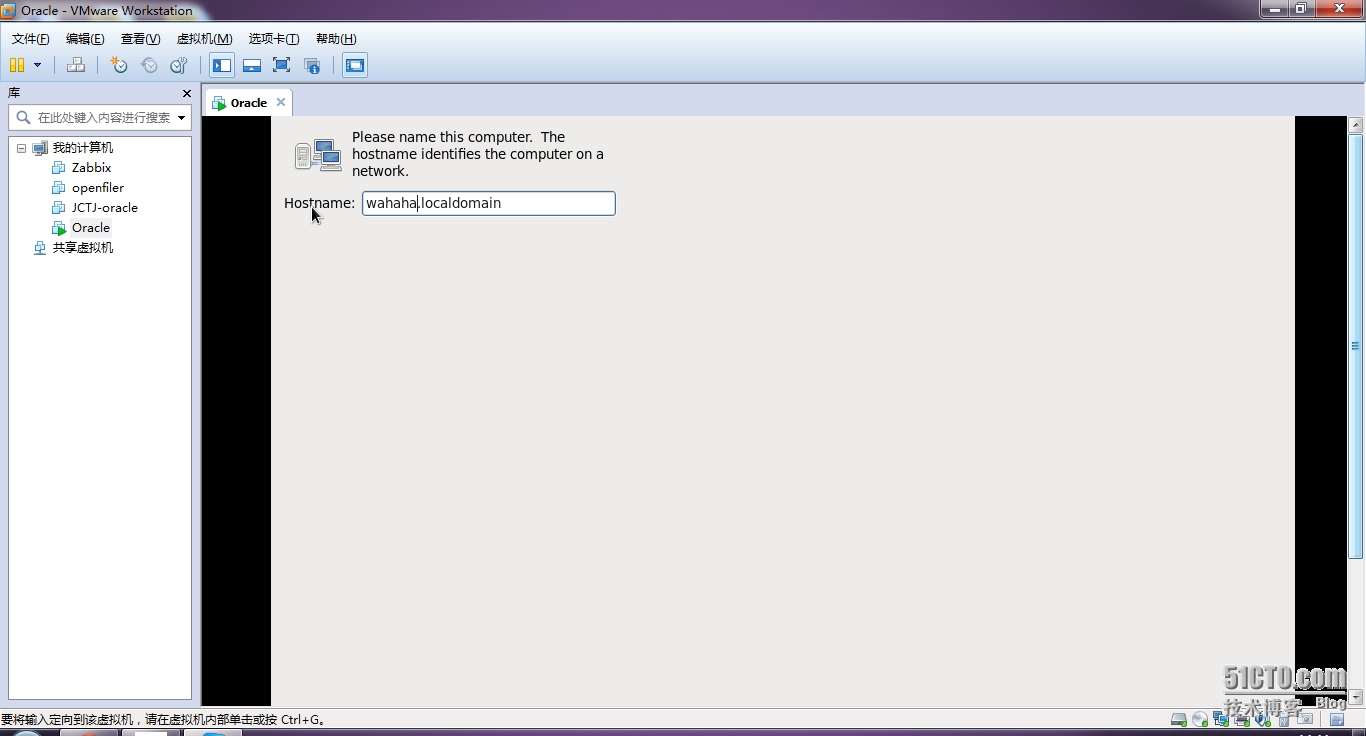
hostname 如下
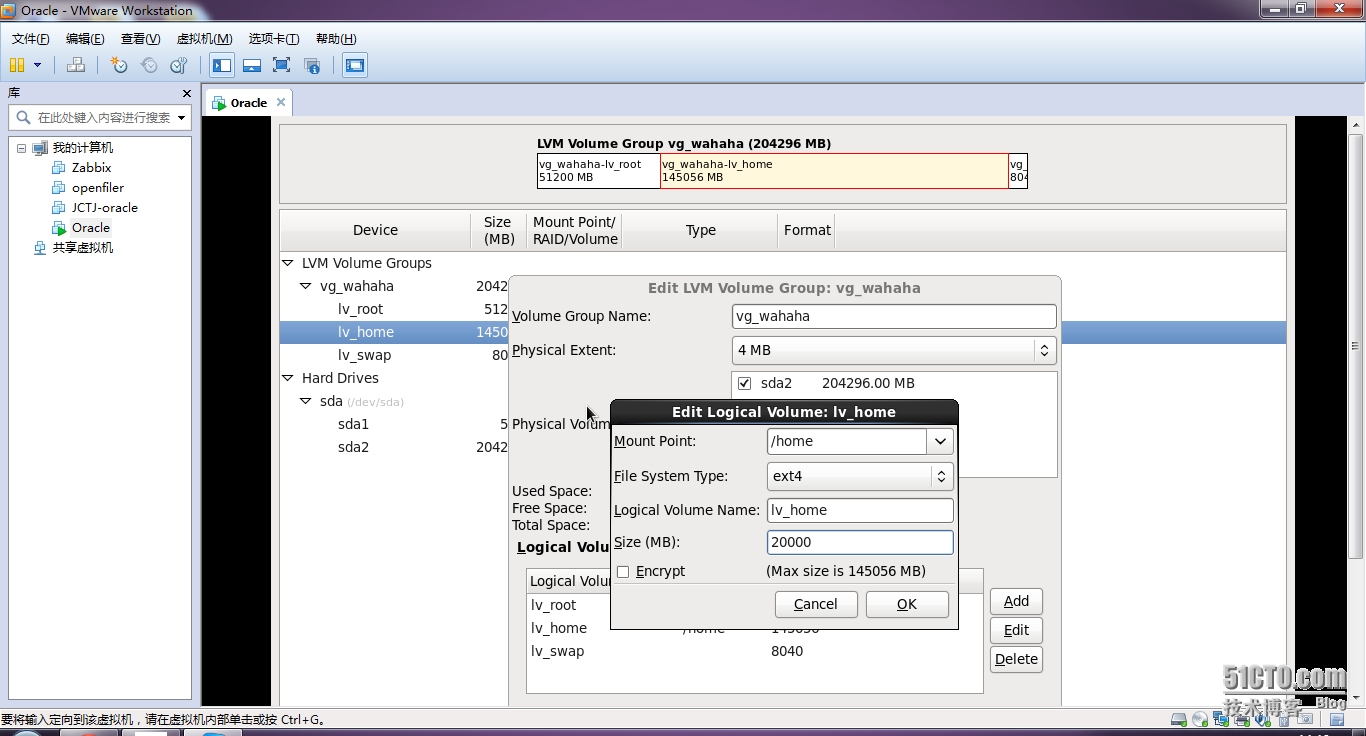
use all spaceand review and modify partition layout因为我要调整空间

调整home为20000M剩下的全给逻辑卷lv_u01 /u01 我要把数据库放到这里面这样好
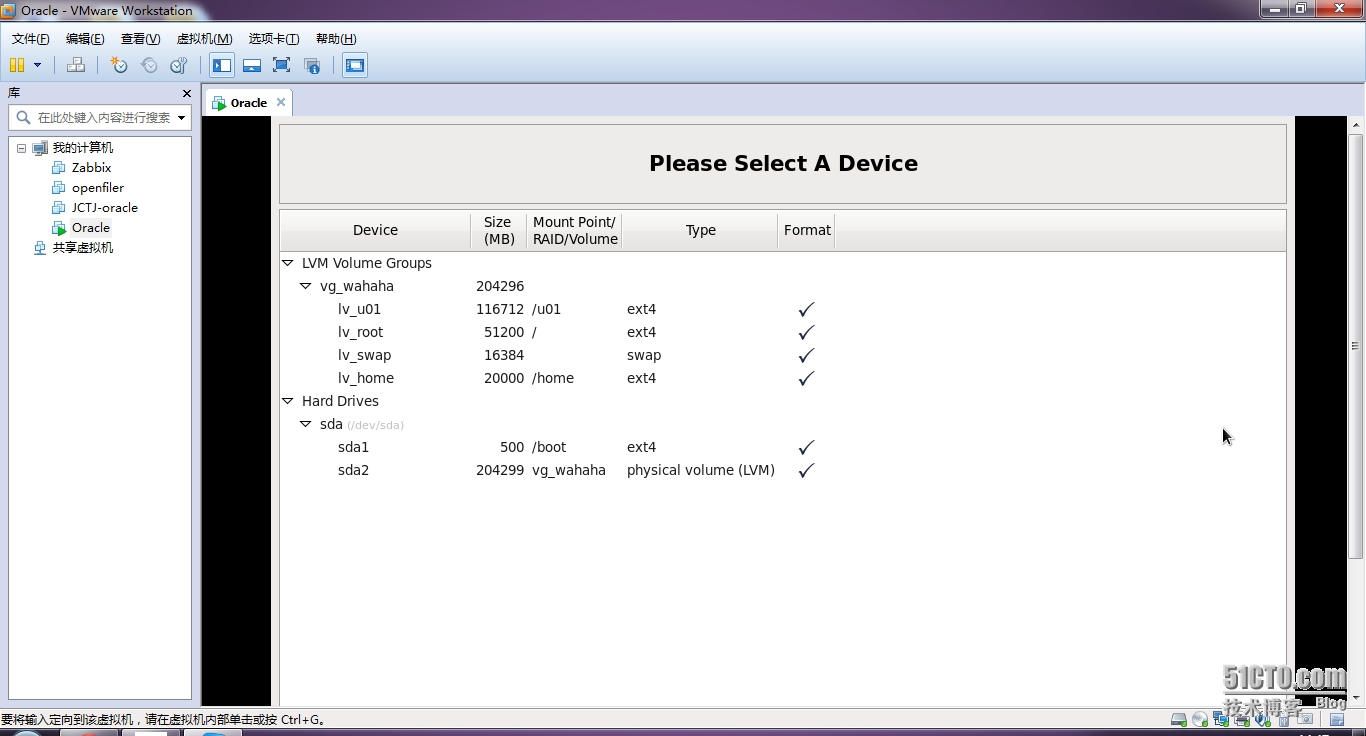
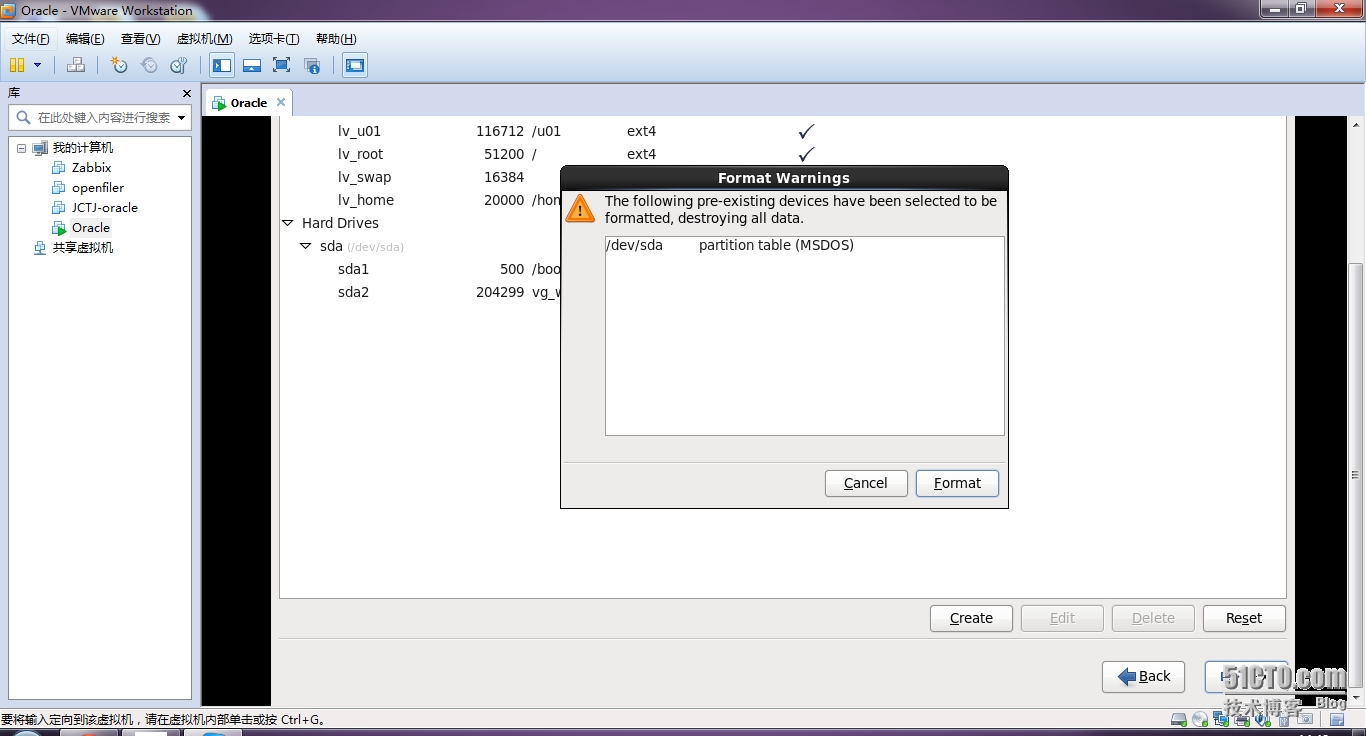
直接格式化。。。
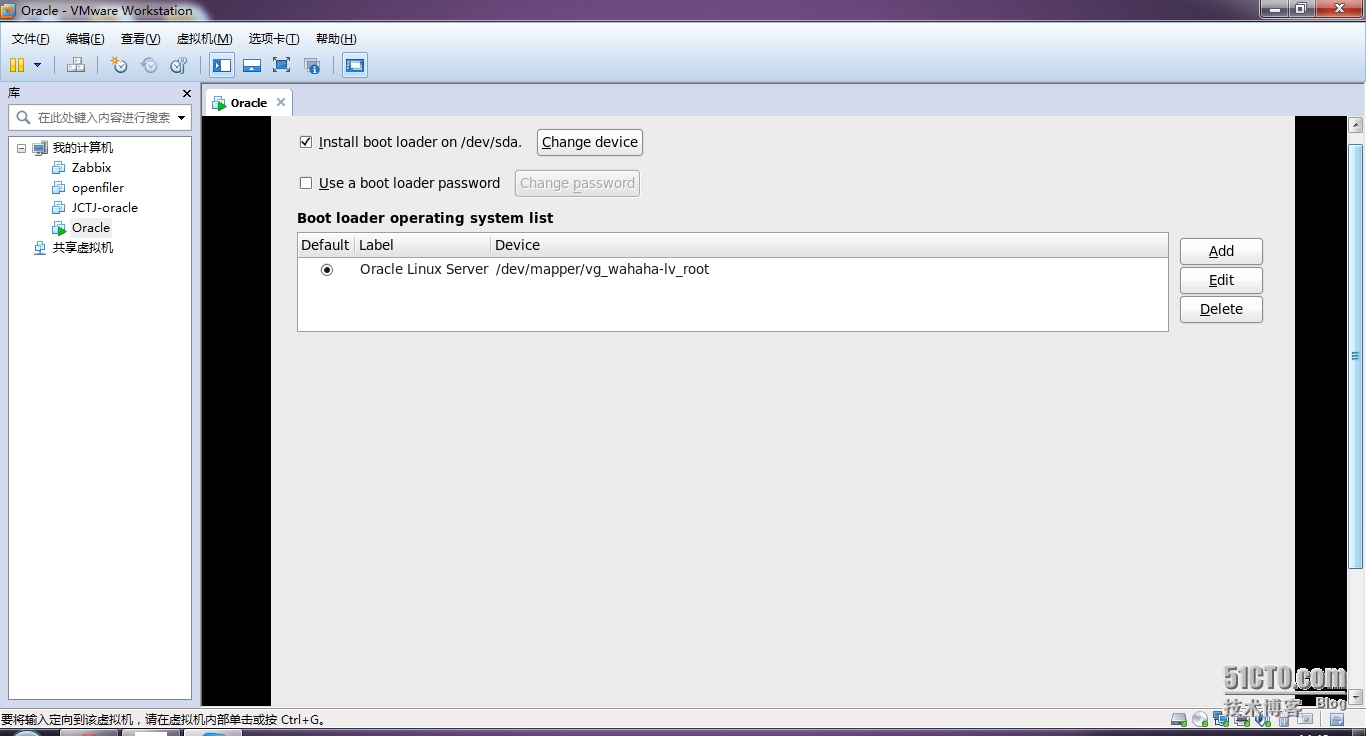
创建boot 直接继续
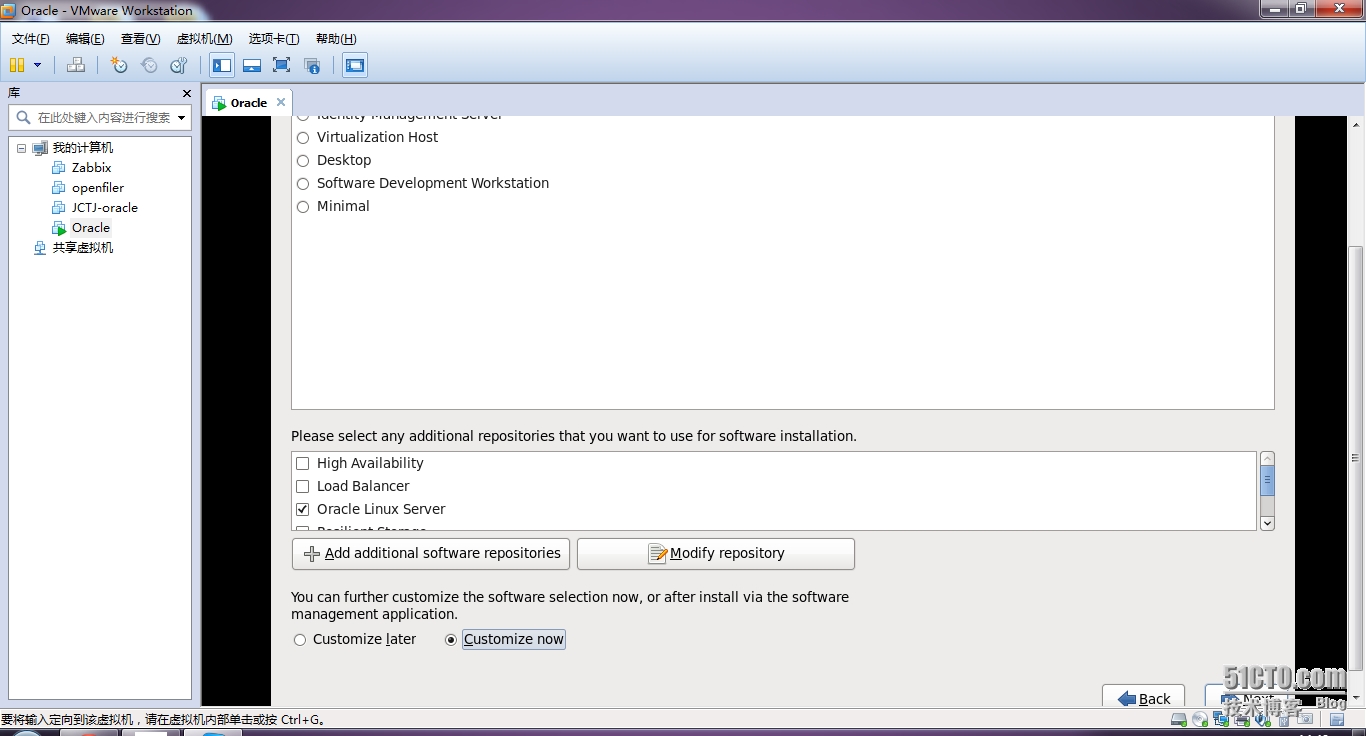
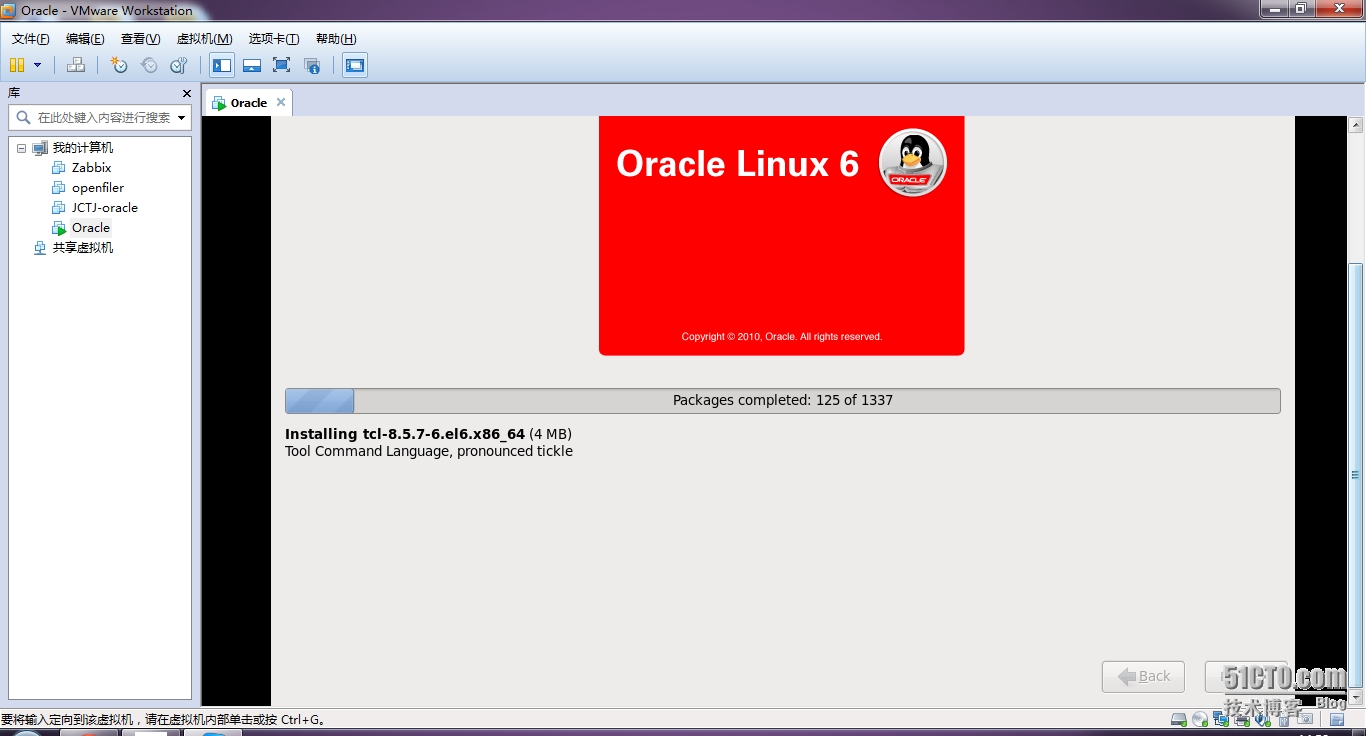
选择安装组件 customize later 自定义
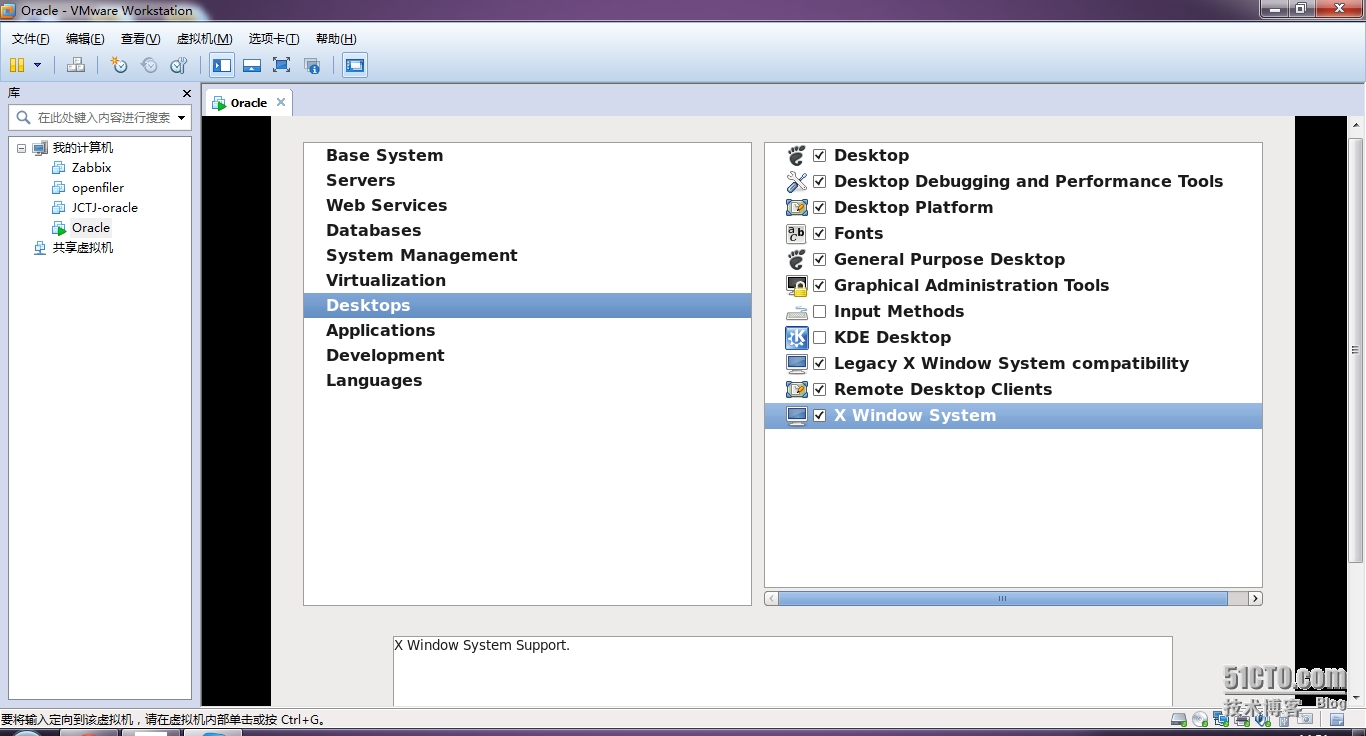
这里我把所有能装的都装了这样省的以后装 c c++ 或者别的。。。
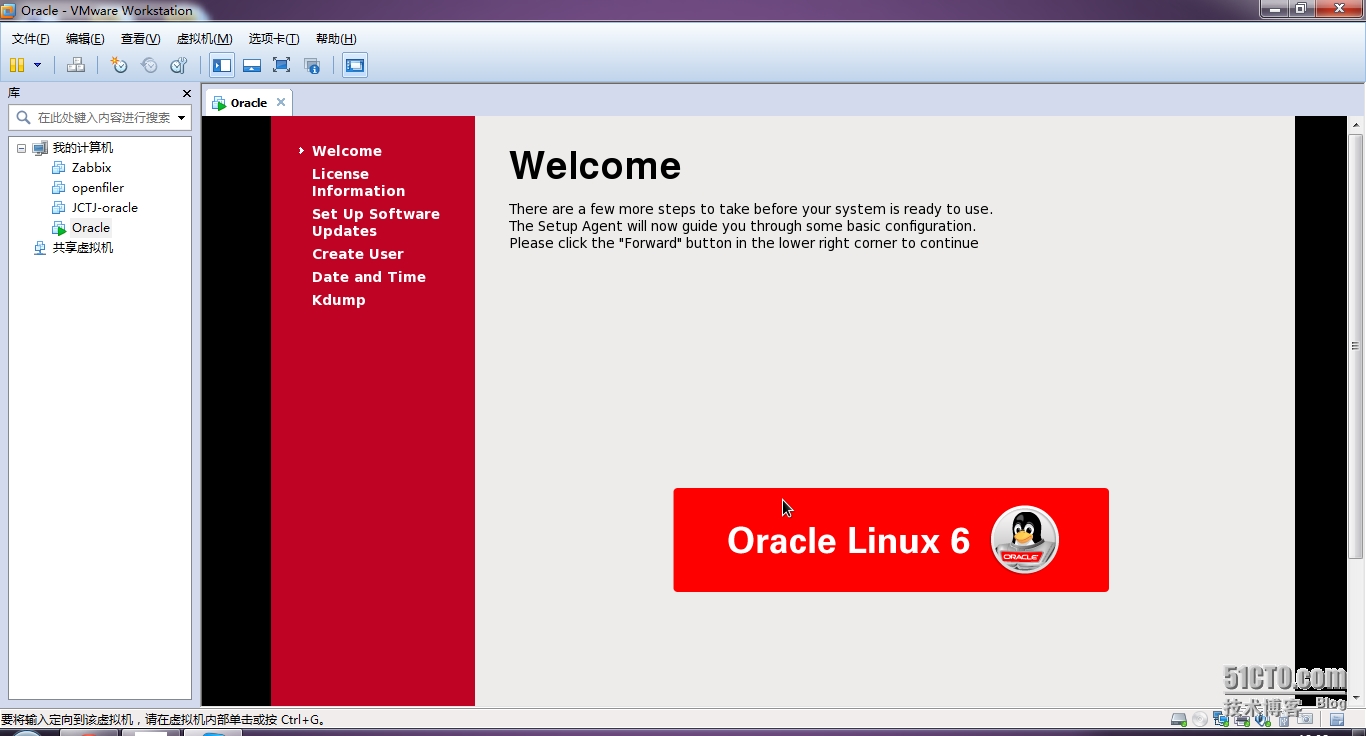
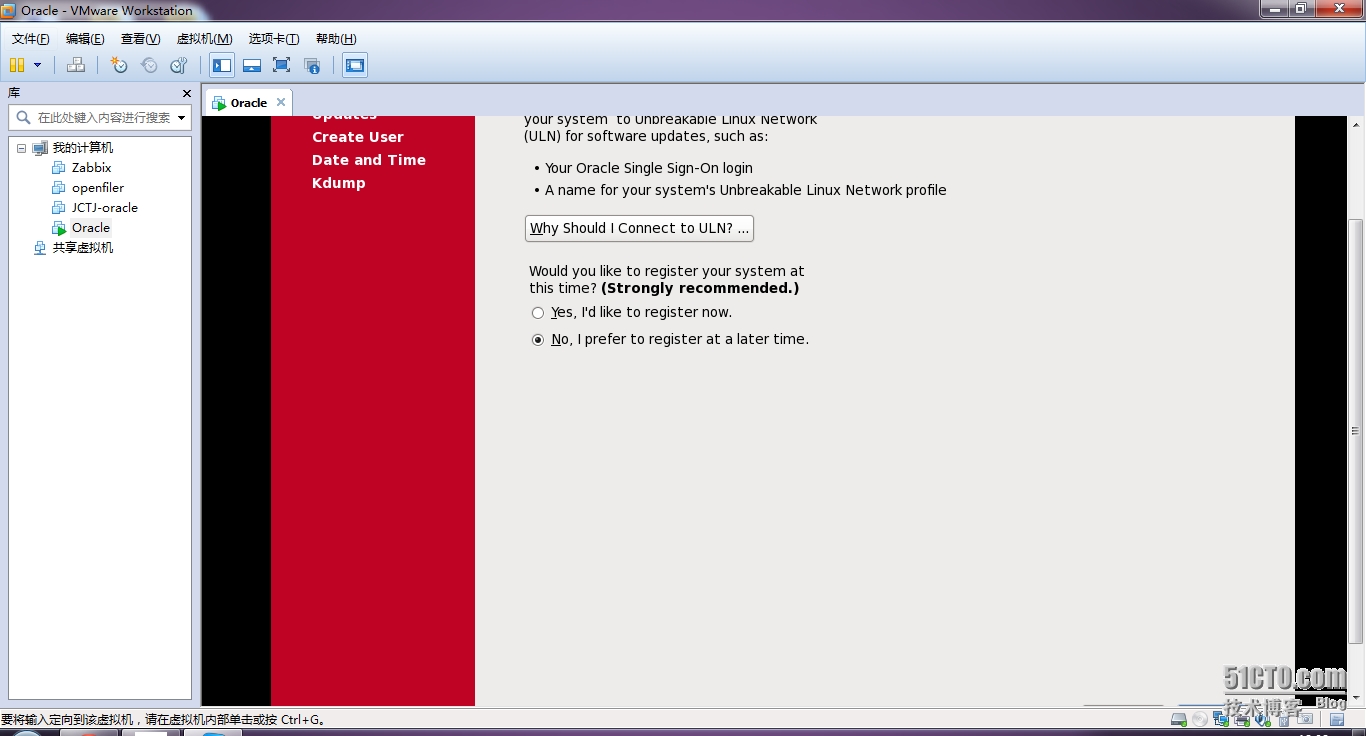
不注册
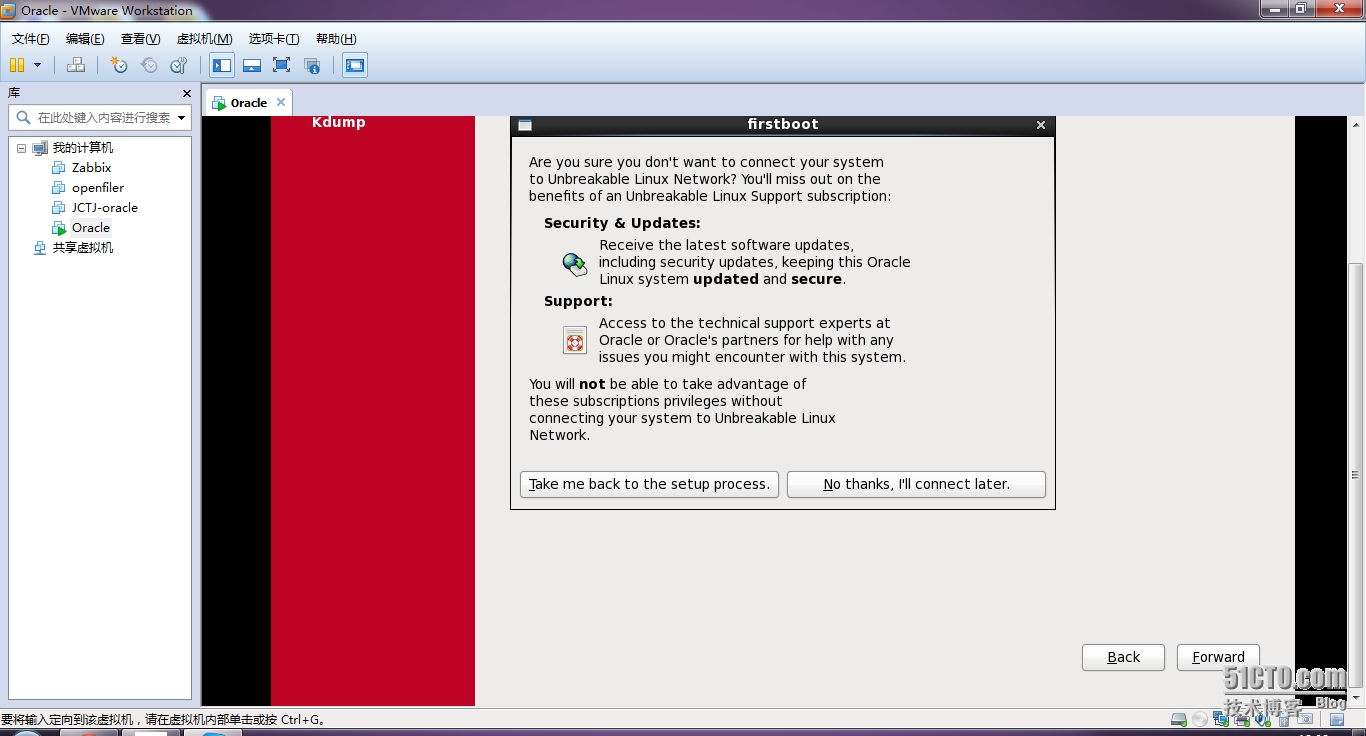
no
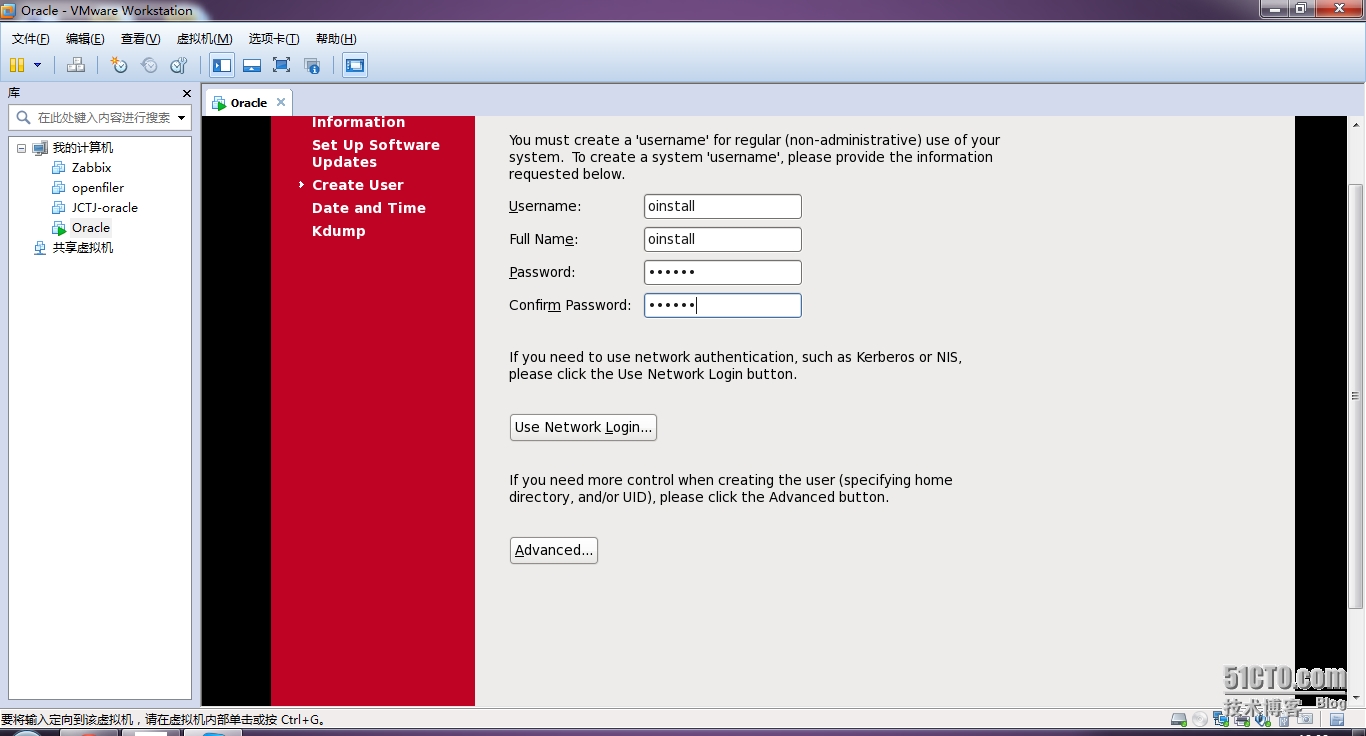
建立一个用户这里我直接建立oinstall 用户 及 组 这样它编号501 以后会用到
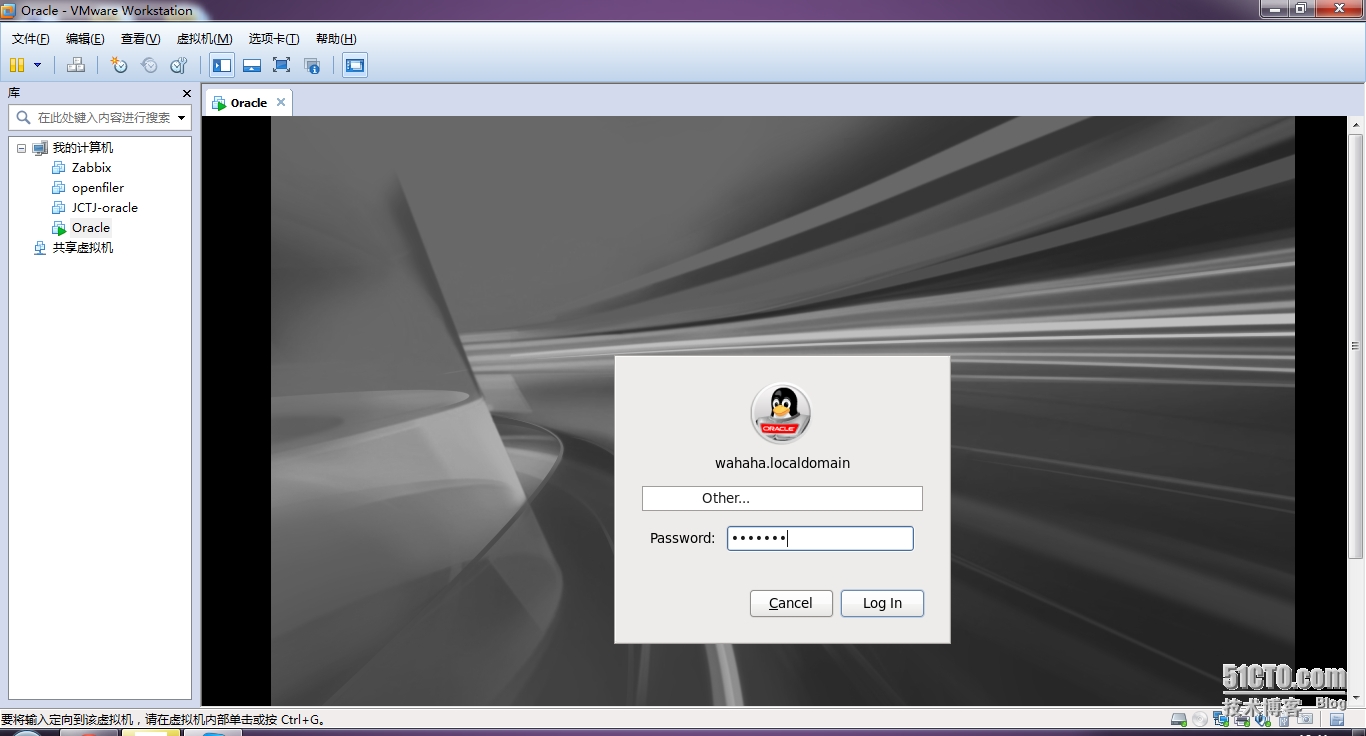
root登陆
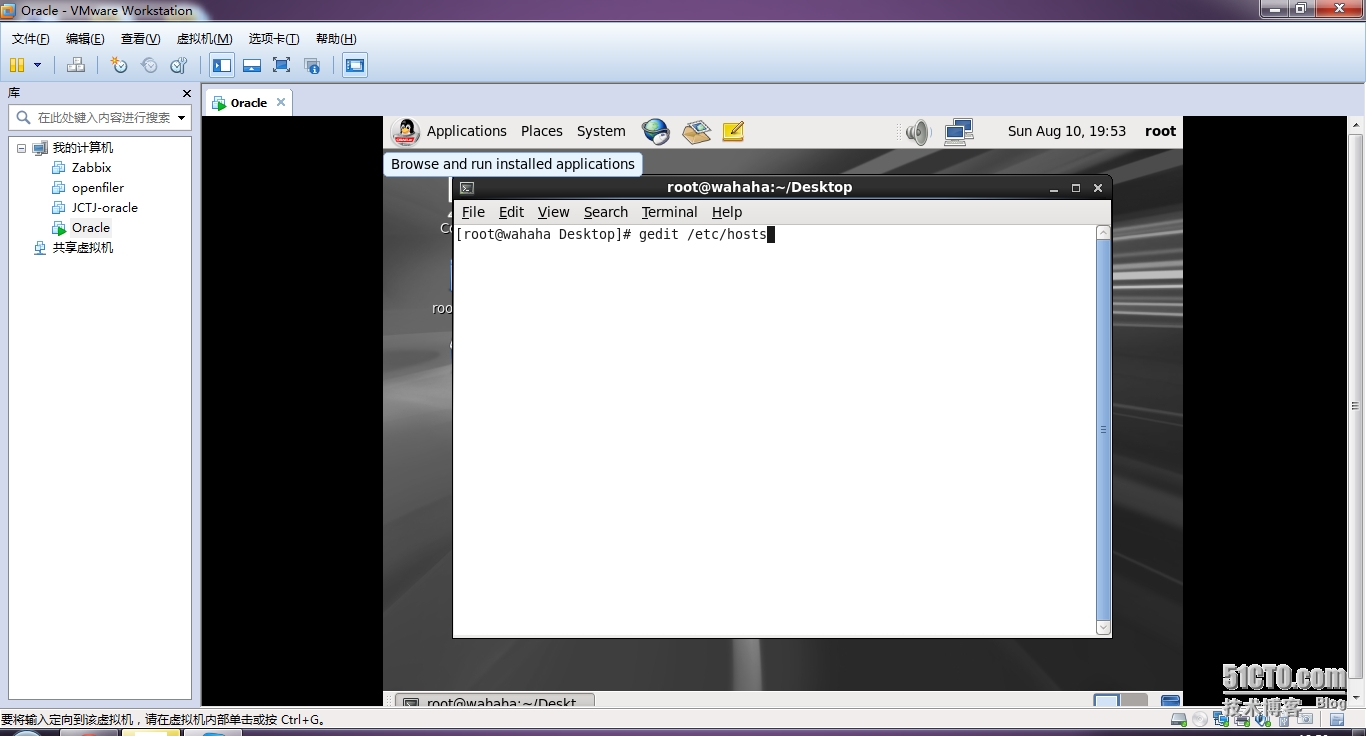
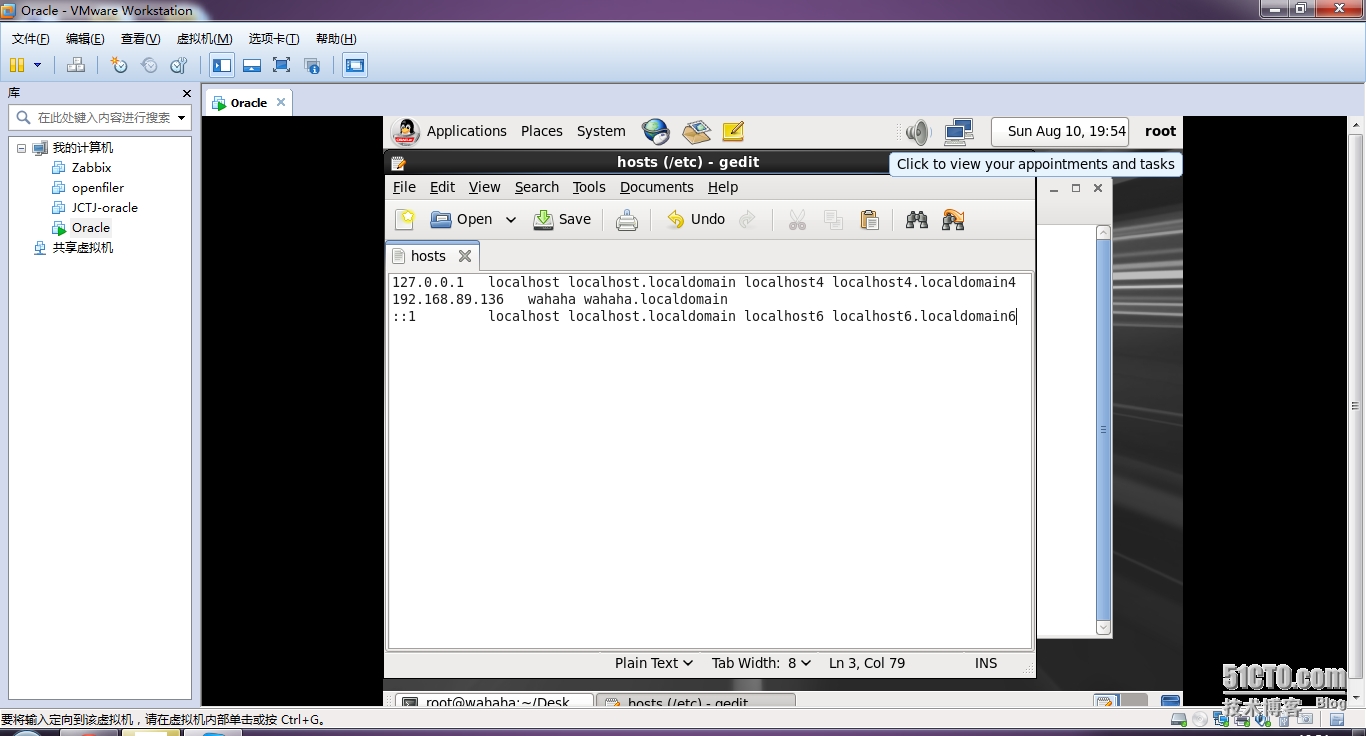
编辑hosts
如图
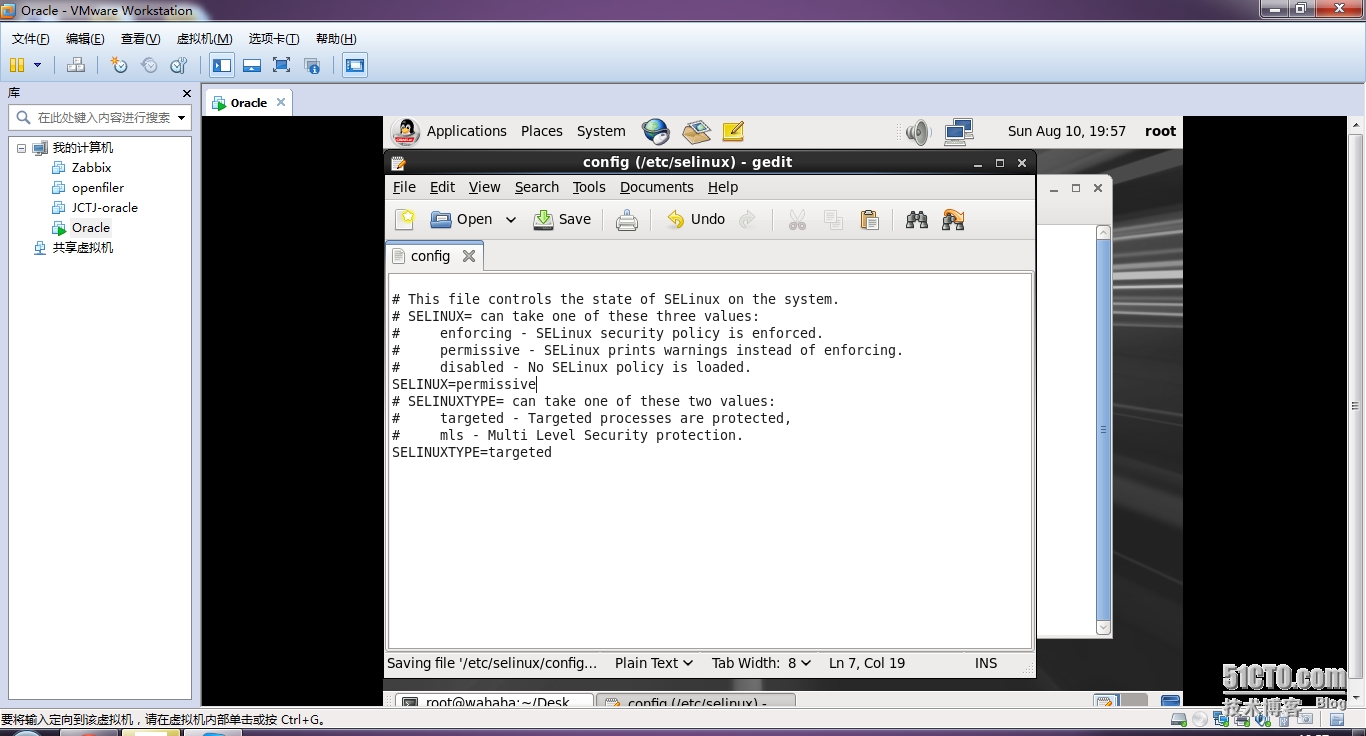
编辑selinux
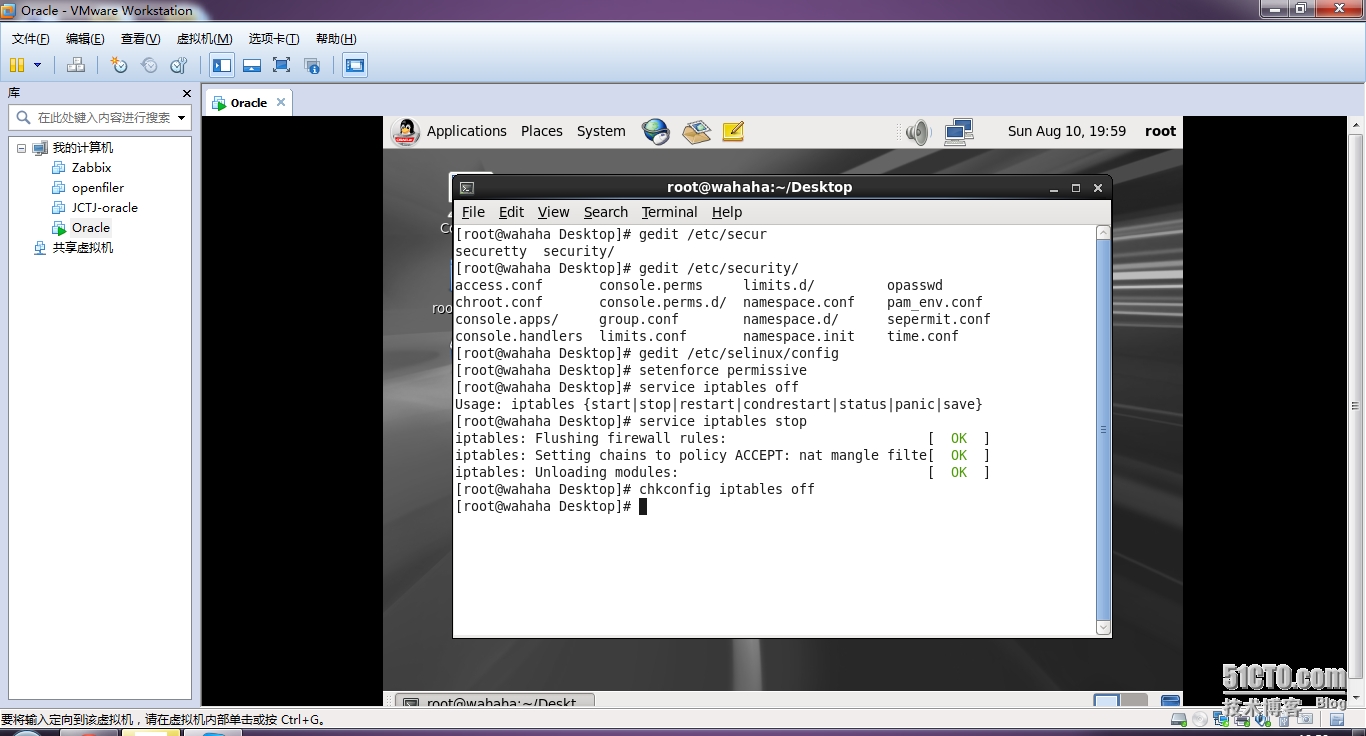
关闭防火墙
下面直接putty全部过程。。。
=~=~=~=~=~=~=~=~=~=~=~= PuTTY log 2014.08.10 20:00:49 =~=~=~=~=~=~=~=~=~=~=~=
login as: root
root@192.168.89.136‘s password:
]0;root@wahaha:~[?1034h[root@wahaha ~]#
[K[root@wahaha ~]#
[K[root@wahaha ~]# rpm -q binutils compat-libstdc++-33 elfutils-libelf elfutils-li
belf-devel gcc gcc-c++ glibc glibc-common glibc-devel glibc-headers kernel-heade
rs ksh libaio libaio-devel libgcc libgomp libstdc++ libstdc++-devel make numact
l-devel sysstat unixODBC unixODBC-devel ###检查所需组件是否装好###
binutils-2.20.51.0.2-5.34.el6.x86_64
compat-libstdc++-33-3.2.3-69.el6.x86_64
elfutils-libelf-0.152-1.el6.x86_64
package elfutils-libelf-devel is not installed
package gcc is not installed
package gcc-c++ is not installed
glibc-2.12-1.80.el6.x86_64
glibc-2.12-1.80.el6.i686
glibc-common-2.12-1.80.el6.x86_64
package glibc-devel is not installed
package glibc-headers is not installed
kernel-headers-2.6.32-279.el6.x86_64
package ksh is not installed
libaio-0.3.107-10.el6.x86_64
package libaio-devel is not installed
libgcc-4.4.6-4.el6.x86_64
libgcc-4.4.6-4.el6.i686
libgomp-4.4.6-4.el6.x86_64
libstdc++-4.4.6-4.el6.x86_64
package libstdc++-devel is not installed
make-3.81-20.el6.x86_64
package numactl-devel is not installed
sysstat-9.0.4-20.el6.x86_64
package unixODBC is not installed
package unixODBC-devel is not installed
没有装好的直接
yum install elfutils-libelf-devel
yum install libaio-devel
yum install libstdc++-devel
yum install numactl-devel
yum install unixODBC
yum install unixODBC-devel
再次检查 都好了。。。
]0;root@wahaha:~[root@wahaha ~]# rpm -q binutils compat-libstdc++-33 elfutils-libelf elfutils-li
belf-devel gcc gcc-c++ glibc glibc-common glibc-devel glibc-headers kernel-heade
rs ksh libaio libaio-devel libgcc libgomp libstdc++ libstdc++-devel make numact
l-devel sysstat unixODBC unixODBC-devel
binutils-2.20.51.0.2-5.34.el6.x86_64
compat-libstdc++-33-3.2.3-69.el6.x86_64
elfutils-libelf-0.152-1.el6.x86_64
elfutils-libelf-devel-0.152-1.el6.x86_64
gcc-4.4.7-4.el6.x86_64
gcc-c++-4.4.7-4.el6.x86_64
glibc-2.12-1.132.el6_5.2.x86_64
glibc-2.12-1.132.el6_5.2.i686
glibc-common-2.12-1.132.el6_5.2.x86_64
glibc-devel-2.12-1.132.el6_5.2.x86_64
glibc-headers-2.12-1.132.el6_5.2.x86_64
kernel-headers-2.6.32-279.el6.x86_64
ksh-20120801-10.el6_5.8.x86_64
libaio-0.3.107-10.el6.x86_64
libaio-devel-0.3.107-10.el6.x86_64
libgcc-4.4.7-4.el6.x86_64
libgcc-4.4.7-4.el6.i686
libgomp-4.4.7-4.el6.x86_64
libstdc++-4.4.7-4.el6.x86_64
libstdc++-devel-4.4.7-4.el6.x86_64
make-3.81-20.el6.x86_64
numactl-devel-2.0.7-8.el6.x86_64
sysstat-9.0.4-20.el6.x86_64
unixODBC-2.2.14-12.el6_3.x86_64
unixODBC-devel-2.2.14-12.el6_3.x86_64
###yum install oracle-rdbms-server-11gR2-preinstall是自动安装好多都不用管了否则还得自己创建用户该变量都很有讲究如官方文档。。。 http://www.oracle-base.com/articles/11g/oracle-db-11gr2-installation-on-oracle-linux-6.php
中有详细的参数说明这些参数都是计算得出 如果你内存等不一样也许会变。。。
###
root@wahaha:~[root@wahaha ~]# yum install oracle-rdbms-server-11gR2-preinstall
Loaded plugins: refresh-packagekit, security
Setting up Install Process
Resolving Dependencies
--> Running transaction check
---> Package oracle-rdbms-server-11gR2-preinstall.x86_64 0:1.0-9.el6 will be installed
--> Finished Dependency Resolution
Dependencies Resolved
================================================================================
Package Arch Version Repository Size
================================================================================
Installing:
oracle-rdbms-server-11gR2-preinstall x86_64 1.0-9.el6 ol6_latest 17 k
Transaction Summary
================================================================================
Install 1 Package(s)
Total download size: 17 k
Installed size: 41 k
Is this ok [y/N]: y
Downloading Packages:
oracle-rdbms-server-11gR2-preinstall-1.0-9.el6.x86_64.rp | 17 kB 00:00
Running rpm_check_debug
Running Transaction Test
Transaction Test Succeeded
Running Transaction
Installing : oracle-rdbms-server-11gR2-pr [ ] 1/1
Installing : oracle-rdbms-server-11gR2-pr [# ] 1/1
Installing : oracle-rdbms-server-11gR2-pr [########################## ] 1/1
Installing : oracle-rdbms-server-11gR2-pr [############################ ] 1/1
Installing : oracle-rdbms-server-11gR2-preinstall-1.0-9.el6.x86_64 1/1
Verifying : oracle-rdbms-server-11gR2-preinstall-1.0-9.el6.x86_64 1/1
Installed:
oracle-rdbms-server-11gR2-preinstall.x86_64 0:1.0-9.el6
Complete!
###
groupadd -g 501 oinstall 一开始我就创建了。。。oinstall 501
groupadd -g 502 dba 因为我是自动安装这个已经有了
groupadd -g 503 oper
groupadd -g 504 asmadmin
groupadd -g 506 asmdba
groupadd -g 505 asmoper
useradd -u 502 -g oinstall -G dba,asmdba,oper oracle 因为我是自动安装oracle用户已经有了
passwd oracle
###
# groupadd -g 503 oper
]0;root@wahaha:~[root@wahaha ~]# groupadd -g 504 asmadmin
]0;root@wahaha:~[root@wahaha ~]# groupadd -g 506 asmdba
]0;root@wahaha:~[root@wahaha ~]# groupadd -g 505 asmoper
]0;root@wahaha:~[root@wahaha ~]# useradd -u 502 -g oinstall -G dba,asmdba,oper oracle
useradd: user ‘oracle‘ already exists
]0;root@wahaha:~[root@wahaha ~]# passwd oracle ###改密码###
Changing password for user oracle.
New password:
BAD PASSWORD: it is based on a dictionary word
BAD PASSWORD: is too simple
Retype new password:
passwd: all authentication tokens updated successfully.
]0;root@wahaha:~[root@wahaha ~]# mkdir -p /u01/app/oracle/product/11.2.0/db_1
###创建目录###
]0;root@wahaha:~[root@wahaha ~]#
]0;root@wahaha:~[root@wahaha ~]# chown -R oracle:oinstall /u01 ###将其归属于oracle###
]0;root@wahaha:~[root@wahaha ~]# chmod -R 775 /u01
]0;root@wahaha:~[root@wahaha ~]# su - oracle
]0;oracle@wahaha:~[oracle@wahaha ~]$ vi .bash_profile
###更改环境变量###
###标红字的注意一下我的数据库名字是wahaha 所以 sid unqname 必须是 我的host那么必须和主机一致
其他事我的ORACLE_BASE这些都要弄对否则无法安装###
# Oracle Settings
TMP=/tmp; export TMP
TMPDIR=$TMP; export TMPDIR
ORACLE_HOSTNAME=wahaha.localdomain; export ORACLE_HOSTNAME
ORACLE_UNQNAME=wahaha; export ORACLE_UNQNAME
ORACLE_BASE=/u01/app/oracle; export ORACLE_BASE
ORACLE_HOME=$ORACLE_BASE/product/11.2.0/db_1; export ORACLE_HOME
ORACLE_SID=wahaha; export ORACLE_SID
PATH=/usr/sbin:$PATH; export PATH
PATH=$ORACLE_HOME/bin:$PATH; export PATH
LD_LIBRARY_PATH=$ORACLE_HOME/lib:/lib:/usr/lib; export LD_LIBRARY_PATH
CLASSPATH=$ORACLE_HOME/jlib:$ORACLE_HOME/rdbms/jlib; export CLASSPATH
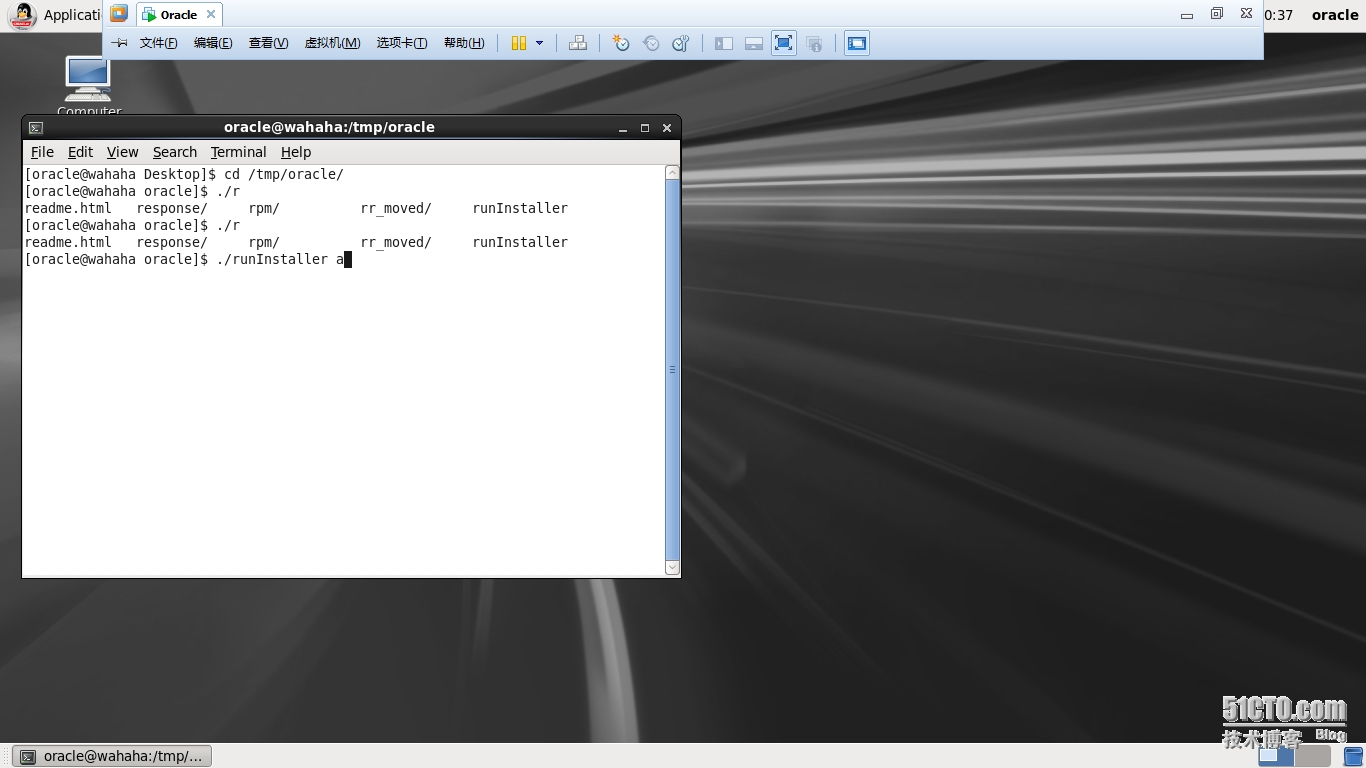
用oracle用户登录直接 ./runInstaller
下一步
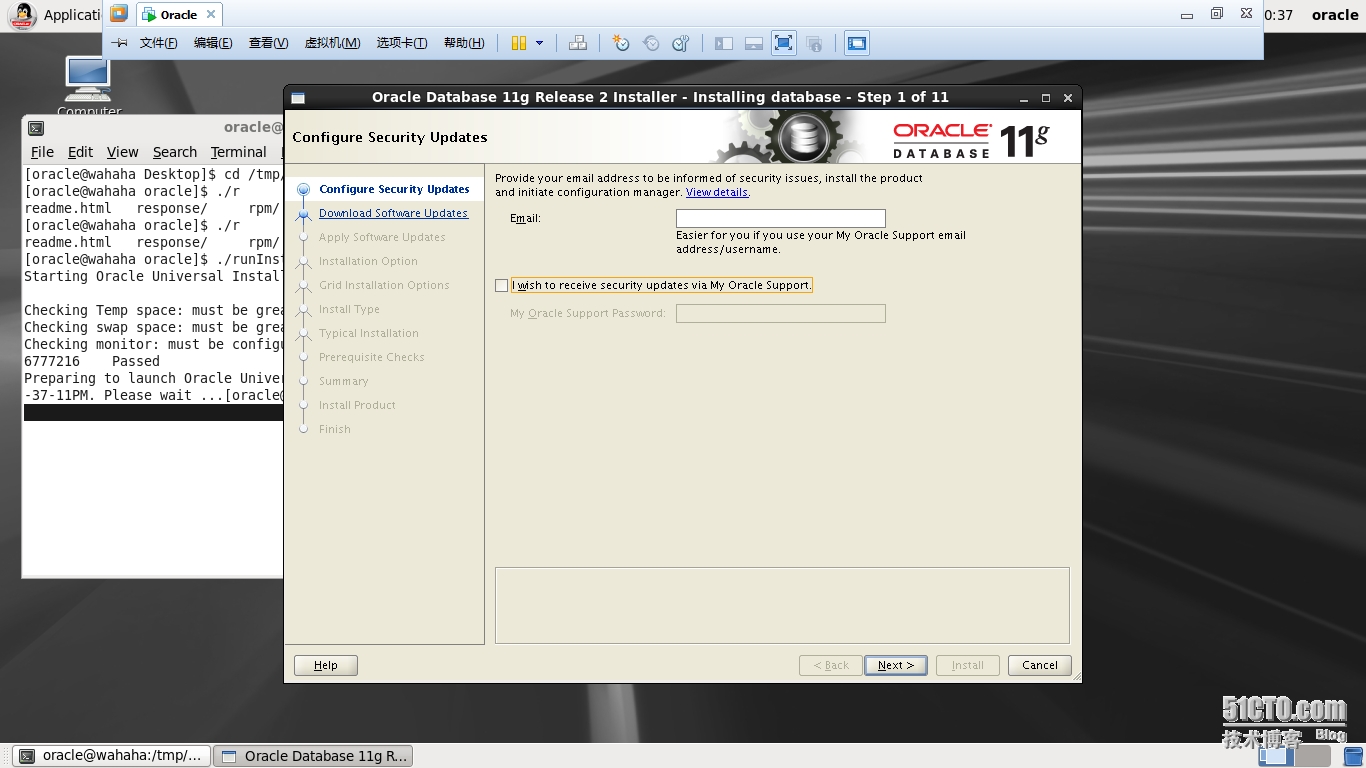
跳过升级oracle服务很贵的说。。。
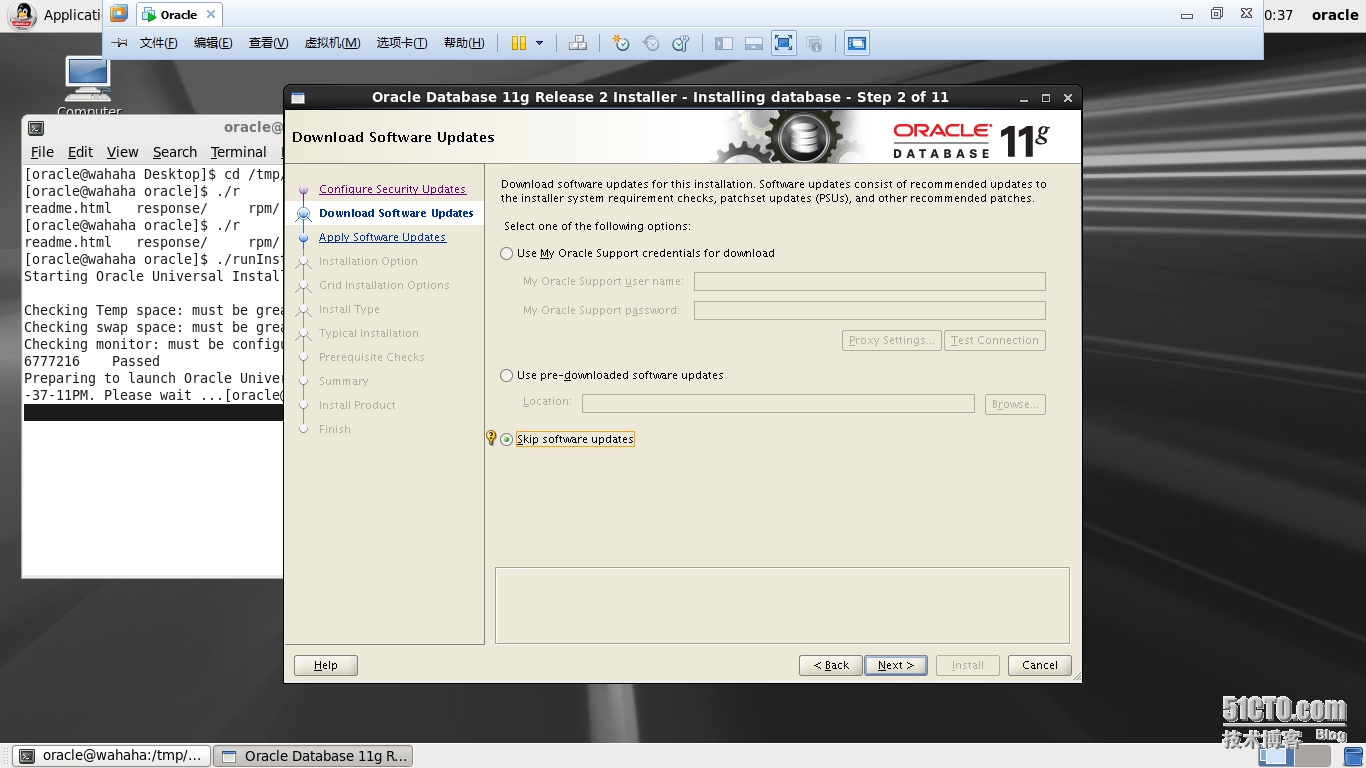
只安装oracledb我会一会创建当然你也可以选择第一个

单实例数据库。RAC以后再研究吧

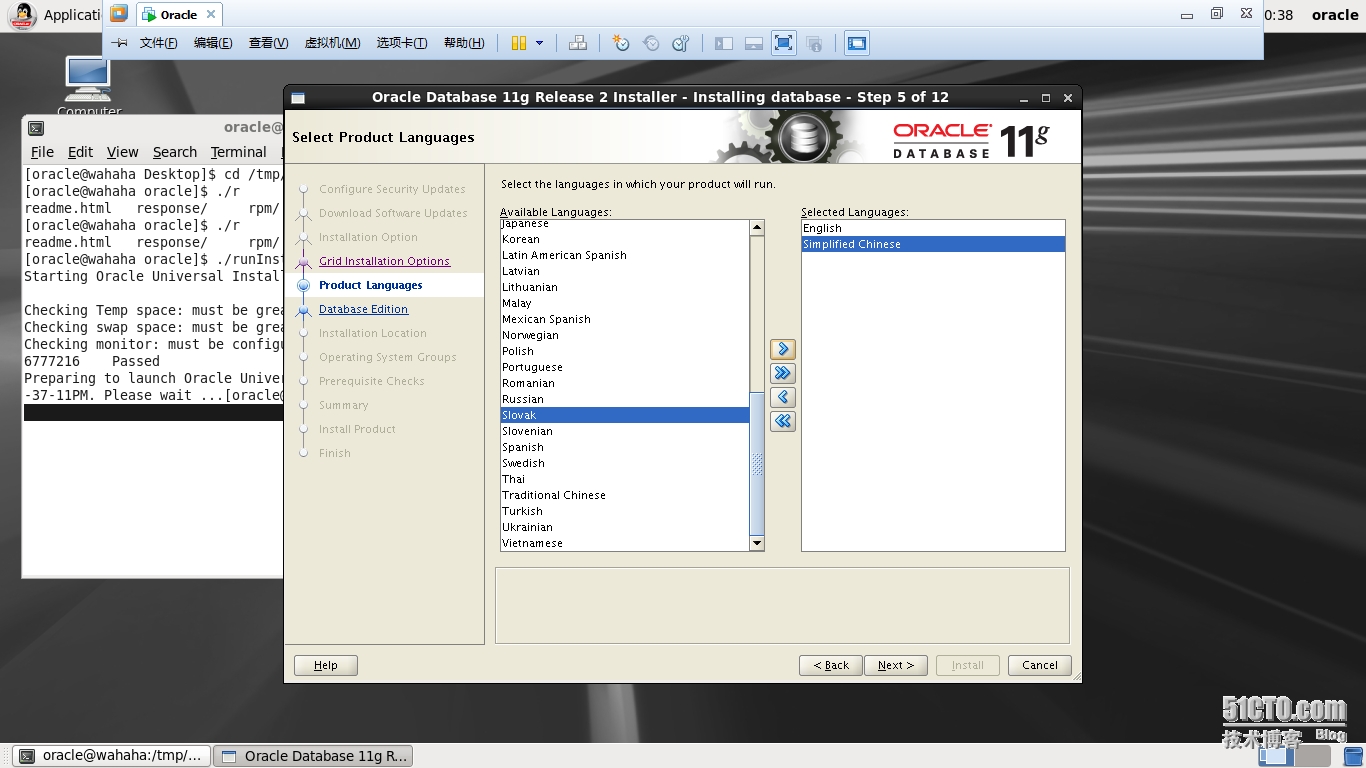
简体中文
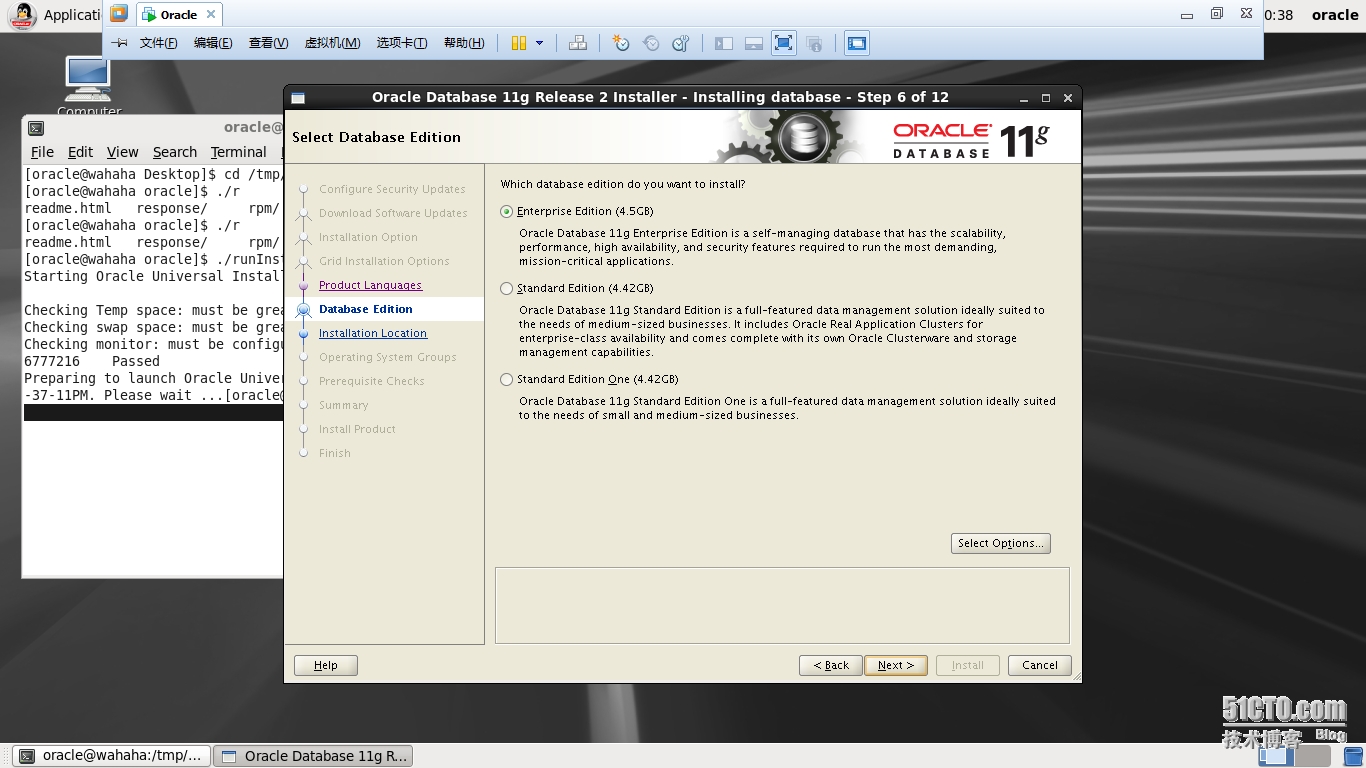
企业版
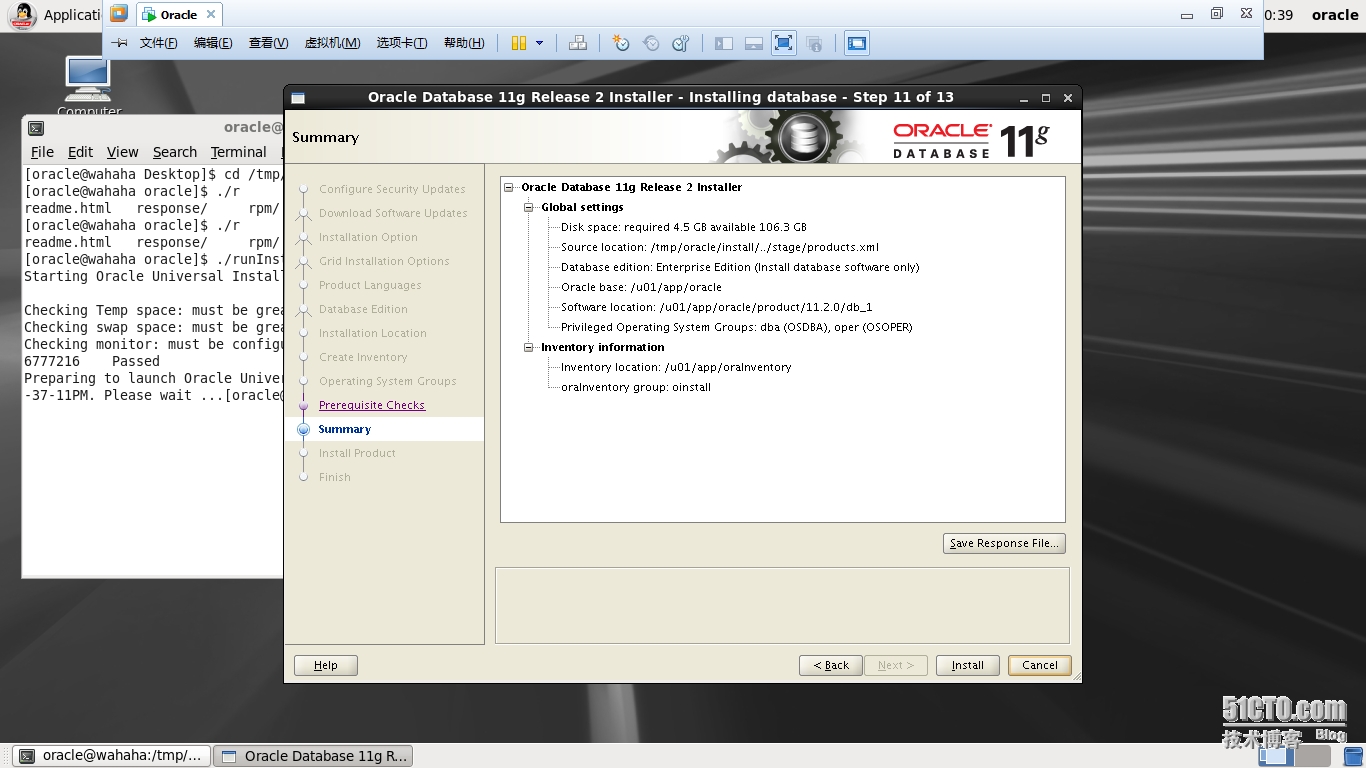
安装目录 自动的 已经写到环境变量了

oinstall

应该还有个oper的图没有截图我选的默认oper
下图是汇总一切OK。。。
安装。。。
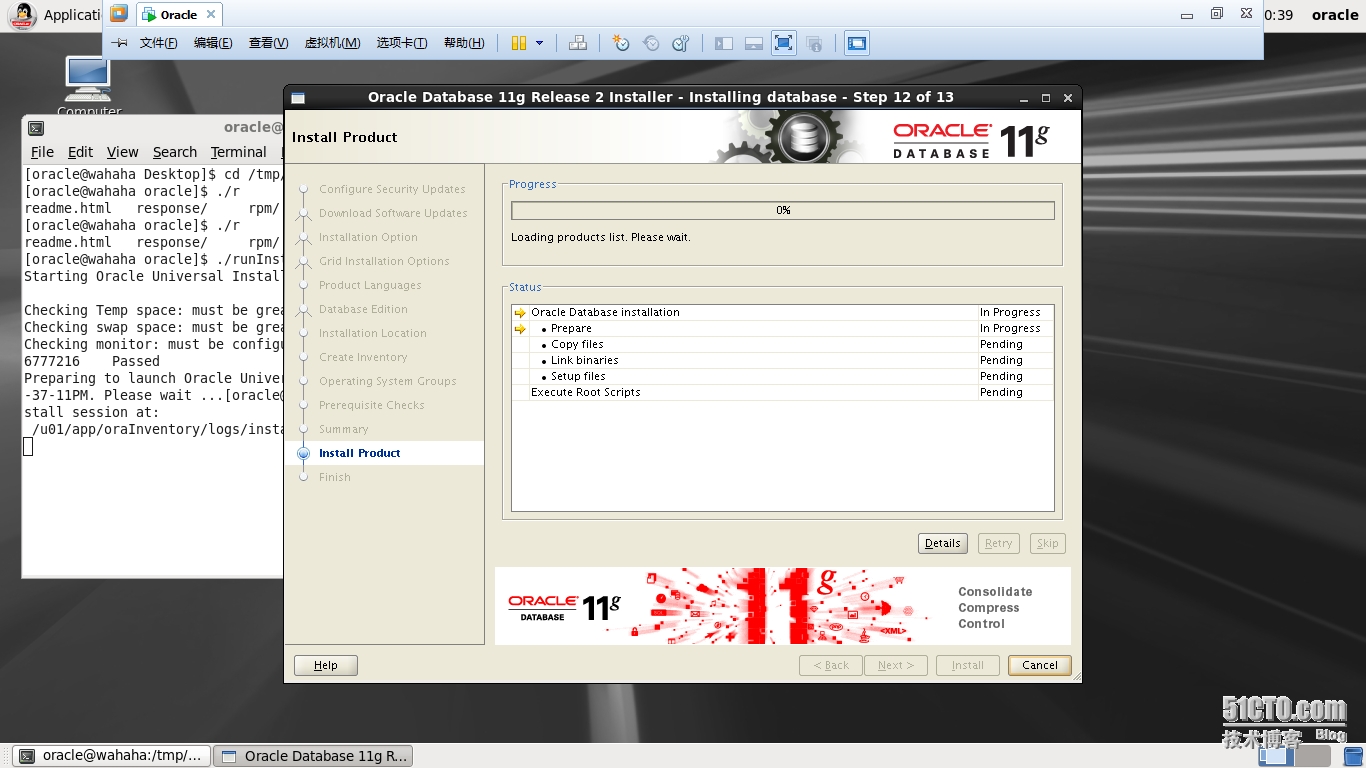
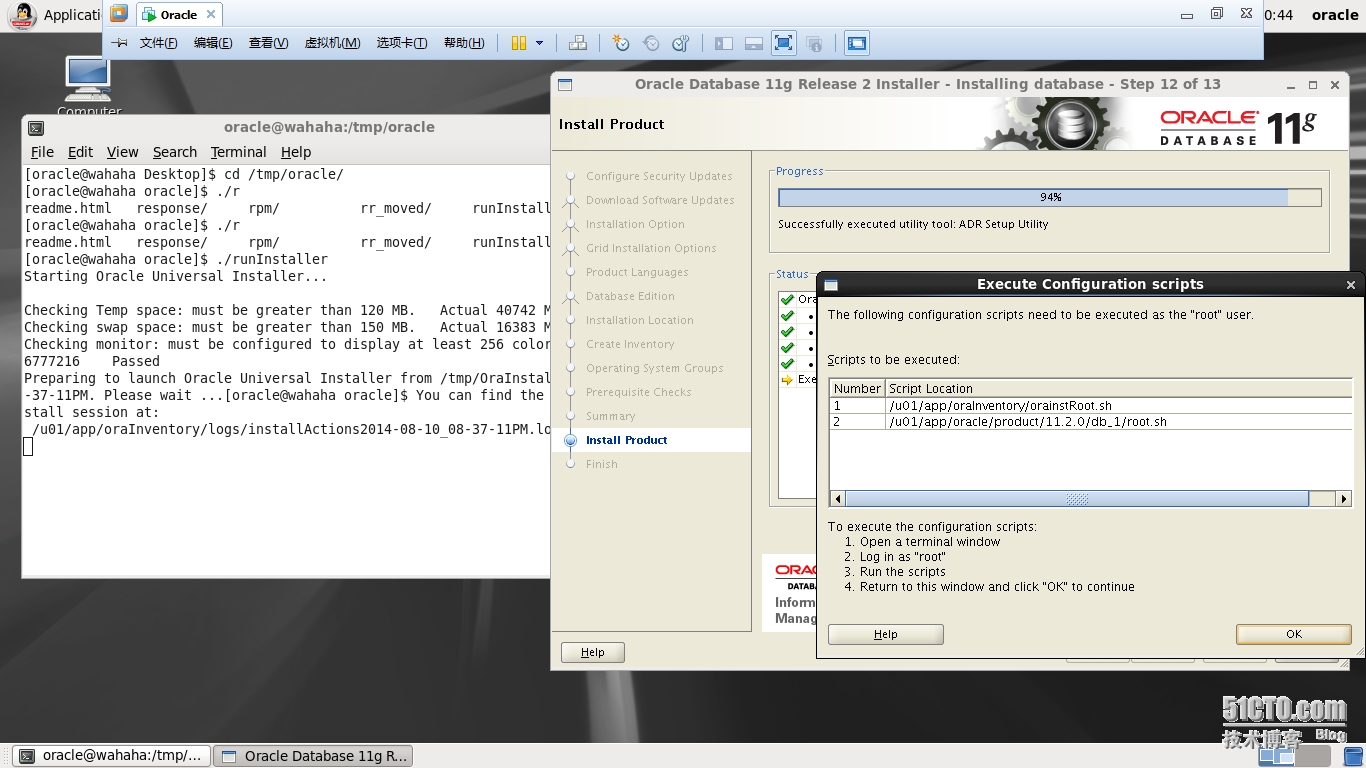
跑这两个脚本ok。。。

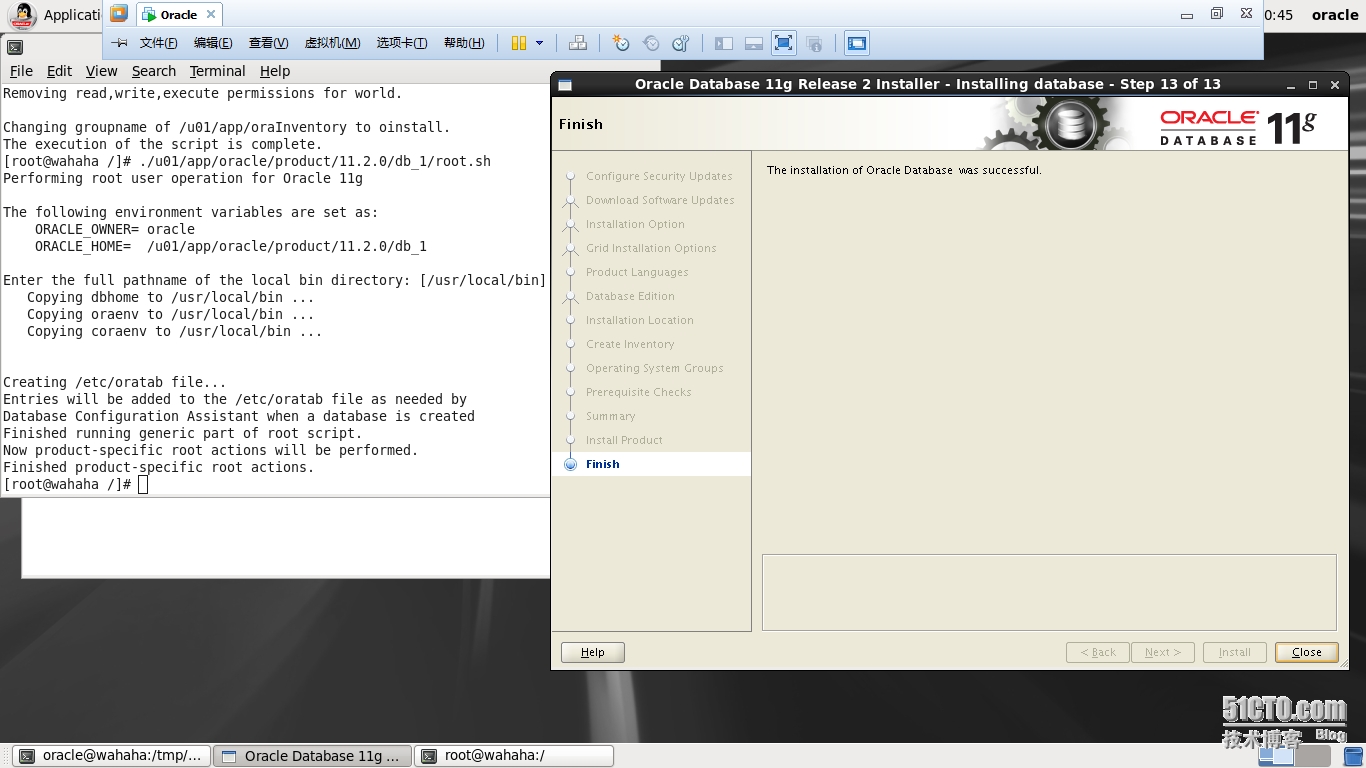
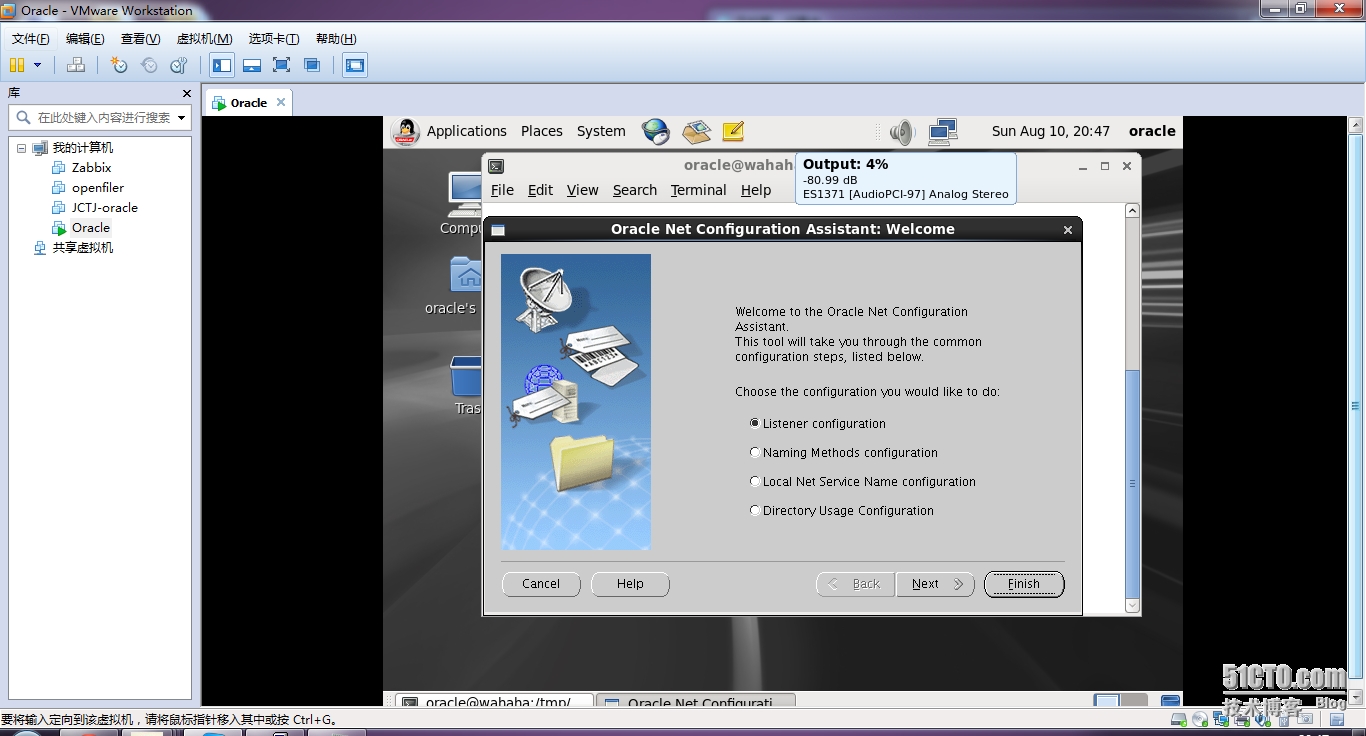
#netca
配置监听。。。全部下一步。。。


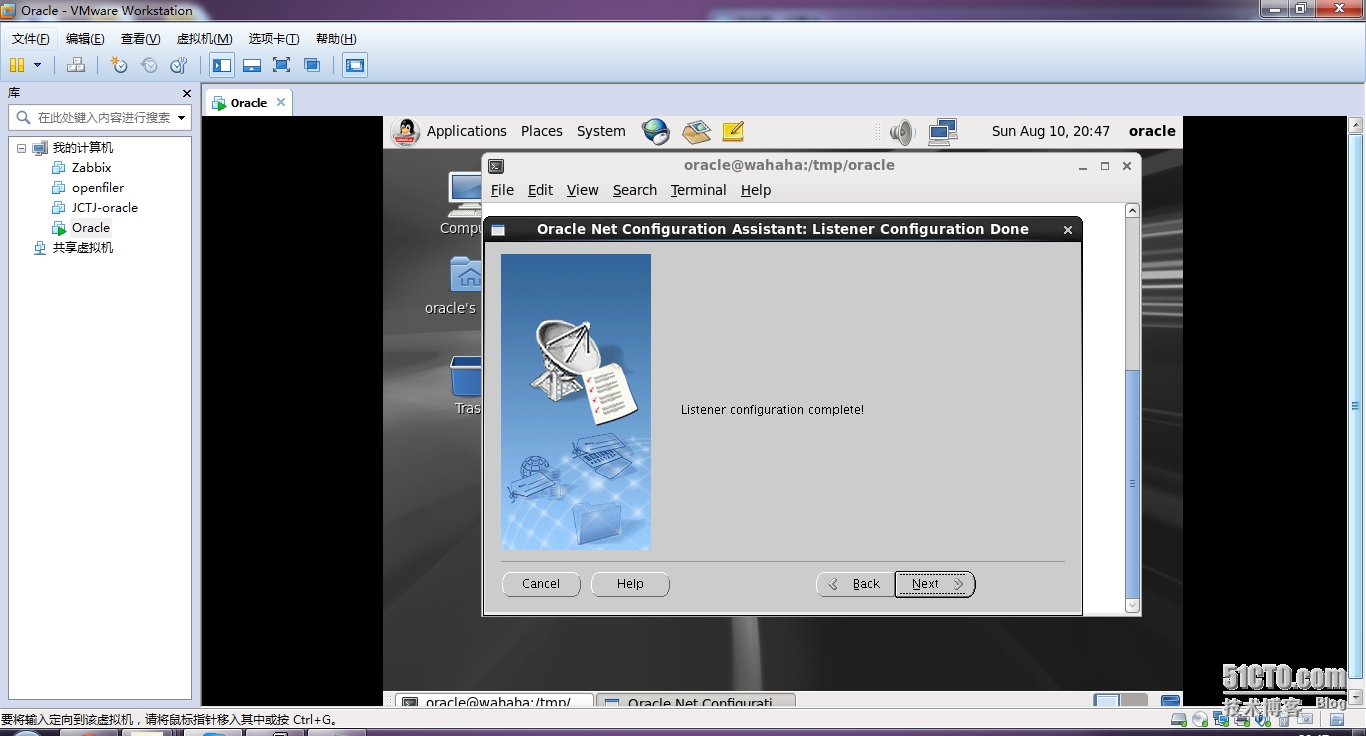
完成。。。
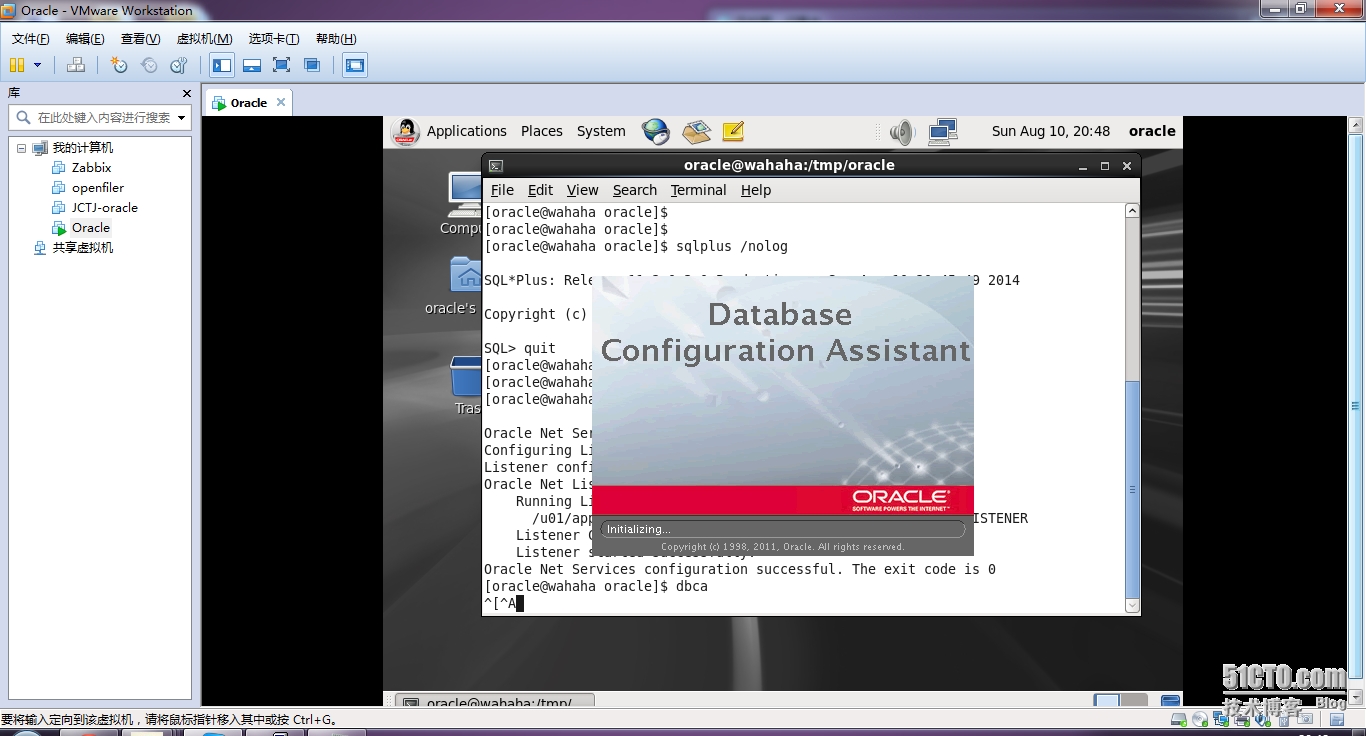
#dbca
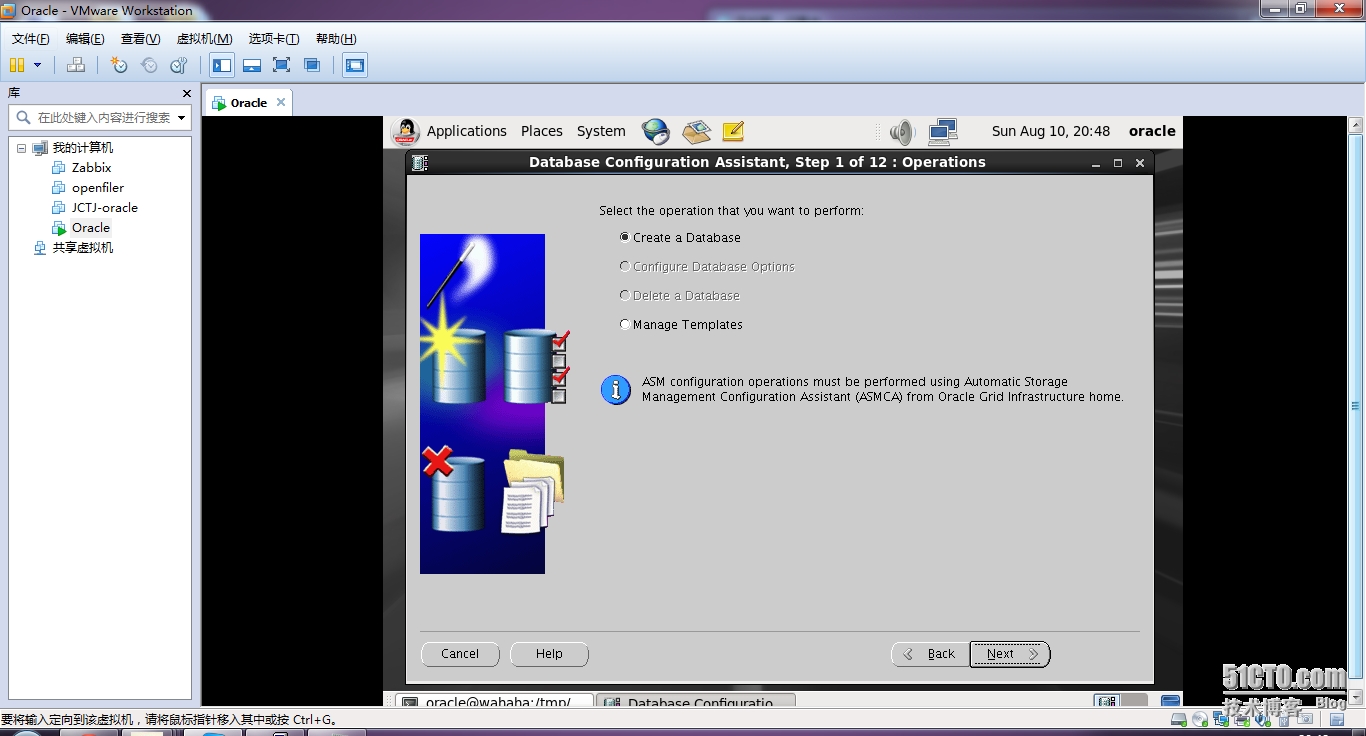
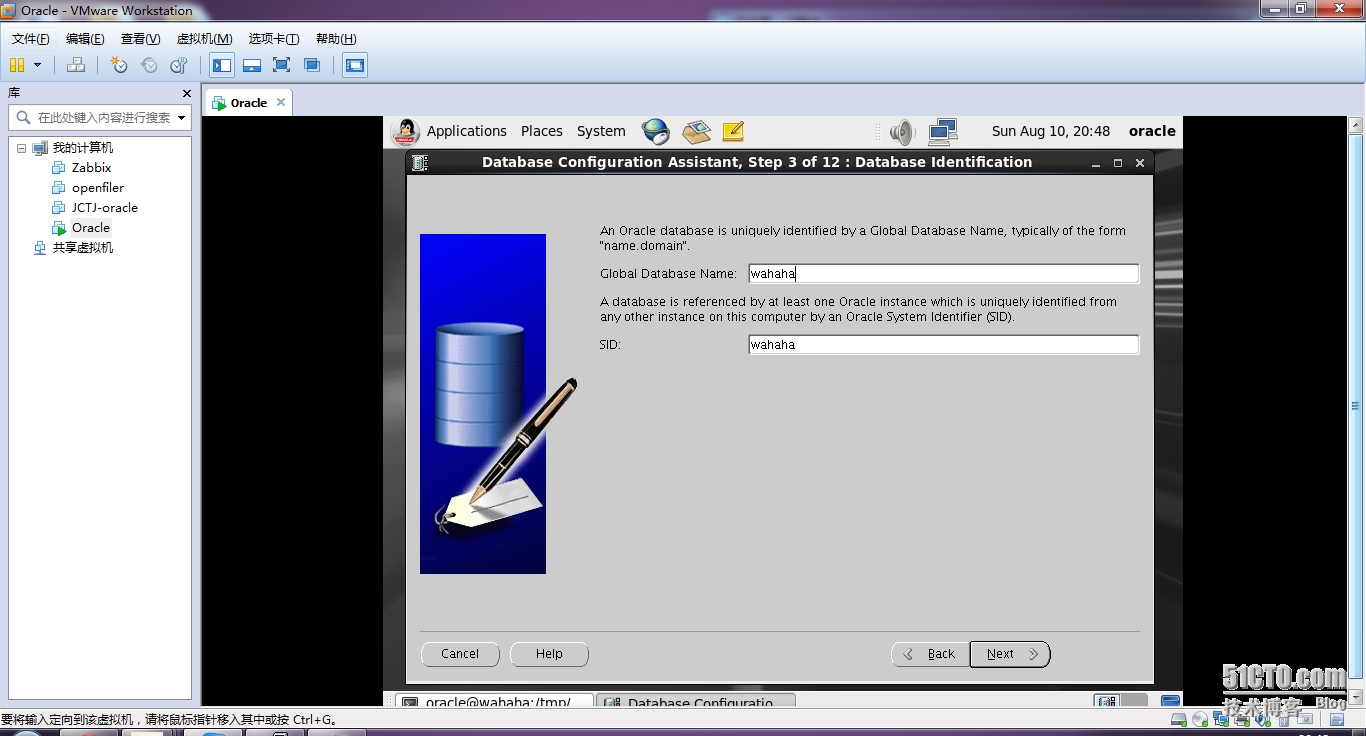
创建数据库
数据库名字 wahaha 和环境变量一致
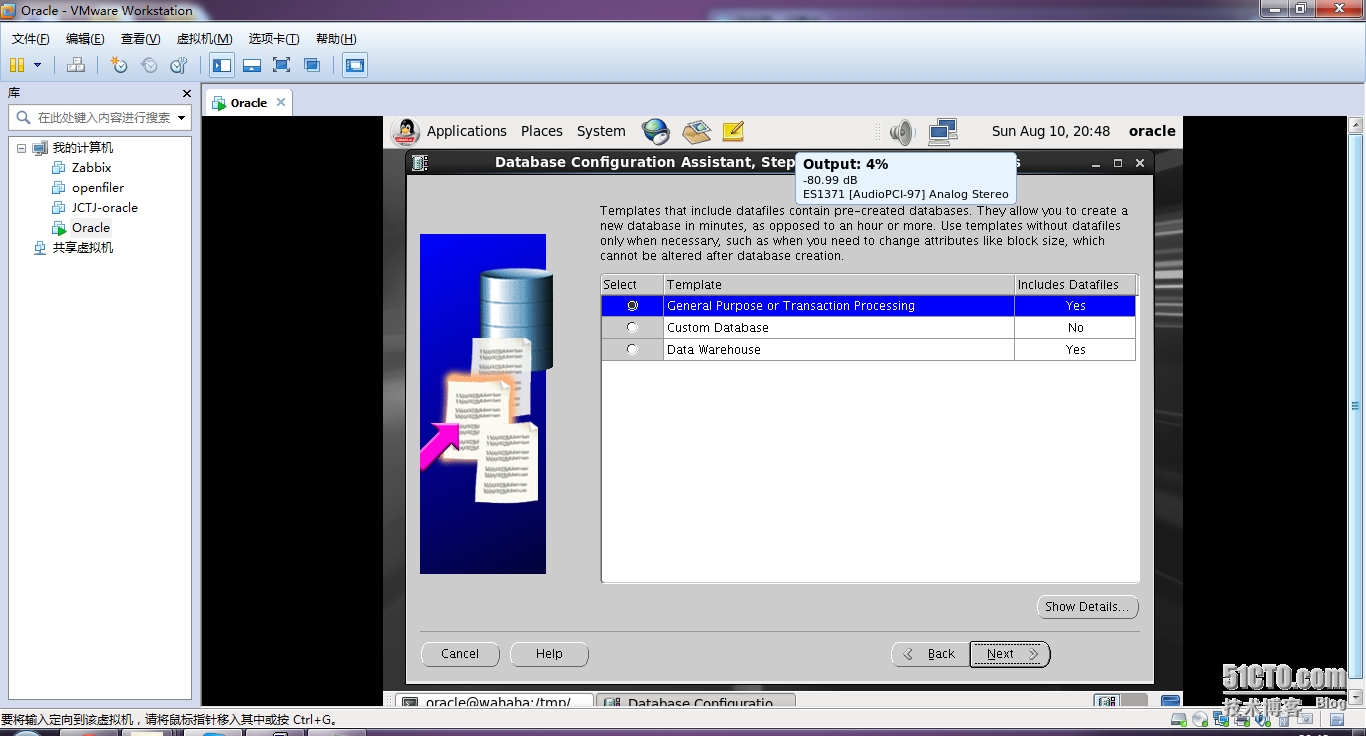
通用。。。当然你可以选择自定义
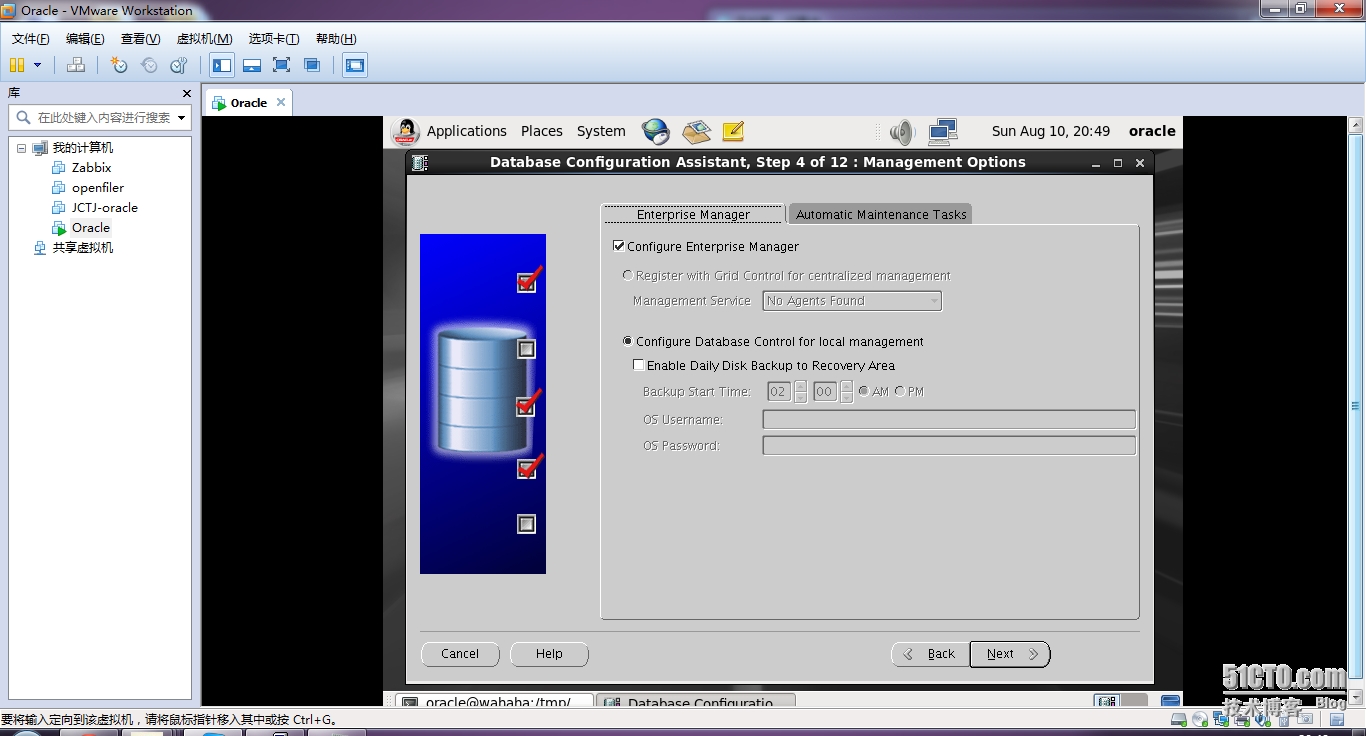
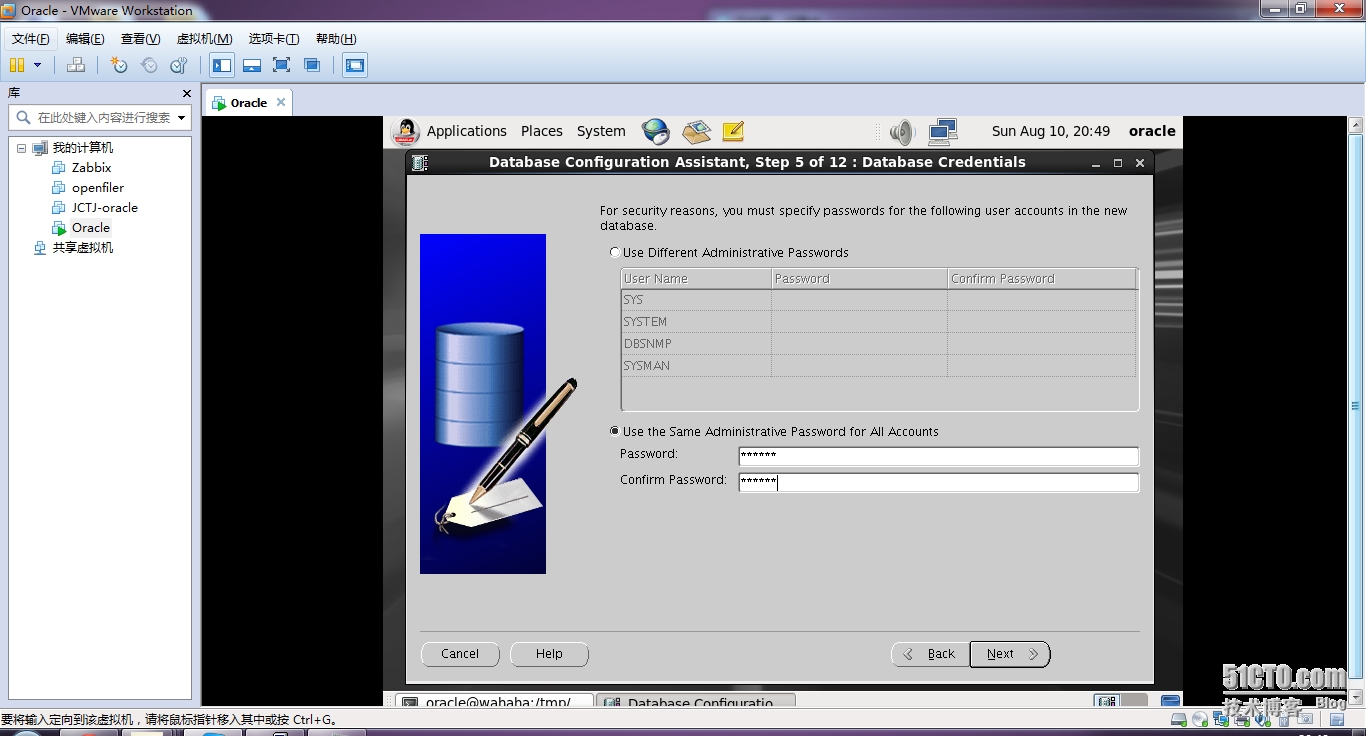
让syssystem。。。。。。通用密码oracle
数据库件到哪里你可以指定我的是/u01/app/oracledata
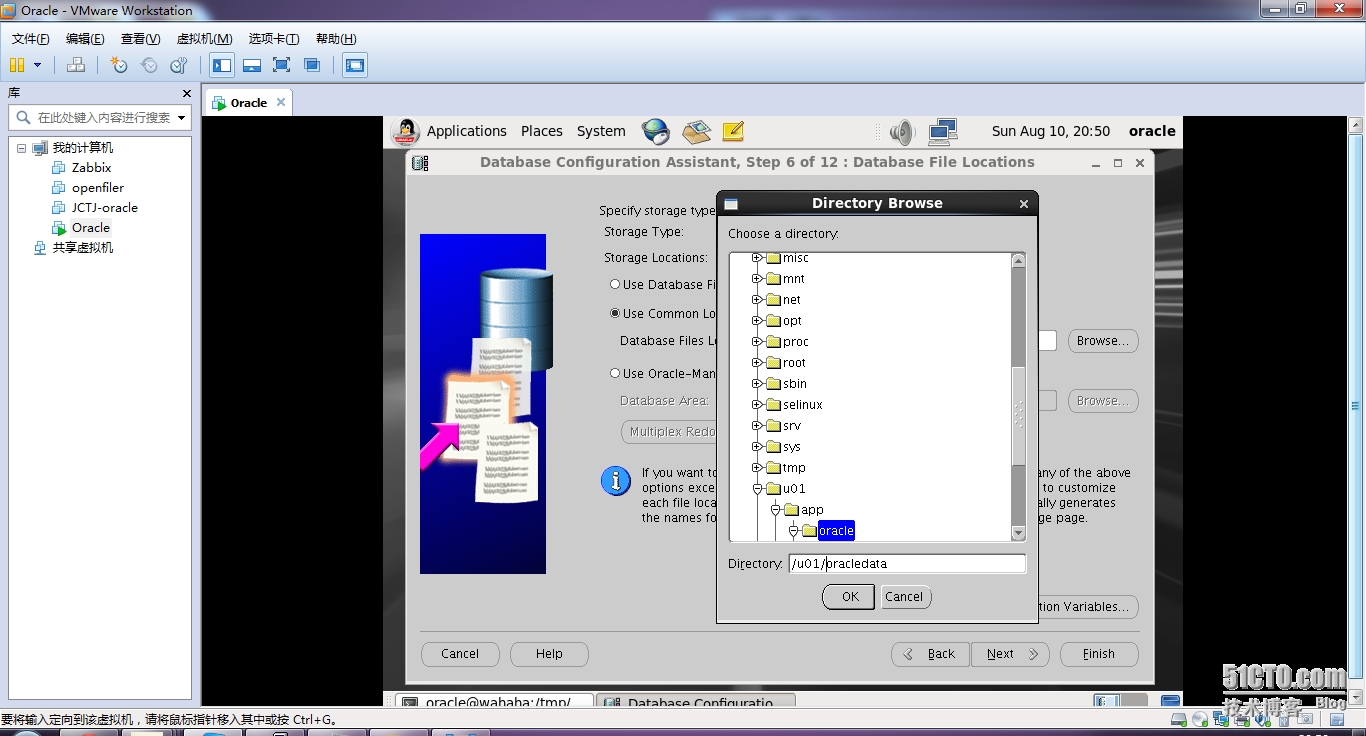
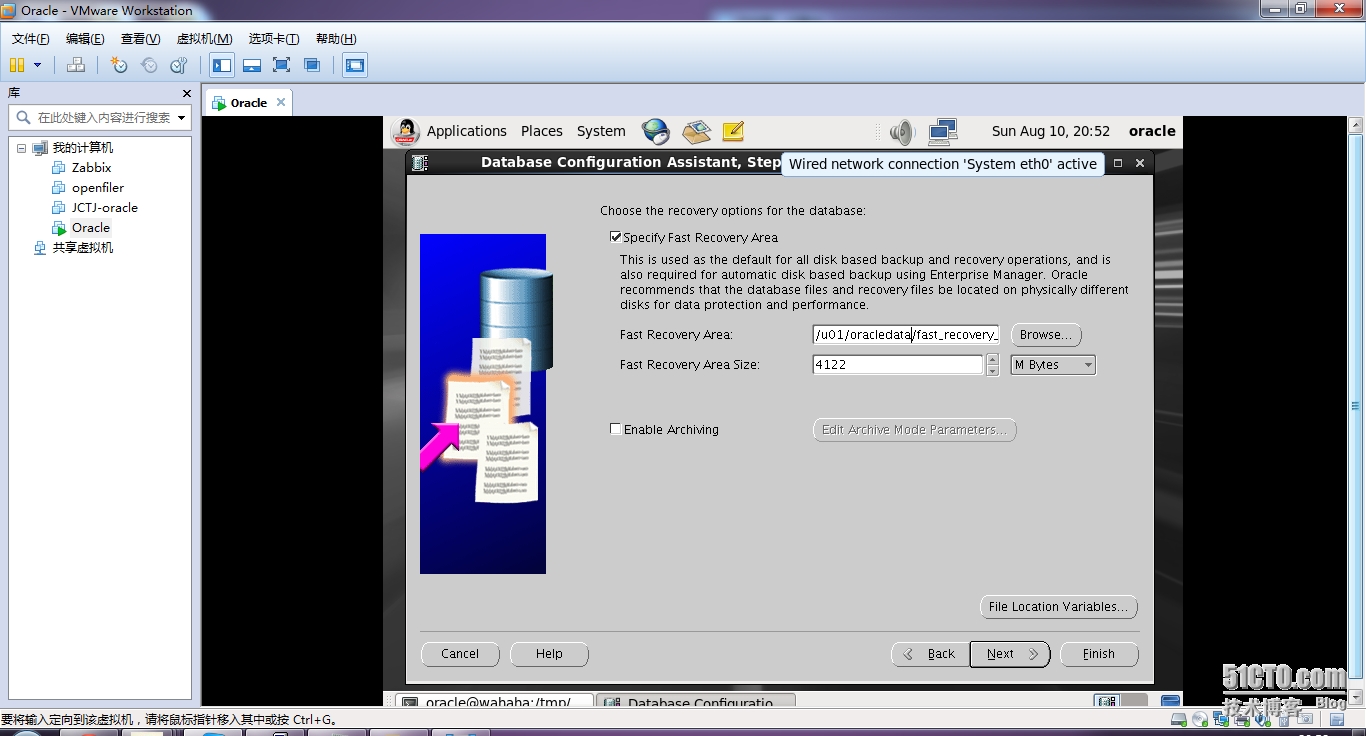
好像是快速恢复。。。目录如图
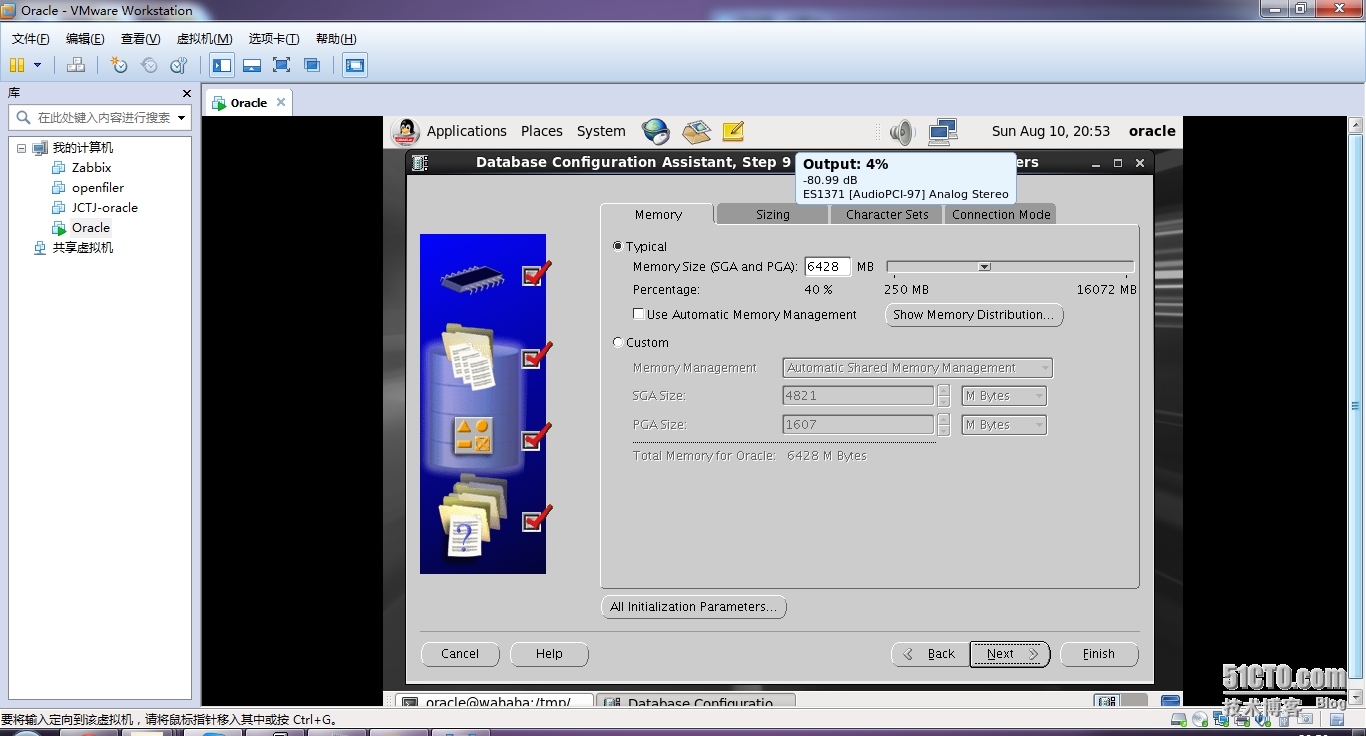
内存调用自动。。。我的是16G
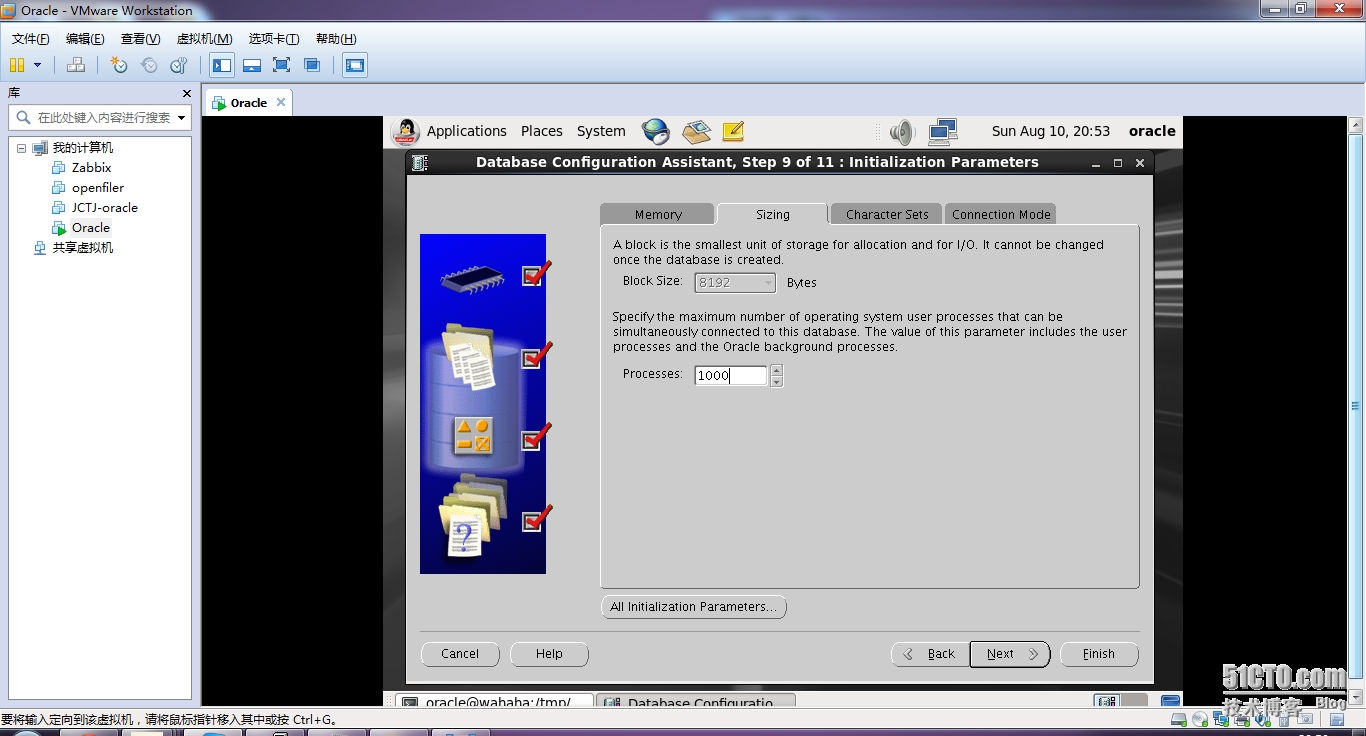
进程1000大吧。。。
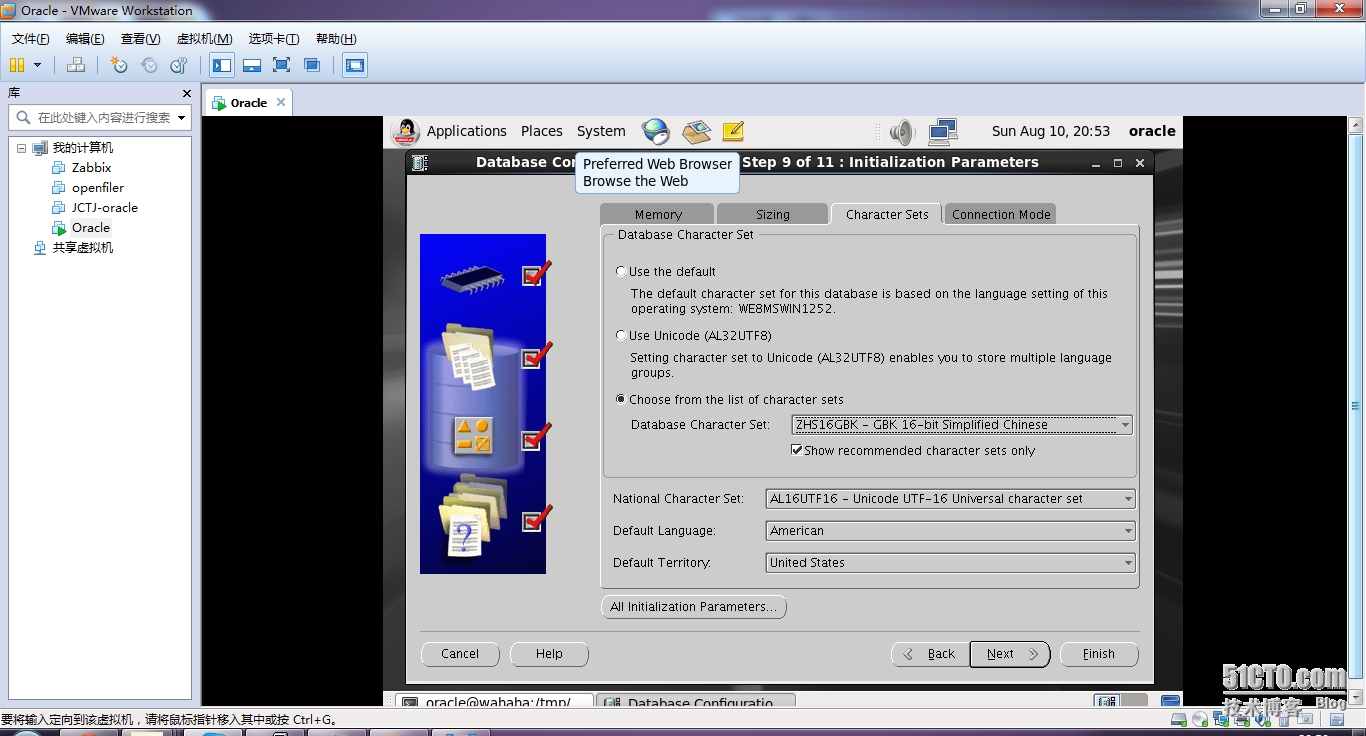
字符设定最重要不对的话中文显示不好。。。如图
log
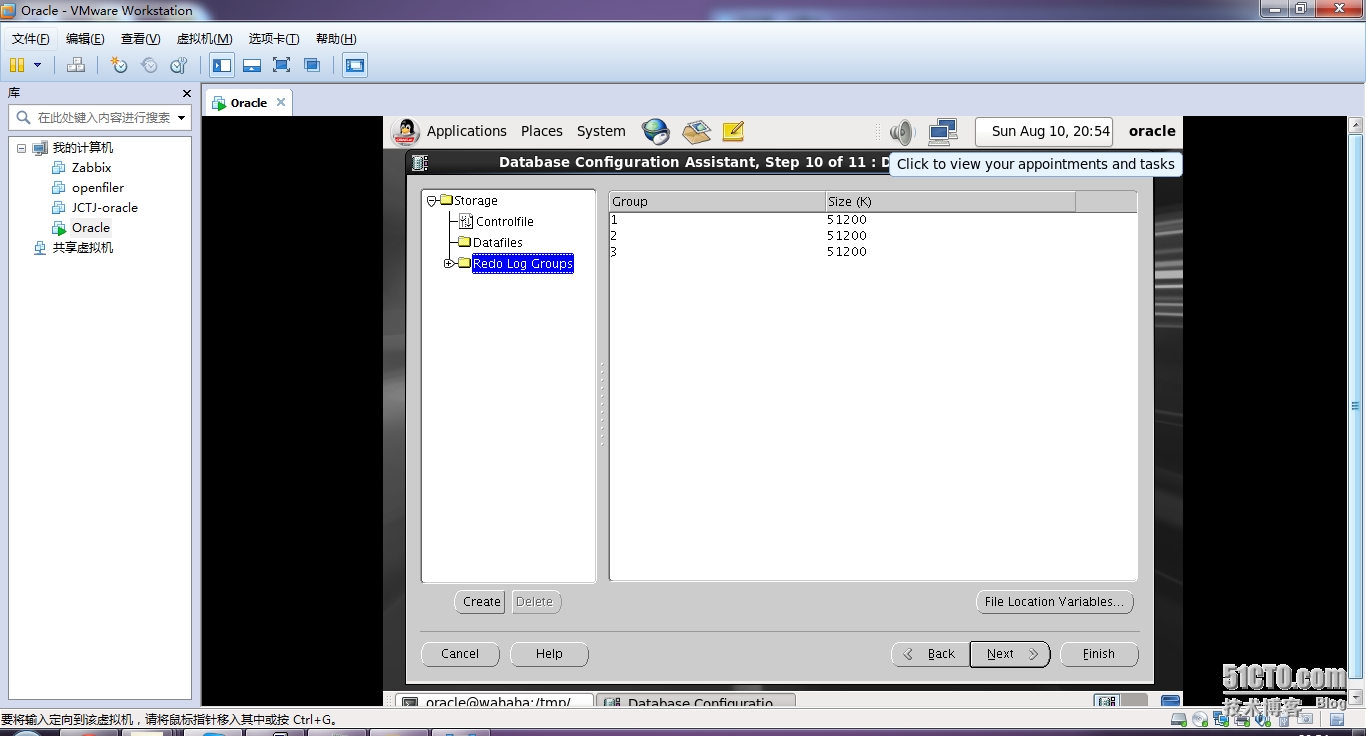
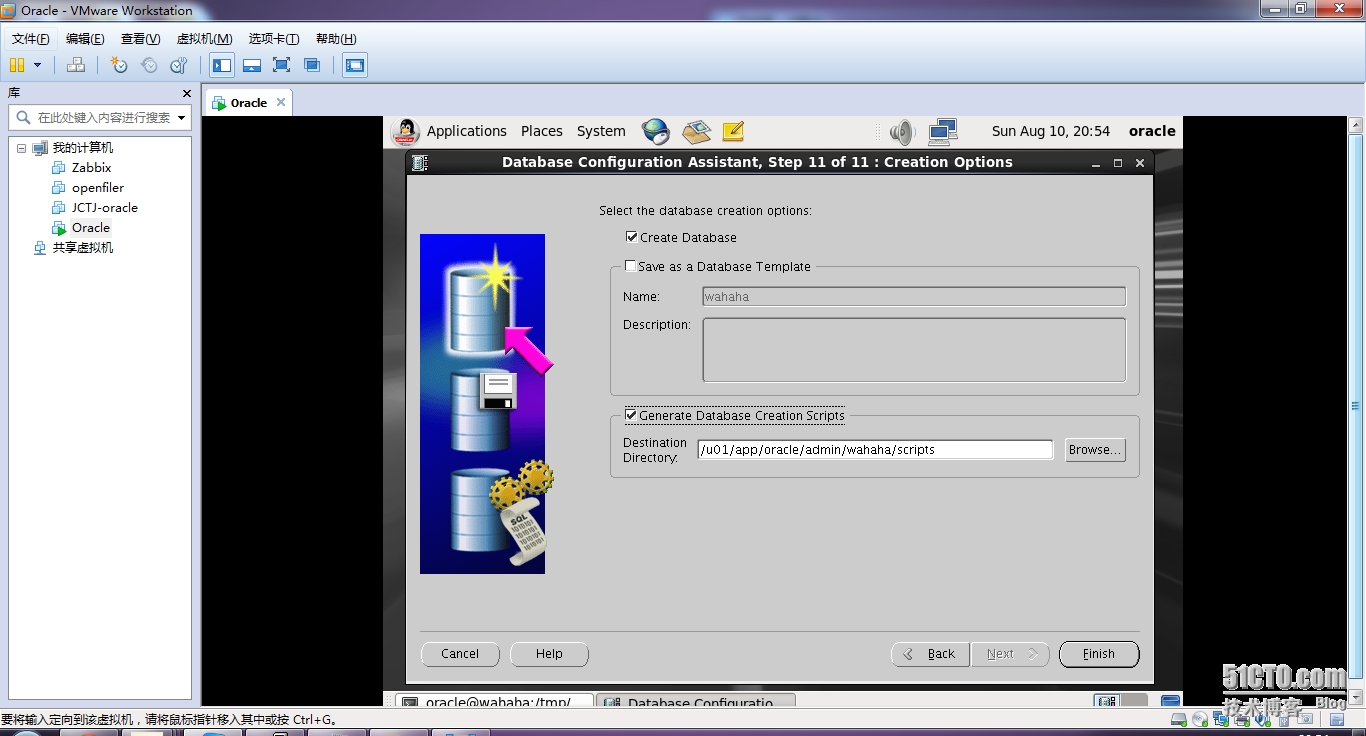
如图生成脚本以后方便。。。
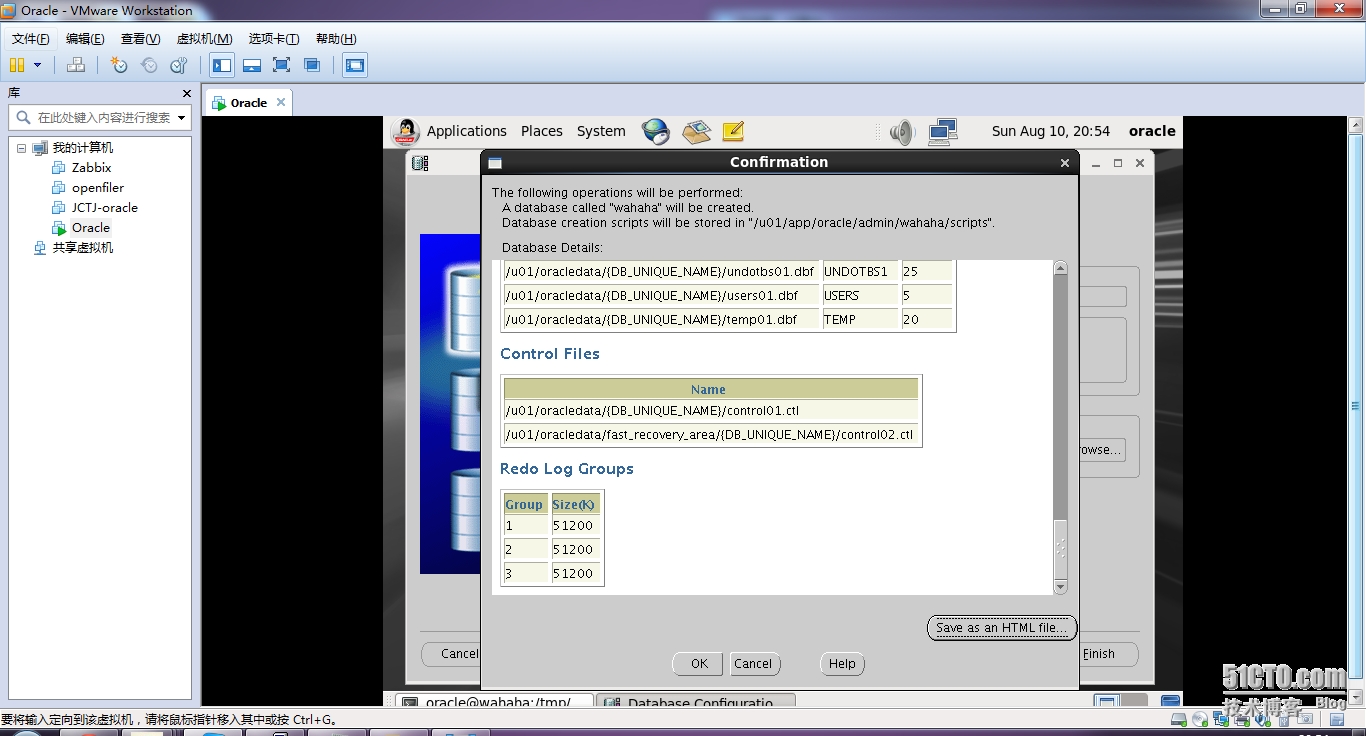
汇总。。。
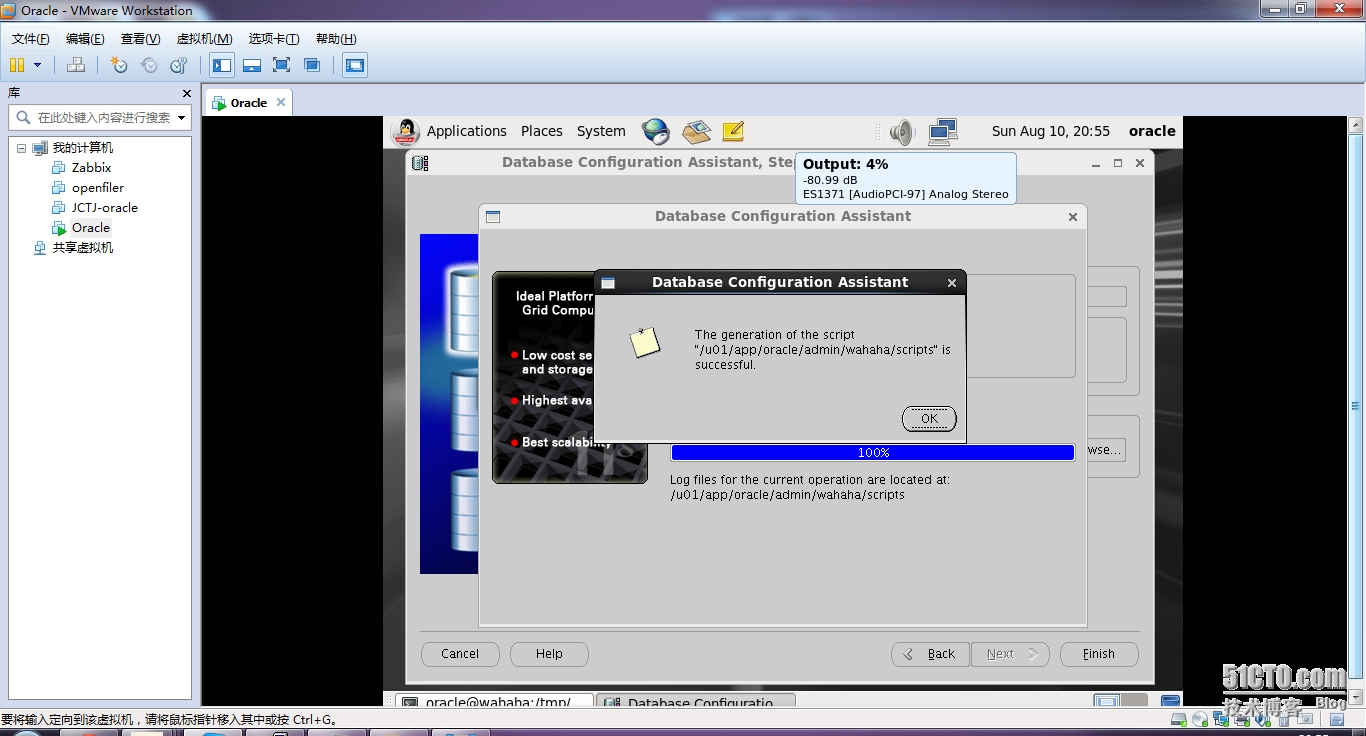
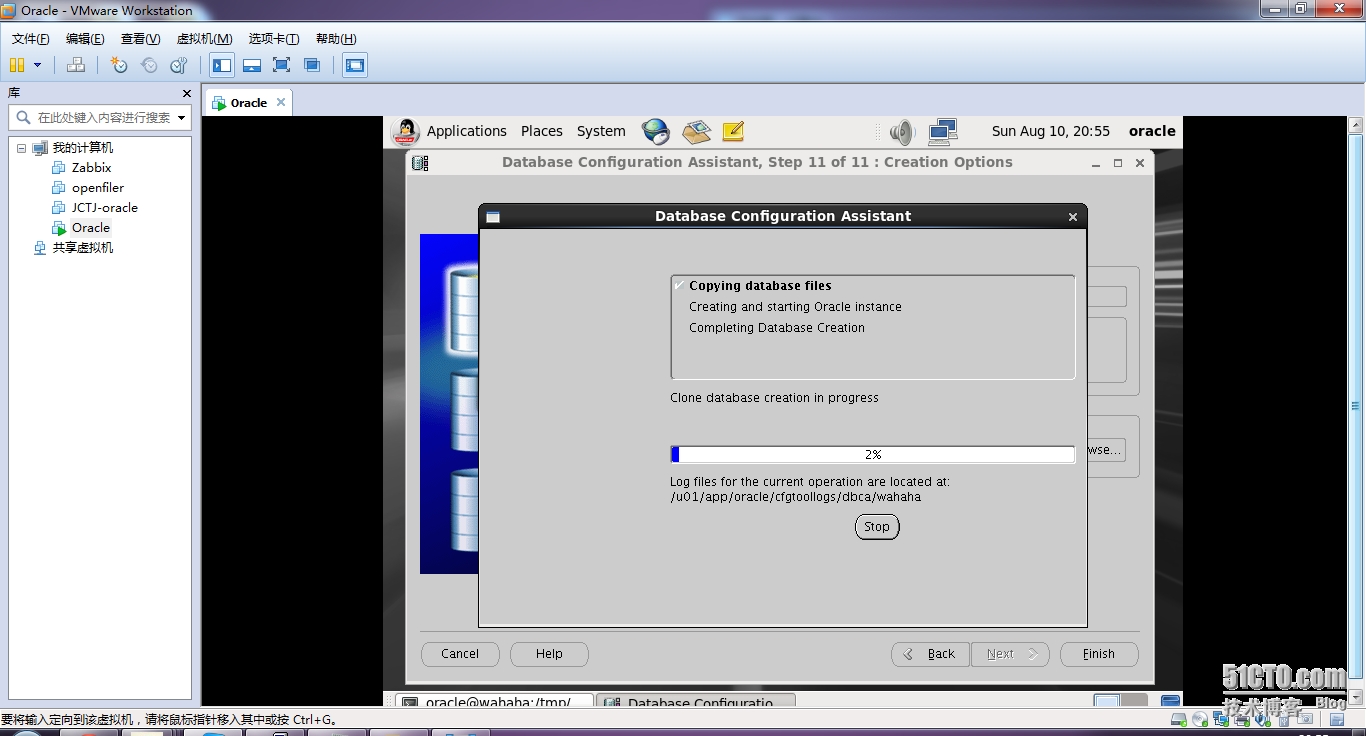
创建。。。
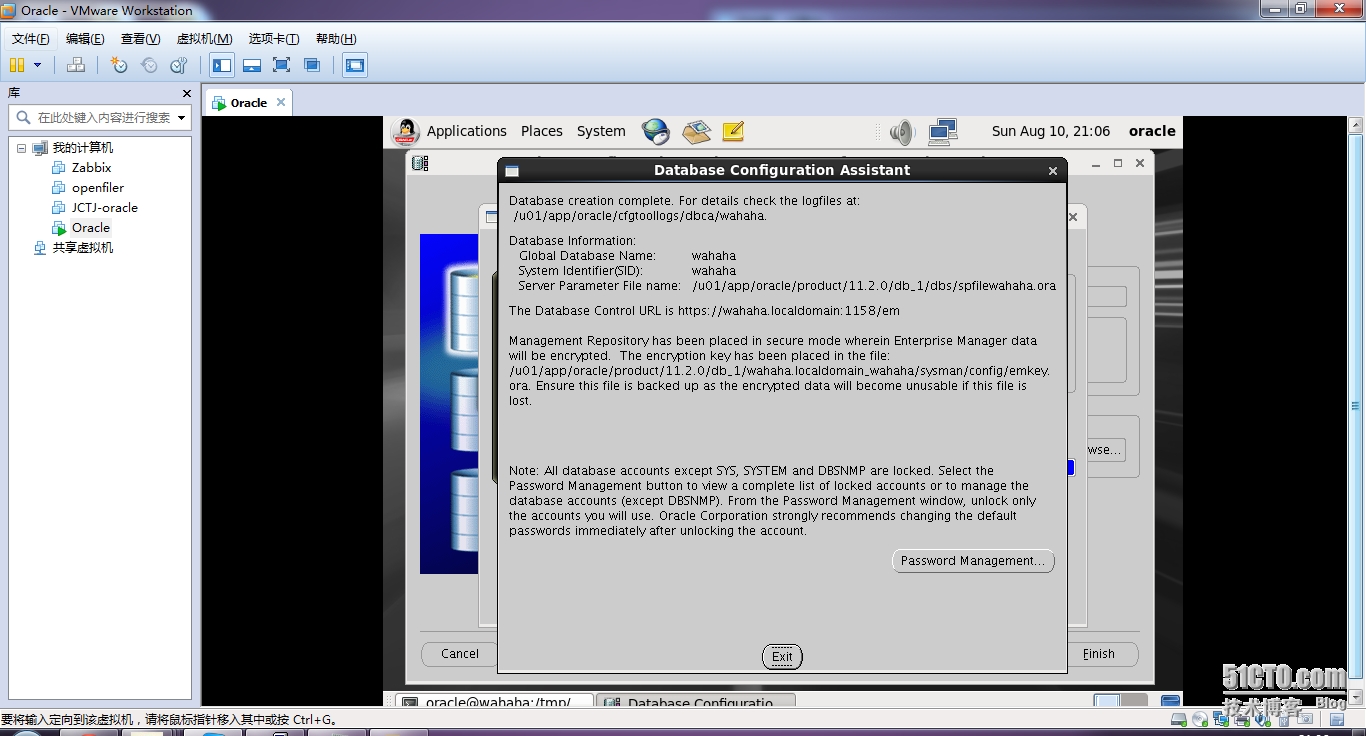
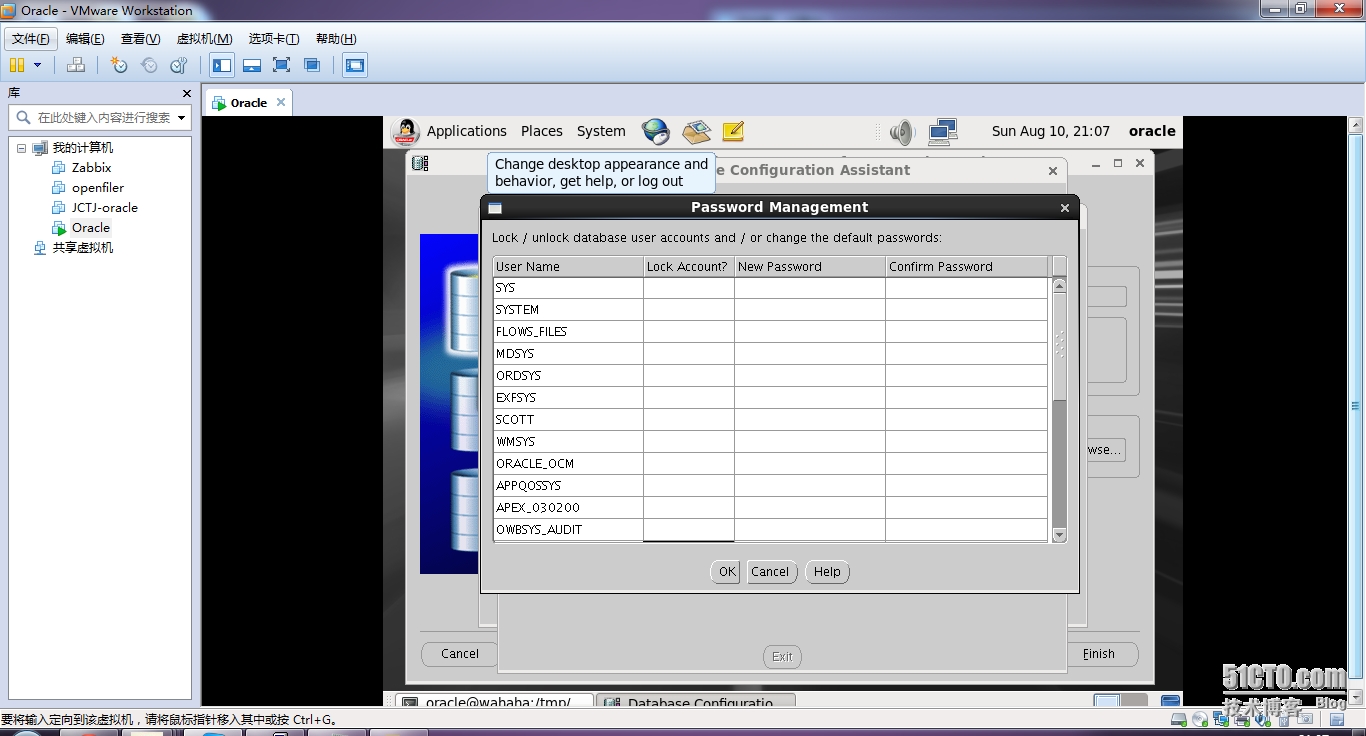
出来sys等都锁闭了我给他们解锁。。。
]0;oracle@wahaha:/tmp/oracle[oracle@wahaha oracle]$
]0;oracle@wahaha:/tmp/oracle[oracle@wahaha oracle]$ sqlplus /nolog ######
SQL*Plus: Release 11.2.0.3.0 Production on Sun Aug 10 21:08:09 2014
Copyright (c) 1982, 2011, Oracle. All rights reserved.
SQL> conn / as sysdba ###登陆###
Connected.
SQL> startup ###实例已经启动###
ORA-01081: cannot start already-running ORACLE - shut it down first
SQL> create table testUser( id integer,name char(10));
Table created.
SQL> insert into testUser values(0,‘mike‘); ###试一下###
1 row created.
SQL> select * from testUser;
ID NAME
---------- ----------
0 mike
SQL> quit
Disconnected from Oracle Database 11g Enterprise Edition Release 11.2.0.3.0 - 64bit Production
With the Partitioning, OLAP, Data Mining and Real Application Testing options
]0;oracle@wahaha:/tmp/oracle[oracle@wahaha oracle]$ exit
logout
]0;root@wahaha:~[root@wahaha ~]# exit
logout
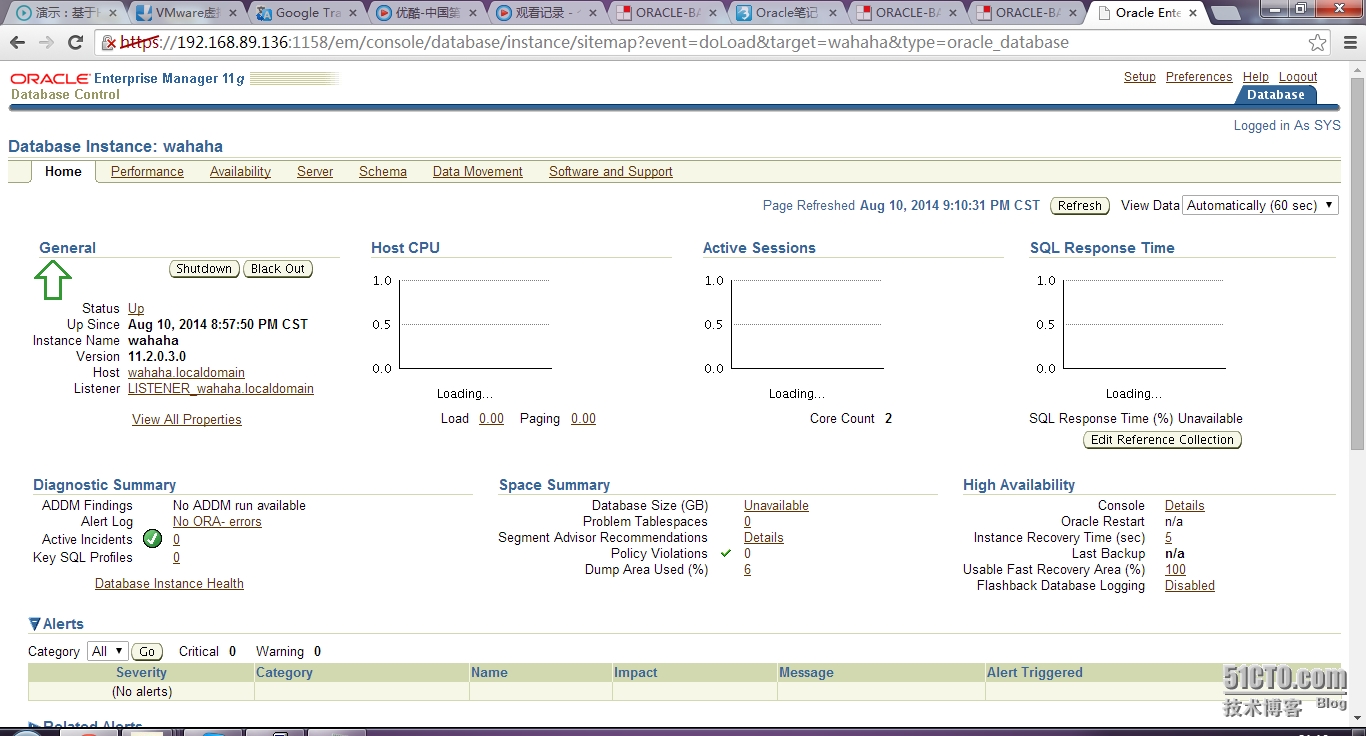
web模式登陆看一下oracle自己的管理。。。
一切OK。。。。。。
本文出自 “ksitigarbha” 博客,请务必保留此出处http://ksitigarbha.blog.51cto.com/1013724/1538333
