首页 > 代码库 > Apache+php+memcache集群搭建
Apache+php+memcache集群搭建
实验环境:RHEL7.0 server1.example.com 172.25.254.1
server2.example.com 172.25.254.2
实验前提:已经编译安装完成php与nginx,具体内容可参考博客前边内容:。
实验内容:1.memcache安装
2.编译安装memcache使其支持php
3.修改php配置文件并配置memcache的测试页
4.测试
安装包:memcache-2.2.5.tgz
1.memcache安装(memcache的端口号是11211)
[root@server1 ~]# yum install memcached -y
[root@server1 ~]# /etc/init.d/httpd start
[root@server1 ~]# /etc/init.d/memcached start
[root@server1 ~]# curl -I localhost
HTTP/1.1 200 OK
Date: Sun, 11 Sep 2016 16:31:52 GMT
Server: Apache/2.2.15 (Red Hat)
Last-Modified: Sun, 11 Sep 2016 16:15:02 GMT
ETag: "1fca9-8-53c3dae8ae0cf"
Accept-Ranges: bytes
Content-Length: 8
Connection: close
Content-Type: text/html; charset=UTF-8
[root@server1 ~]# telnet 127.0.0.1 11211
Trying 127.0.0.1...
Connected to 127.0.0.1.
Escape character is ‘^]‘.
stats
STAT pid 2759
STAT uptime 14
STAT time 1473611553
STAT version 1.4.4
........................
STAT total_items 0
STAT evictions 0
END
2.编译安装memcache使其支持php
[root@server1 mnt]# php -m |grep memcache ### 可以看到php不支持memcached
[root@server1 ~]# cd /mnt/
[root@server1 mnt]# ls
memcache-2.2.5.tgz
[root@server1 mnt]# tar -zxf memcache-2.2.5.tgz ###解压tar zxf memcache-2.2.5.tgz
[root@server1 mnt]# cd memcache-2.2.5 ###进入解压目录
[root@server1 memcache-2.2.5]# ls
[root@server1 memcache-2.2.5]# phpize ##会自动生成configure
Configuring for:
PHP Api Version: 20131106
Zend Module Api No: 20131226
Zend Extension Api No: 220131226
[root@server1 memcache-2.2.5]# yum install libtool -y
[root@server1 memcache-2.2.5]# ./configure \
> --prefix=/usr/local/lnmp/php/modules \
> --enable-memcache
[root@server1 memcache-2.2.5]# make ##编译
[root@server1 memcache-2.2.5]# make install ###安装
Installing shared extensions: /usr/local/lnmp/php/lib/php/extensions/no-debug-non-zts-20131226/
[root@server1 memcache-2.2.5]# cd /usr/local/lnmp/php/lib/php/extensions/no-debug-non-zts-20131226/
[root@server1 no-debug-non-zts-20131226]# ls
memcache.so opcache.a opcache.so
[root@server1 no-debug-non-zts-20131226]# /etc/init.d/memcached restart
3.编译PHP配置文件并配置memcache的测试页
[root@server1 ~]# vim /usr/local/lnmp/php/etc/php.ini
863 extension=memcache.so
[root@server1 ~]# /etc/init.d/fpm restart
[root@server1 ~]# php -m |grep mem ###查看php是否支持memcached
memcache
[root@server1 ~]# cd /mnt/memcache-2.2.5
[root@server1 memcache-2.2.5]# cp example.php memcache.php /usr/local/lnmp/nginx/html/
[root@server1 memcache-2.2.5]# cd /usr/local/lnmp/nginx/html/
[root@server1 html]# vim example.php ##分析信息不做修改
22 define(‘ADMIN_USERNAME‘,‘memcache‘); // Admin Username
23 define(‘ADMIN_PASSWORD‘,‘willis‘); // Admin Password ##willis为密码
28 $MEMCACHE_SERVERS[] = ‘127.0.0.1:11211‘; // add more as an array
29 #$MEMCACHE_SERVERS[] = ‘mymemcache-server2:11211‘; // add more as an array
[root@server1 html]# nginx -s reload
4.测试
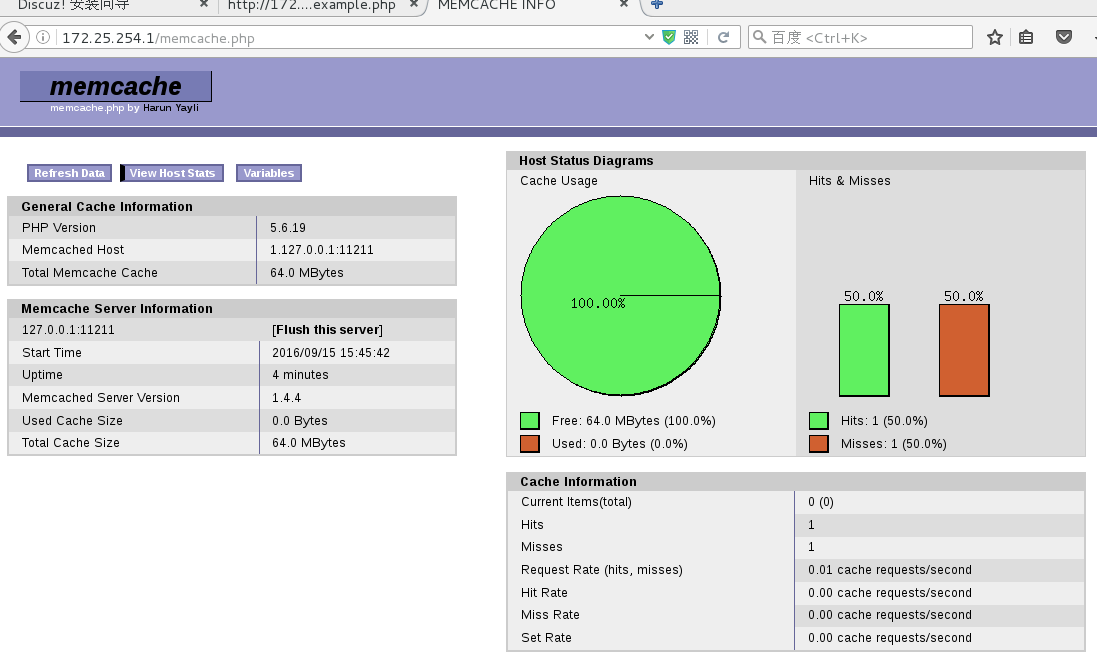
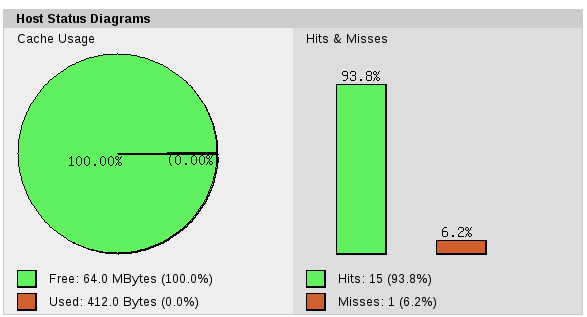
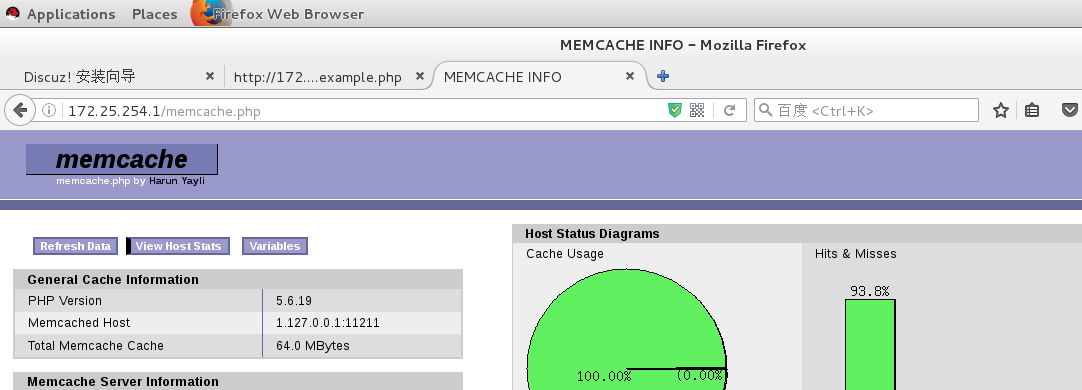
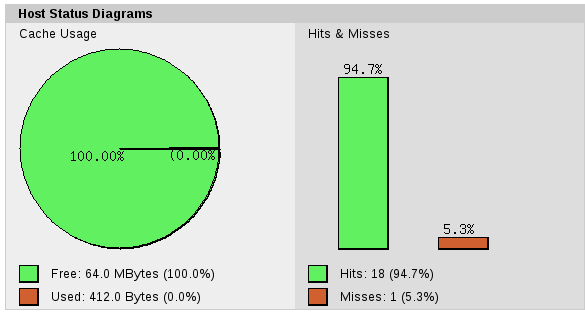
http://172.25.6.10/example.php##访问网站并多次刷新
http://172.25.6.10/memcache.php##查看命中率


本文出自 “技术人生,简单不简单” 博客,请务必保留此出处http://willis.blog.51cto.com/11907152/1853588
Apache+php+memcache集群搭建
