首页 > 代码库 > 搭建博客
搭建博客
1. 启动httpd:
[root@hao-01 ~]# /usr/local/apache2.4/bin/apachectl start
2. 搜索 httpd进程,查看是否启动?
[root@hao-01 ~]# ps aux |grep httpd
3. 启动mysal:
启动mysqld服务:
[root@hao-01 ~]# service mysqld start
或者:启动mysqld服务(命令行模式):
[root@hao-01 ~]#/usr/local/mysql/bin/mysqld_safe -defaults-file=/etc/my.cnf --user=mysql --datadir=/data/mysql &
4. 搜索mysql进程,查看是否启动?
[root@hao-01 ~]# ps aux |grep mysql
5. 编辑虚拟主机配置文件:
[root@hao-01 ~]# vim /usr/local/apache2.4/conf/extra/httpd-vhosts.conf
插入内容:
<VirtualHost *:80>
ServerName www.zhuneianxiang.com
DocumentRoot "/data/wwwroot/www.zhuneianxiang.com"
</VirtualHost>

6. 创建虚拟主机网站blog.111.com的存放目录:
[root@hao-01 ~]# mkdir /data/wwwroot/www.zhuneianxiang.com
7. 检测虚拟机配置文件是否有错误:
[root@hao-01 ~]# /usr/local/apache2.4/bin/apachectl -t
8. 重新加载配置文件(不会重启服务)
[root@hao-01 ~]# /usr/local/apache2.4/bin/apachectl graceful
9. 进入blog.111.com虚拟主机网站存放目录:
[root@hao-01 ~]# cd /data/wwwroot/www.zhuneianxiang.com
10. 下载wordpress压缩安装包:
wordpress中文官网:cn.wordpress.org——找到wordpress-版本压缩包,复制链接在Linux下载:
[root@hao-01 www.zhuneianxiang.com]# wget https://cn.wordpress.org/wordpress-4.8.1-zh_CN.tar.gz
11. 打开windows系统找到hosts文件:
路径:C:\Windows\System32\drivers\etc

12. 用记事本打开windows系统下的hosts文件 自定义设定域名指向ip:
添加一条域名指向虚拟机ip的规则:
192.168.211.128 www.zhuneianxiang.com
(记得保存hosts记事本)
13. 解压:
[root@hao-01 www.zhuneianxiang.com]# tar zxvf wordpress-4.8.1-zh_CN.tar.gz
14. 把解压的wordpress目录里的全部文件移动到blog.111.com目录下:
[root@hao-01 www.zhuneianxiang.com]# mv wordpress/* .
15. 删除wordpress压缩包和wordpress解压包:
[root@hao-01 www.zhuneianxiang.com]# rm -rf wordpress-4.8.1-zh_CN.tar.gz wordpress/
16. Linux服务器上打开80端口:
[root@hao-01 www.zhuneianxiang.com]# iptables -I INPUT -p tcp --dport 80 -j ACCEPT
17. 编辑配置文件:
[root@hao-01 www.zhuneianxiang.com]# vim /usr/local/apache2.4/conf/httpd.conf
下图行前的#号删除!!!

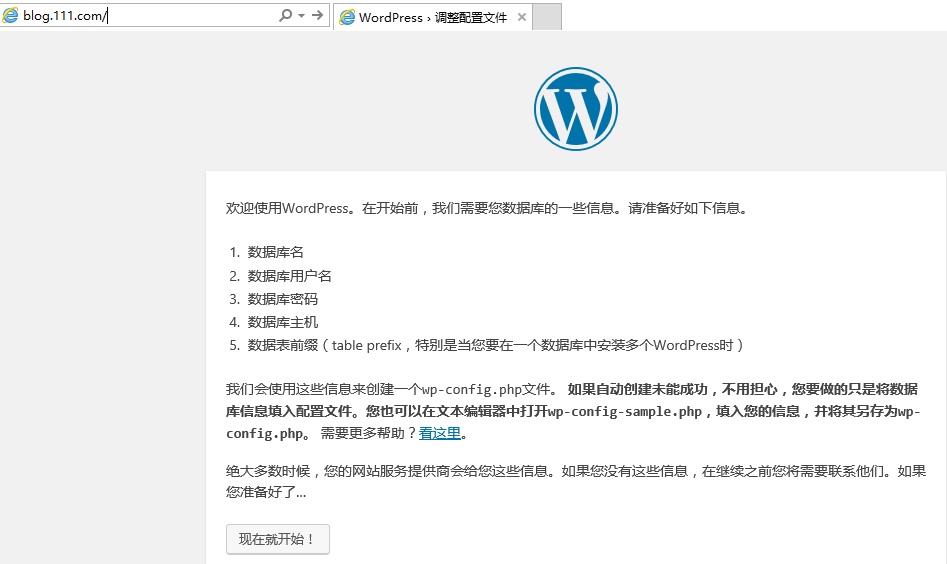
18. 在Windows游览器,访问www.zhuneianxiang.com网站:

19. 给mysql做了个软链接到/usr/bin下:
[root@hao-01 www.zhuneianxiang.com]# ln -s /usr/local/mysql/bin/mysql /usr/bin
20. 进入mysql模式下:
[root@hao-01 www.zhuneianxiang.com]# mysql
21. 创建库(blog自定义库名):
mysql> create database hao;
22. 创建mysql用户:
grant all on 库名.* to ‘用户名‘@‘数据库ip‘ identified by ‘密码‘;
mysql> grant all on hao.* to ‘hao‘@‘127.0.0.1‘ identified by ‘admin‘;
23. 测试下mysql用户、密码,数据库ip:
mysql -u用户名 -p密码 -h数据库ip
[root@hao-01 www.zhuneianxiang.com]# mysql -uhao -phao -h127.0.0.1
退出:quit
24. 在windows游览器,www.zhuneianxiang.com网站
填写对应的:mysql库名,用户名,密码,ip

25. 按照游览器提示,直接在Linux下,创建wp-config.php文件,把游览器内容拷贝到这个文件中!!!
[root@hao-01 www.zhuneianxiang.com]# vi wp-config.php
拷贝游览器框中的所有内容

26. 自定义博客网站名称,管理员登录用户,管理员登录密码,邮箱地址: 

27. 点击登录:

28. 博客主页面:


本文出自 “主内安详” 博客,请务必保留此出处http://zhuneianxiang.blog.51cto.com/11621252/1954500
搭建博客
