首页 > 代码库 > 全程使用yum安装zabbix记录
全程使用yum安装zabbix记录
环境准备:web环境(apache,php,mysql)
三个都使用yum来安装
准备yum源,使用阿里的源(新浪源安装apache的时候有问题)
[root@puppet_master yum.repos.d]# wget -O /etc/yum.repos.d/CentOS-Base.repo http://mirrors.aliyun.com/repo/Centos-6.repo
安装php,apache,mysql
[root@puppet_master yum.repos.d]# yum install php php-mysql php-common php-gd php-mbstring php-mcrypt php-devel php-xml
[root@puppet_master yum.repos.d]# yum install mysql-server mysql
web环境已准备
设置mysql密码,并创建zabbix数据库
[root@puppet_master ~]# mysql -uroot
Welcome to the MySQL monitor.  Commands end with ; or \g.
Your MySQL connection id is 3
Server version: 5.1.73 Source distribution
Copyright (c) 2000, 2013, Oracle and/or its affiliates. All rights reserved.
Oracle is a registered trademark of Oracle Corporation and/or its
affiliates. Other names may be trademarks of their respective
owners.
Type ‘help;‘ or ‘\h‘ for help. Type ‘\c‘ to clear the current input statement.
mysql> set password for ‘root‘@‘localhost‘=password(‘123456‘);
Query OK, 0 rows affected (0.00 sec)
mysql> create database zabbix character set utf8;
Query OK, 1 row affected (0.00 sec)
使用yum安装zabbix
先获取第三方源
rpm -ivh http://repo.zabbix.com/zabbix/2.4/rhel/6/x86_64/zabbix-release-2.4-1.el6.noarch.rpm
开始安装
[root@puppet_master yum.repos.d]# yum install zabbix-server-mysql zabbix-web-mysql
查看其安装后的路径
[root@puppet_master create]# whereis zabbix
zabbix: /etc/zabbix /usr/lib/zabbix /usr/share/zabbix
进入zabbix的数据库信息目录
[root@puppet_master create]# cd /usr/share/doc/zabbix-server-mysql-2.4.2/create
[root@puppet_master create]# ll
总用量 2988
-rw-r--r--. 1 root root  972744 11月 10 19:25 data.sql
-rw-r--r--. 1 root root 1978341 11月  5 16:01 images.sql
-rw-r--r--. 1 root root  104816 11月  5 16:02 schema.sql
把zabbix数据库脚本导入到数据库中
要按以下顺序导入,否则会报错
[root@puppet_master create]# mysql -uroot -p123456 zabbix < schema.sql
[root@puppet_master create]# mysql -uroot -p123456 zabbix < images.sql
[root@puppet_master create]# mysql -uroot -p123456 zabbix < data.sql
修改zabbix配置文件信息
[root@puppet_master create]# cd /etc/zabbix/
[root@puppet_master zabbix]# ll
总用量 20
drwxr-x---. 2 apache apache  4096 12月  3 15:02 web
-rw-r-----. 1 root   zabbix 13184 11月 10 19:32 zabbix_server.conf
[root@puppet_master zabbix]# cp zabbix_server.conf zabbix_server.conf.bak20141203
[root@puppet_master zabbix]# vim zabbix_server.conf
DBHost=localhost
DBName=zabbix
DBUser=zabbix
DBPassword=zabbix
最后将zabbix站点添加到apache中(直接yum安装会直接自动添加zabbix配置文件)
启动服务
[root@puppet_master conf.d]# service httpd start
正在启动 httpd:httpd: apr_sockaddr_info_get() failed for puppet_master
httpd: Could not reliably determine the server‘s fully qualified domain name, using 127.0.0.1 for ServerName
                                                           [确定]
[root@puppet_master conf.d]# service zabbix-server start
Starting Zabbix server:                                    [确定]
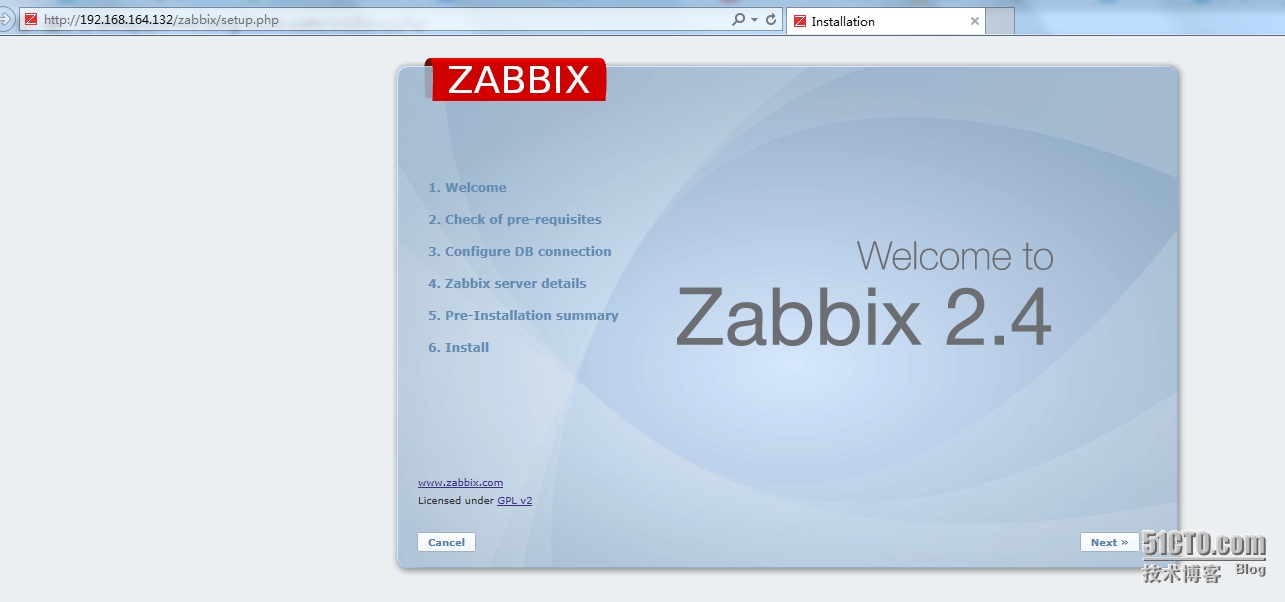
剩下的就从页面配置了
http://192.168.164.132/zabbix/setup.php

后续记录
修改php.ini文件中的
date.timezone = ‘Asia/Chongqing‘
否则页面安装提示没有time zone内容,并且要改为chongqing地区。
本文出自 “always_yunwei” 博客,请务必保留此出处http://alwaysyunwei.blog.51cto.com/3224143/1585977
全程使用yum安装zabbix记录
声明:以上内容来自用户投稿及互联网公开渠道收集整理发布,本网站不拥有所有权,未作人工编辑处理,也不承担相关法律责任,若内容有误或涉及侵权可进行投诉: 投诉/举报 工作人员会在5个工作日内联系你,一经查实,本站将立刻删除涉嫌侵权内容。
