首页 > 代码库 > Installing Zabbix 2.4 on CentOS 6.5
Installing Zabbix 2.4 on CentOS 6.5
1: Download Package
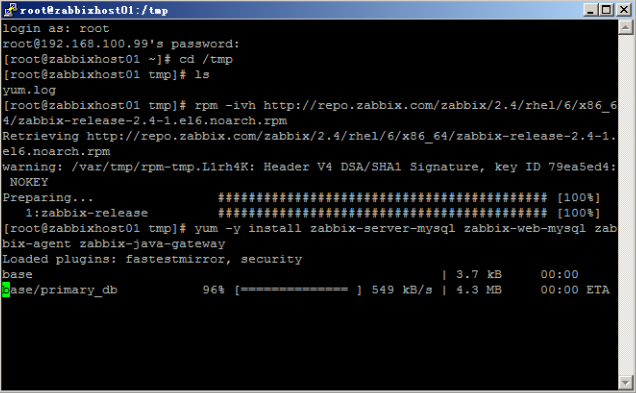
# rpm -ivh http://repo.zabbix.com/zabbix/2.4/rhel/6/x86_64/zabbix-release-2.4-1.el6.noarch.rpm

2: Install zabbix server packages
# yum -y install zabbix-server-mysql zabbix-web-mysql zabbix-agent zabbix-java-gateway
3: Install MySQL Database
# yum -y install mysql-server

—vi /etc/my.cnf
[mysqld]
…
symbolic-links=0
character-set-server=utf8
innodb_file_per_table=1
- Start mysql service with command “service mysqld start”
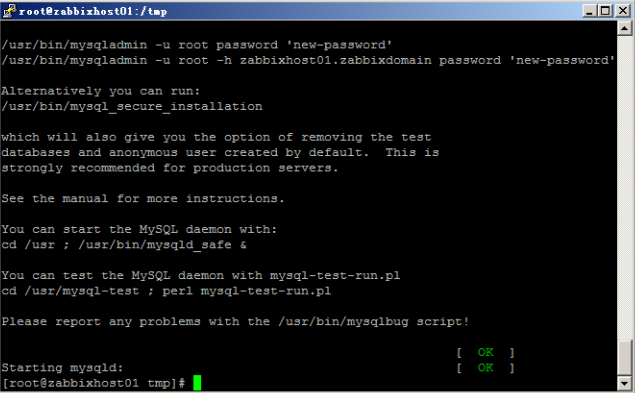
- Run the secure installation command “mysql_secure_installation” to set the root password:
- Enter current password for root (enter for none): <Press enterwithout password>
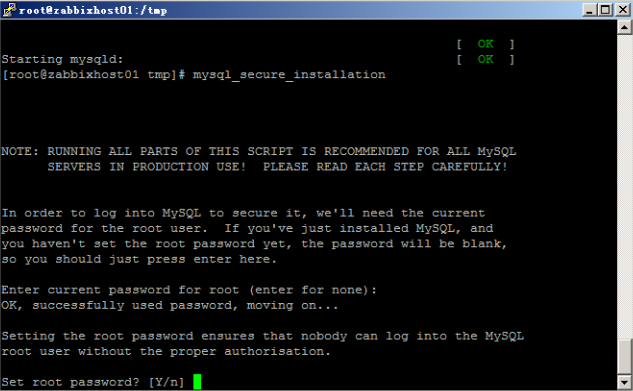
– Set root password? [Y/n] <Enter Y>
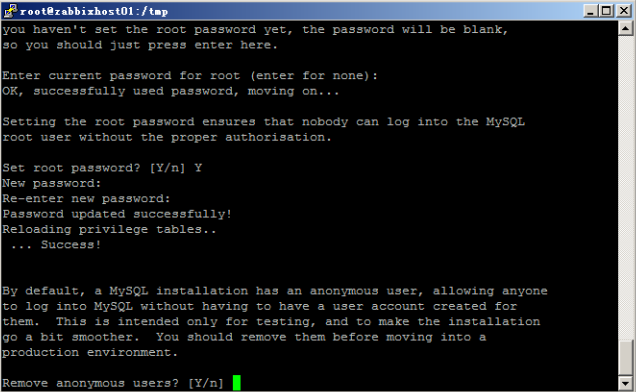
– Remove anonymous users? [Y/n] <Enter Y>
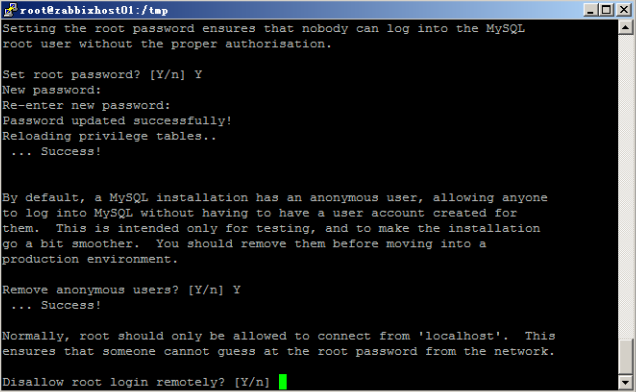
– Disallow root login remotely? [Y/n] <Enter n>
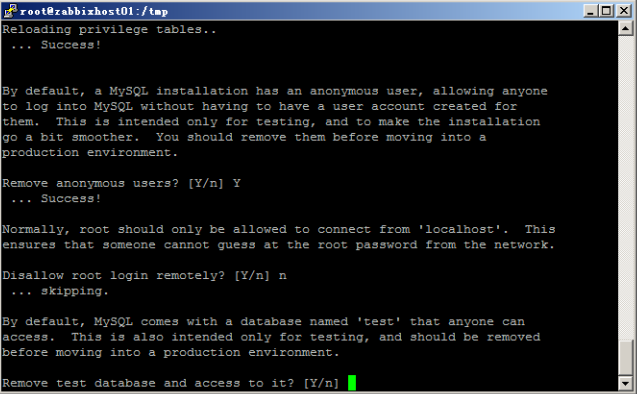
– Remove test database and access to it? [Y/n] <Enter Y>

– Reload privilege tables now? [Y/n] <Enter Y>

4: Create zabbix database
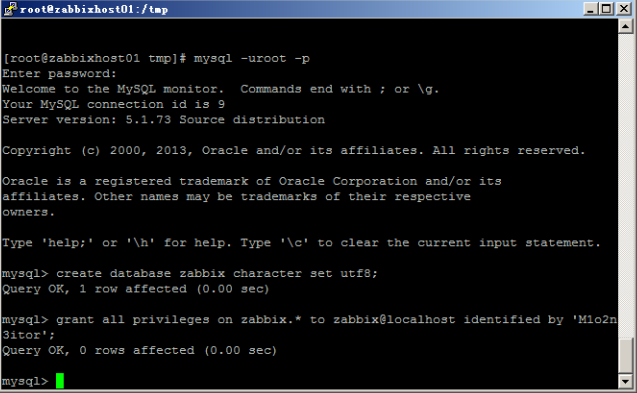
- Enter following commands to setup the database:
- # mysql -uroot -p<enter root password>
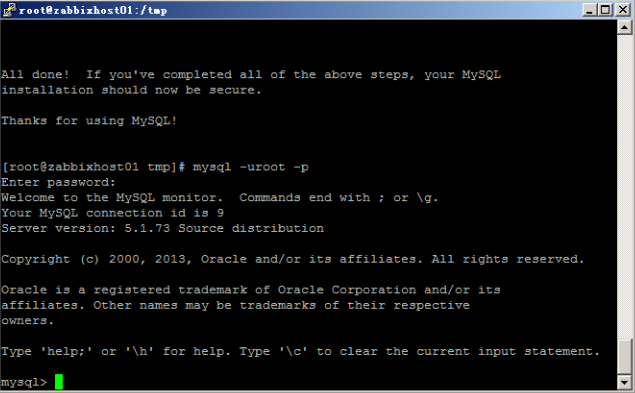
– mysql> create database zabbix character setutf8;
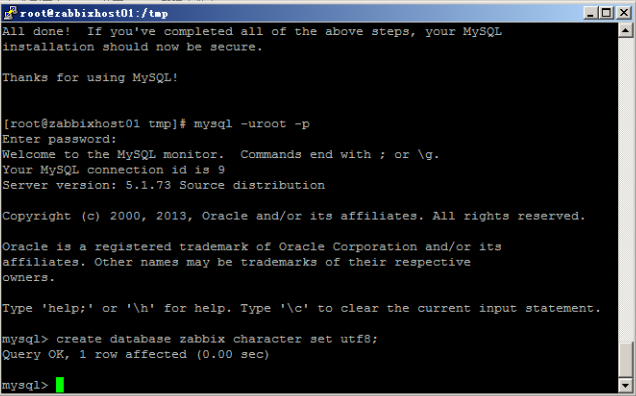
– mysql> grant all privileges on zabbix.* tozabbix@localhost identified by ‘M1o2n3itor’;
Note:passoword is M1o2n3itor.
– mysql> exit

5: Import initial schema and data
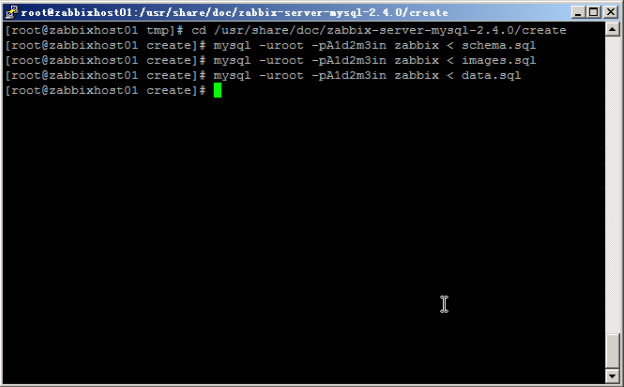
- # cd /usr/share/doc/zabbix-server-mysql-2.4.0/create
– # mysql -uroot -p<enter root password> zabbix< schema.sql
– # mysql -uroot -p<enter root password> zabbix< images.sql
– # mysql -uroot -p<enter root password> zabbix< data.sql
6: Edit database configuration inzabbix_server.conf
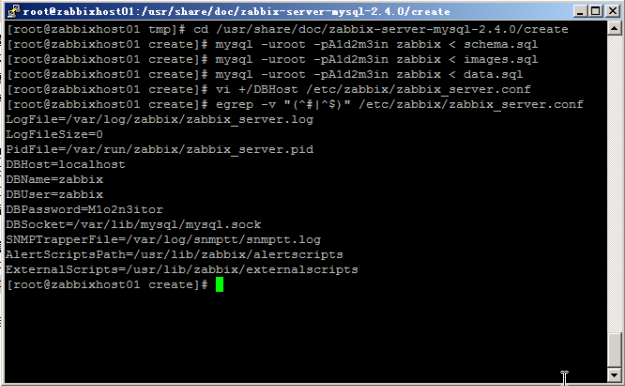
- # vi /etc/zabbix/zabbix_server.conf
Confirm following lines:
– DBHost=localhost (uncomment this line)
– DBName=zabbix
– DBUser=zabbix
– DBPassword=M1o2n3itor (uncomment this line)
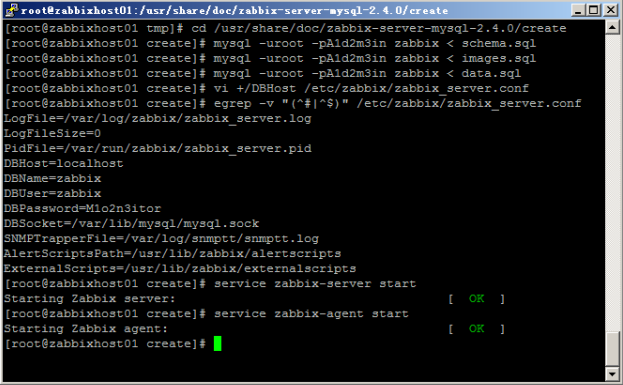
7: Start zabbix server / agent services
- # service zabbix-serverstart
– # service zabbix-agentstart
8: Change Timezone
- # vi /etc/httpd/conf.d/zabbix.conf
Uncomment below line and change to desired timezone
- # php_value date.timezone Asia/Shanghai
9: Restart the apache web server
- # service httpd restart
10: Set zabbix services to start on reboot
- # chkconfig zabbix-server on
– # chkconfig zabbix-agent on
– # chkconfig mysqld on
– # chkconfig httpd on
11: Configure Firewall
Before you can access the Front-end interface, you eitherdisable the Firewall (IPTABLES) or add rules for zabbix ports.
In Test Lab:
Only disable iptables firewall if testing this in a labby running the command ‘service iptables stop‘ to stop theservice and use ‘service iptables status‘ to confirm its not running
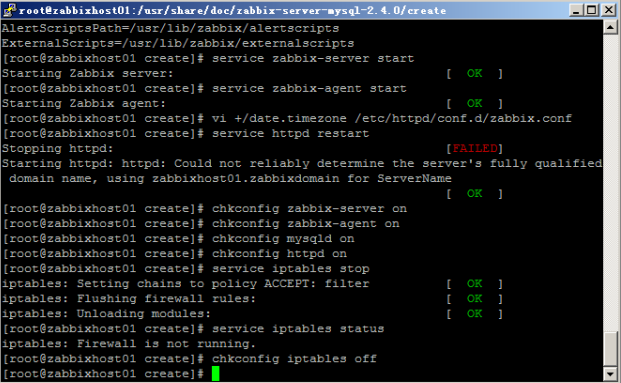
chkconfig iptables off
In Production Environment:
Add the following lines in iptables for Trapper (10051); Client(10050) & httpd (80)
[code]
vi /etc/sysconfig/iptables
-A INPUT -m state --state NEW -m tcp -p tcp --dport 80 -j ACCEPT
-A INPUT -m state --state NEW -m tcp -p tcp --dport 10050 -j ACCEPT
-A INPUT -m state --state NEW -m tcp -p tcp --dport 10051 -j ACCEPT
[/code]
Restart the Firewall
[code]service iptablesrestart[/code]
12: Configure Zabbix Web interface
- Enter the following URL on a browser to access the zabbix webinterface http://<zabbix server hostname or ipaddress>/zabbix

- Click Next and make sure all checks are OK

- Change the Database username to ‘zabbix’andpassword to ‘M1o2n3itor’ and click Test connection to ensureconnection is established.

- Leave host name and port as default
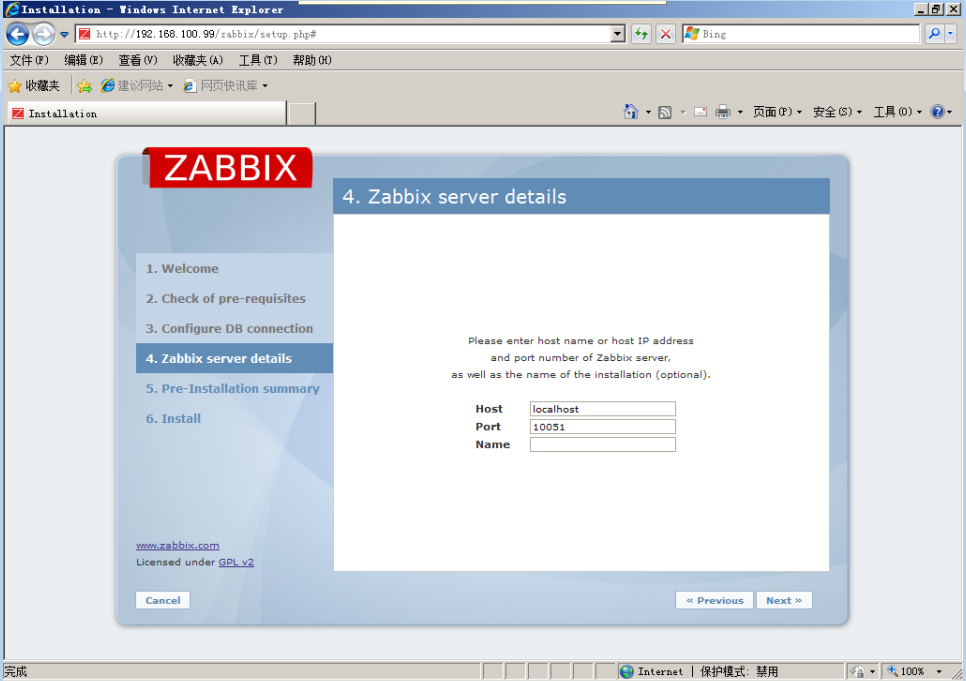
- Confirm all settings are right

- Click Finish to complete configuration

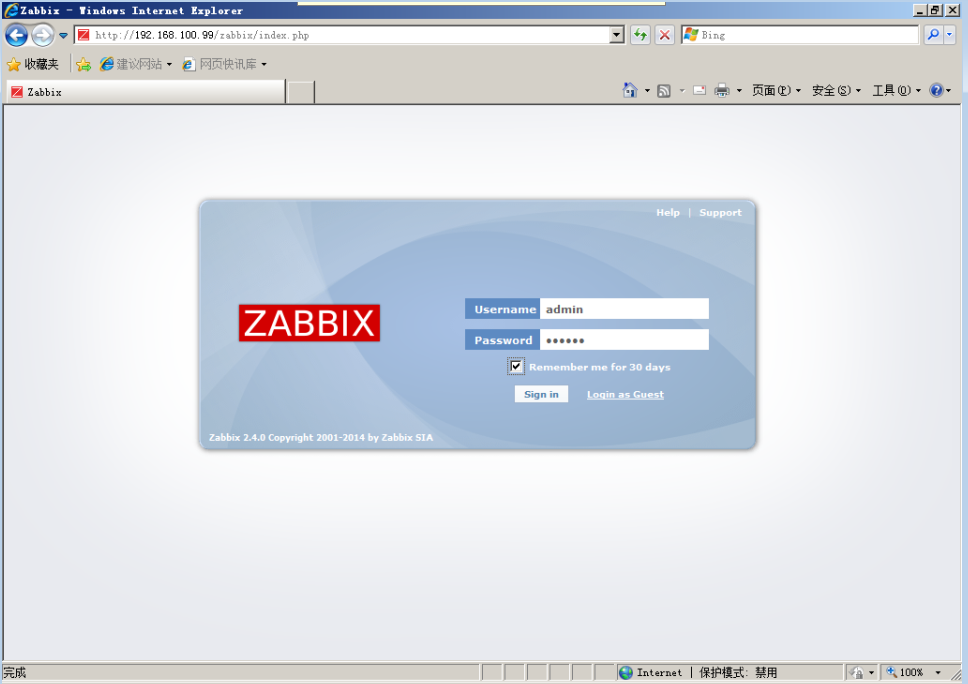
Log into zabbix with default credentials (Username: Admin, Password: zabbix)
- Click profile on top right hand corner, click Change password andcomplete the change password process
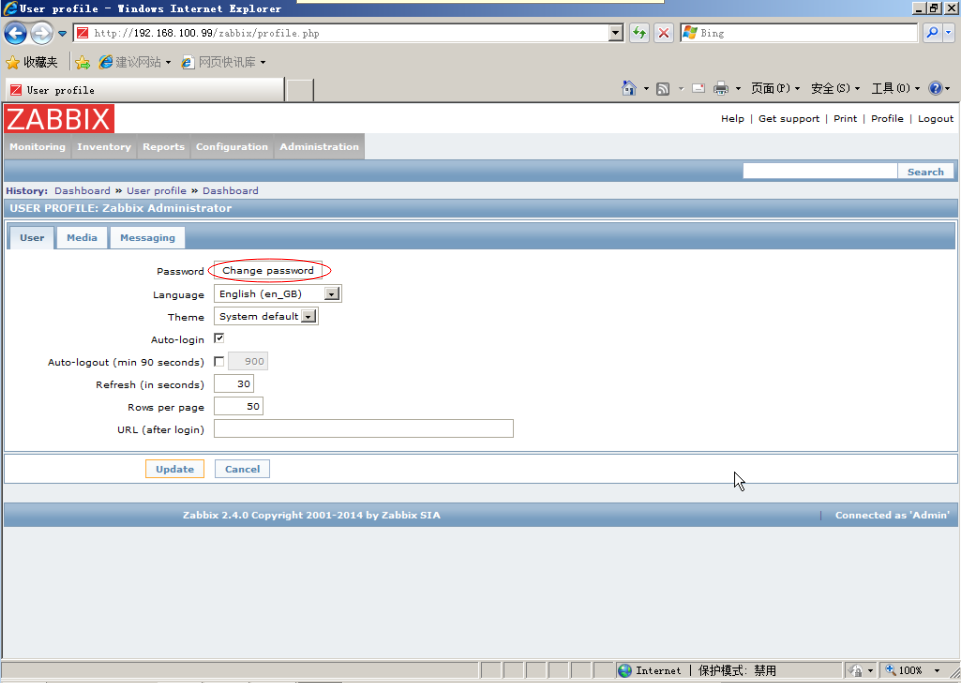
There we are all done .
本文出自 “IT运维” 博客,请务必保留此出处http://itops.blog.51cto.com/2420369/1854008
Installing Zabbix 2.4 on CentOS 6.5
